×

My Garage
My Account
My Cart
This part fits the vehicle you selected:
My Vehicle: 2007 Saturn Ion 4 Cyl 2.0L MFI, DOHC, SC, ALUM; 5-Speed Manual Transmission, SAAB; Ion Redline 2 Door
Change VehicleThe vehicle options this part fits:
- Fitting Vehicle Options: A(LSJ,L61)
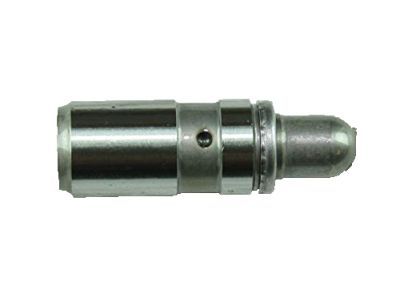
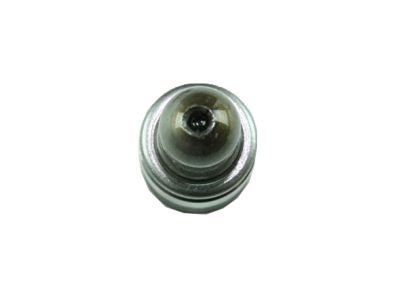
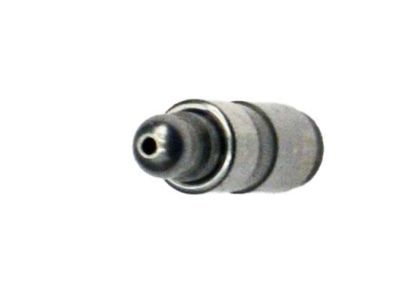
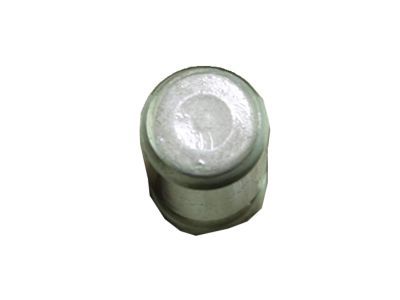
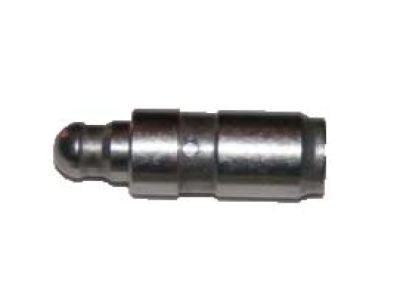
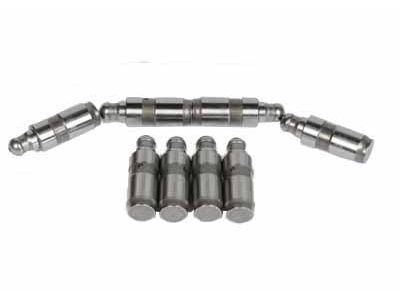
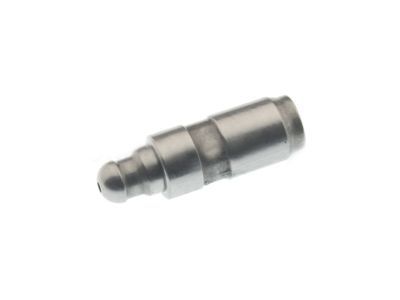
GM 12572638 Adjuster,Hydraulic Valve Lash
1999-2022 GM
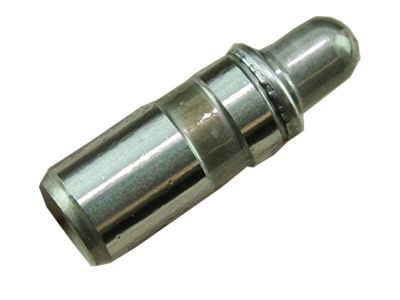
- Part DescriptionADJUSTER, Engine Valve Lifter
- Replaced By12686787
- ManufacturerGeneral Motors
- Require Quantity16
- Package Quantity1
This part fits the vehicle you selected:
2007 Saturn Ion 4 Cyl 2.0L MFI, DOHC, SC, ALUM; 5-Speed Manual Transmission, SAAB; Ion Redline 2 Door
The vehicle options this part fits:
- Fitting Vehicle Options: A(LSJ,L61)
$12.97 MSRP: $21.49 1
You Save: $8.52 (40%)
Ships in 1-2 Business Days
Product Specifications
| Brand | Genuine GM |
| Manufacturer Part Number | 12572638 |
| Part Description | ADJUSTER, Engine Valve Lifter |
| Other Names | Filler Cap O-Ring, Valve Lifters |
| Item Dimensions | 3.1 x 3.0 x 3.0 inches |
| Item Weight | 0.50 Pounds |
| Condition | New |
| Fitment Type | Direct Replacement |
| Manufacturer | General Motors |
| SKU | 12572638 |
| Warranty | This genuine GM part is guaranteed by GM's factory warranty. |
| Shipping & Return | Shipping Policy Return Policy |
Warning: California’s Proposition 65
Customer Questions & Answers
- Q:I am wonder if this is complete and correct part for my vehicle. Posted by GMPartsGiant Specialist
- A:You can Select Your Vehicle to check if 12572638 fits your vehicle.Posted by GMPartsGiant Specialist
- Q:How to remove and inspect a camshaft and Lash Adjuster for Chevrolet Cobalt,HHR and Saturn ION? Posted by Customer
- A:To undertake the challenging procedure of camshaft removal and inspection, prepare the necessary special tools and acquire new camshaft sprocket bolts beforehand. Begin by relieving the fuel system pressure on 2.0L supercharged models and disconnecting the negative battery terminal. Remove the valve cover and set the engine to TDC for cylinder number one, followed by rotating the crankshaft counterclockwise to position the engine at 60-degrees before TDC with the diamond-shaped hole on the intake camshaft at 12 o'clock. Proceed cautiously, ensuring not to remove the camshafts with the engine at TDC number 1 to prevent damage to the valves and pistons. For 2.0L supercharged and 2.2L engines, remove the upper timing chain guide and use a special tool to secure the camshaft sprockets in place. Purchase a camshaft locking tool to accomplish this task. Remove the camshaft sprocket bolts and slide the camshaft sprockets forward, securing them with wingnuts. If working on 2009 and later models, remove the camshaft position actuators; for 2008 and earlier models, remove the timing chain tensioner. Next, disassemble the camshafts, keeping camshaft caps marked for location and direction, and remove the rocker arms and hydraulic lash adjusters. Organize the rocker arms for reinstallation in their original positions and store the lash adjusters with their corresponding rocker arms. Repeat a similar process for the exhaust camshaft, marking the positions of rocker arms, removing them, and lifting the hydraulic lash adjusters. For 2.0L turbocharged and 2.4L engines, special tools secure the chain and camshaft actuators, allowing their removal after loosening the actuator bolts while holding the camshaft with a wrench on the camshaft hex. Ensure the timing chain is supported by the locking tools. If removing camshafts, carefully inspection on all engines, checking hydraulic lash adjusters, rocker arms, camshaft lobes, bearing journals, and bearing journal oil clearance. Replace components as needed. Lubricate the rocker arms and hydraulic lash adjusters before reinstalling them, then lubricate and install the camshafts with proper alignment. Secure the camshaft bearing caps, slide the camshaft sprockets and timing chain, align the slots with sprocket projections, and tighten the camshaft sprockets with new bolts to the specified torque. For 2.0L, 2.4L, and 2009 and later 2.2L engines, reinstall the camshaft actuators aligned with the marked positions and secure them with new bolts, tightening while holding each camshaft. Remove the camshaft locking tool and install the front and rear camshaft caps, torquing them to specifications. Install the upper timing chain guide and reset and install the timing chain tensioner. Perform two manual engine revolutions, checking for resistance. Complete the remaining installation steps, reconnect the battery, and proceed with engine operation.Posted by GMPartsGiant Specialist
If you have any questions about this product, please don't hesitate to ask us. We will be happy to help you!
Why choose GM Parts Giant
- Dedicated Service
Your complete satisfaction is our #1 goal
- Lowest Prices
Best deals on genuine OE parts from dealerships
- Fast Delivery
Orders are processed and delivered promptly
