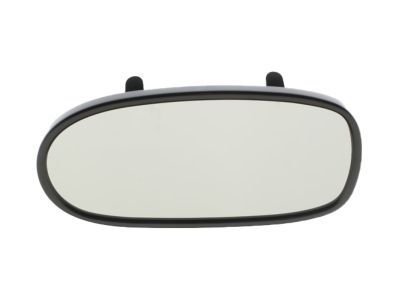
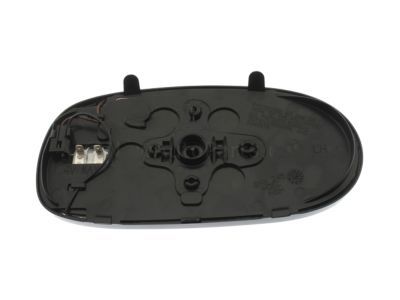
To replace the outside side view mirror one has to follow procedures that include; Step 2, removing of the door trim panel and Step 3, removing the black tape from the access holes to enable the disconnecting the electrical connector. Gently unscrew and take out the nuts without loss of them in the door cavity since you might not find them again. When in the process of mirror glass replacement ensure you wear some protective gear such as gloves and eye protection. Lean at an upper corner of the mirror to achieve tilting and get to the back of the glass and then pull the bottom end of the mirror to slide it out. Take off the electrical connection of heated mirrors if any, and fold the jackscrews to take out the heated mirrors from the mirror casing but they will be required in the new mirror. Lithium grease should be applied when installing the new mirror glass, on the motor pivot and jackscrews. Place the jackscrews on the new mirror, if the heated mirror is equipped with wires connect the wire then make sure that the jackscrews are fitting to the motor housing. With the motor assembly seated and the gloves on, set the mirror in front of the motor assembly and apply pressure; it will pivot towards the jackscrews until it clicks into place. Operate the mirror using the switch and if it does not tilt, see that the jackscrews have Engage properly in their respective seating contours. As for the inside mirror, it is necessary to remove the sensor cover clips, electrical connector, a single Torx screw or set screw at the base on the windshield, thus the inside mirror will be detached. The removal is done in the reverse way and in case where the mounting base is loose on the windshield, adhesive kits are usually provided for this purpose. It is critical to confirm that the top side of the mounting base is correctly aligned before applying the adhesive to the surface as a result of this there are several mistakes usually made during the installation process.