My Garage
My Account
Cart
Additional information needed to check if this part fits
2009 Hummer H3
Check another vehicle- Fitting Vehicle Options: N1(LLR)
GM 12620226 Engine Coolant Pump
2002-2012 GM
Customer Questions & Expert Answers (1)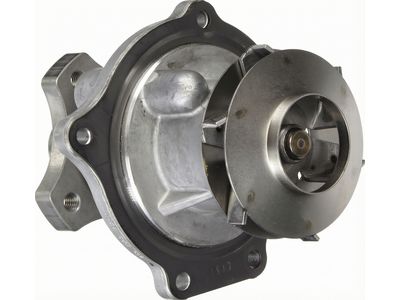
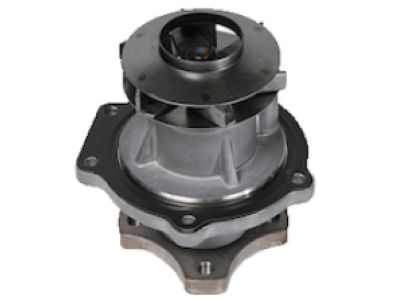
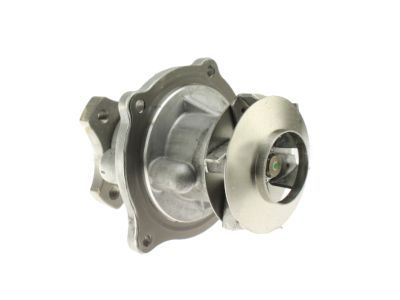
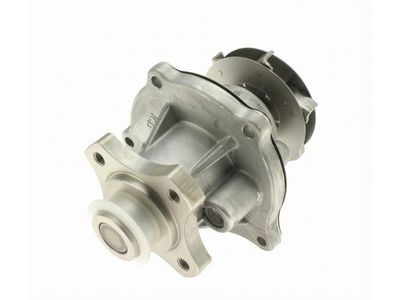
- Part DescriptionPump,Water
- Replaces
- ManufacturerGeneral Motors
Additional information needed to check if this part fits
2009 Hummer H3
Check another vehicle- Fitting Vehicle Options: N1(LLR)
$145.83 MSRP: $260.88
You Save: $115.05 (45%)
Currently UnavailableDue to manufacturer supply shortage, this item isn't currently available for ordering.
- Related Parts
- Specifications
- Q&A
Product Specifications
Brand Genuine GM Manufacturer Part Number 12620226 Part Description Pump,Water Other Names Water Pump Item Dimensions 8.1 x 5.5 x 5.5 inches Item Weight 3.00 Pounds Condition New Fitment Type Direct Replacement Replaces 24576952 Manufacturer General Motors SKU 12620226 Warranty This genuine GM part is guaranteed by GM's factory warranty. Shipping & Return Shipping Policy Return Policy Warning: California's Proposition 65Customer Questions & Expert Answers
- Installation & Repair Tips by AI Expert
- Removal steps 1. Park on a level surface, set the parking brake, block wheels, allow the engine to cool completely, and wear eye protection and gloves. 2. Disconnect the negative battery cable to remove electrical power before working near the cooling system or accessories. 3. Place a drain pan under the radiator or engine and drain coolant to a level that allows safe removal of the pump and associated hoses; capture and dispose of coolant properly. 4. Remove any engine covers or trim that block access, and note that commonly the fan shroud, cooling fan, drive belt(s), and accessory brackets are removed or moved aside for access. 5. If the pump is belt-driven, release belt tension and remove the drive belt; note the belt routing before removal or make a routing diagram. 6. Loosen and remove coolant hoses attached to the pump, being prepared for additional coolant to drain; plug hoses to reduce spills. 7. If removal exposes or affects timing components (timing belt/chain or covers), stop and follow the vehicle manufacturer procedures - marking or special tools may be required. 8. Unfasten the water pump mounting bolts and remove the pump; support the pump during unfastening as coolant and residual fluid can add weight. 9. Inspect the surrounding components and mating surface for corrosion, gasket remnants, or damage; clean the engine mating surface without gouging. Installation steps 1. Compare the new pump to the old one and transfer any necessary pulleys, sensors, or brackets that come from the original unit. 2. Clean and dry the mating surfaces thoroughly; remove old gasket material and debris using non-abrasive methods. 3. Install the new gasket or sealant per the replacement part manufacturer's instructions; position the pump and start fasteners by hand to avoid cross-threading. 4. Tighten mounting bolts progressively and evenly in a crisscross pattern until snug, then final-tighten to the vehicle manufacturer torque values (do not guess torque - use the specified values). 5. Reattach hoses, clamps, pulleys, and any brackets removed earlier; replace drive belts and set proper belt tension following manufacturer procedure. 6. Reinstall any fan, shroud, engine covers, or accessories that were removed for access. 7. Refill the cooling system with the correct type and mixture of coolant; follow the vehicle guidance for capacity and mixture. 8. Reconnect the negative battery cable. 9. Bleed air from the cooling system using the recommended bleed procedure for the vehicle (common methods include running the engine to operating temperature with the heater on and using bleed valves if equipped). 10. Start the engine and observe for leaks around the pump and hose connections, monitor temperature gauge for normal operation, and check for unusual noises. 11. After a short test run and cooling, recheck coolant level and top off if necessary; retighten clamps or fasteners only if specified by the manufacturer. 12. Road test the vehicle to confirm proper cooling performance and recheck for leaks afterward. Repair tip 1. While the pump is accessible, consider replacing related wear items such as the drive belt, thermostat, and accessory seals to save labor later.