
My Garage
My Account
Cart
Additional information needed to check if this part fits
2024 Chevrolet Corvette
Check another vehicle- Fitting Vehicle Options: YC(JL9)
GM 85114492 ROTOR ASM-FRT BRK
2020-2024 Chevrolet Corvette
Customer Questions & Expert Answers (2)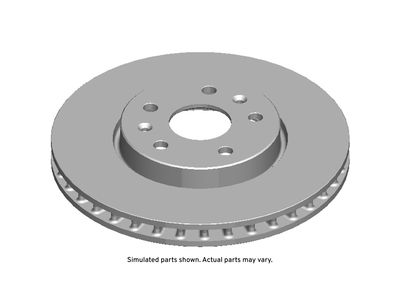
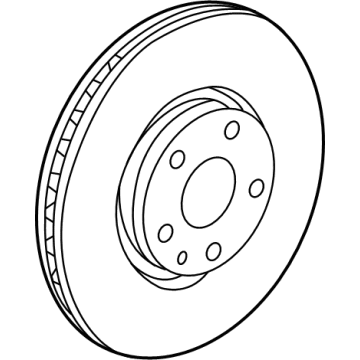
- Part DescriptionROTOR ASM-FRT BRK
- Replaces
- ManufacturerGeneral Motors
- Require Quantity02
- Package Quantity1
Additional information needed to check if this part fits
2024 Chevrolet Corvette
Check another vehicle- Fitting Vehicle Options: YC(JL9)
$98.64 MSRP: $172.60
You Save: $73.96 (43%)
Ships in 1-2 Business Days
1
- Related Parts
- Specifications
- Q&A
Product Specifications
Brand Genuine GM Manufacturer Part Number 85114492 Part Description ROTOR ASM-FRT BRK Other Names Rotor Condition New Replaces 84575255 Manufacturer General Motors SKU 85114492 Shipping & Return Shipping Policy Return Policy Warning: California's Proposition 65Customer Questions & Expert Answers
- Q:Do these parts fit my vehicle? Posted by GMPartsGiant Specialist
- A:You can Select Your Vehicle to check if 85114492 fits your vehicle.Posted by GMPartsGiant Specialist
- Installation and Repair Tips by AI Expert
- Removal steps: 1. Park on a level surface, chock opposite wheels, place transmission in Park (or neutral for manual) and apply the parking brake. 2. Disconnect the negative battery cable and isolate it away from the terminal. 3. Loosen wheel lug nuts slightly while the vehicle is on the ground. 4. Safely raise the vehicle and support it on appropriately rated jack stands; remove the wheel. 5. If applicable, release the parking brake mechanism or backing plate fasteners so the rotor can be removed (designs vary). 6. Inspect the brake assembly and note pad orientation and any anti-rattle hardware before disassembly. 7. Remove the caliper mounting fasteners, then carefully lift the caliper off the disc and hang or support it so the brake hose is not stressed. 8. Remove brake pads and any pad retaining clips or shims; set hardware aside in order or replace as required. 9. If required by the design, remove the caliper bracket to access the disc. 10. Remove any rotor-retaining screw(s) or clips if present; do not assume they exist on every vehicle. 11. If the rotor is seized to the hub, apply penetrating lubricant to the hub interface and release with controlled taps from a soft-faced hammer around the rotor hat-avoid hitting the friction surface. 12. Pull the rotor straight off the hub; inspect the hub, wheel studs, and ABS tone ring (if visible) for damage or corrosion. Installation steps: 1. Clean the hub mating surface of rust and debris; ensure the hub face is dry and free of contaminants. 2. If allowed by manufacturer guidance, apply a thin film of high-temperature anti-seize to the hub center (avoid any friction surfaces). 3. Slide the new or resurfaced rotor onto the hub; if retaining fasteners are used, install them hand-tight as applicable. 4. Reinstall the caliper bracket if it was removed, then fit new or reused anti-rattle hardware and brake pads in the correct orientation. 5. Reposition the caliper over the pads and rotor and install caliper mounting fasteners; tighten to the vehicle manufacturer's specified values (consult factory or service manual). 6. Reinstall wheel, hand-tighten lug nuts, lower the vehicle to the ground, then torque lug nuts to the manufacturer specification in the proper sequence. 7. Reconnect the negative battery cable and ensure electrical connectors disturbed during the job are reconnected. 8. Before driving, pump the brake pedal several times until a firm pedal develops to reposition caliper pistons against the pads. 9. Check for any fluid leaks, verify parking brake function (if affected), and confirm there are no unusual noises or binding. 10. Perform a cautious low-speed test drive and follow an appropriate brake bedding procedure for the pads/rotors used. Repair tip: Keep brake components and friction surfaces free of grease or oil; if a rotor is difficult to remove, use even, controlled tapping around the hat and avoid striking the friction ring.
- Q:
Why choose GM Parts Giant
- Dedicated Service
Your complete satisfaction is our #1 goal
- Lowest Prices
Best deals on genuine OE parts from dealerships
- Fast Delivery
Orders are processed and delivered promptly