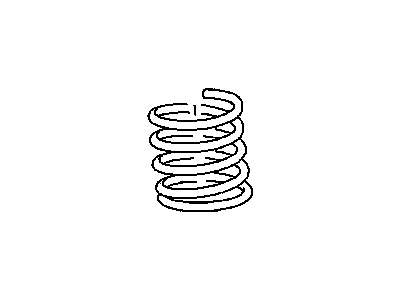
When doing this, one must use a spring compressor, which can usually be rented from auto parts stores or equipment yards. If the struts or coil springs seem damaged by leaking fluid, failure to dampen fast enough, or broken coil springs, it is important to consider repair options before proceeding. Problems require replacing strut and coil spring assemblies that cannot be repaired. Full strut assemblies with springs may be available for exchange and will save you time. Before disassembling: part availability and cost should be considered (John 2002). The first step is to remove the strut and spring assembly; however, care should be taken while fastening the strut clevis bracket on a vise so as not to destroy other parts of it using wood or rags. Follow all of the spring's manufacturer's instructions in order to install a spring compressor on it until compressing everything above the upper spring seat completely relieves any pressure. Use a socket wrench to grip the damper shaft and take off the nut from it and also remove the damper shaft itself together with an upper mount. Keep all taken-apart pieces arranged in their proper sequence and inspect rubber part of upper mount for cracks or deterioration-replace if necessary (John 2002). Take away upper spring seal after checking the rubber part for wear and tear and bearing for smooth functioning replacing as required (John 2002). Slip off the bump stop made of rubber from damper shaft and check its condition-replace if necessary (John 2002). Carefully lift out compressed spring from assembly making sure you label springs as LEFT & RIGHT if removing both struts (John 2002). For reassembly: extend damper rod, put on rubber bump stop, drop compressed coil spring onto lower seat of damper making sure end sits against raised stop (John 2002). Put on top insulator; place spring seat; put on top mount; then mount nut, tight to specified torque (John 2002). Finally, take off the spring compressor tool and replace the strut/spring assembly.