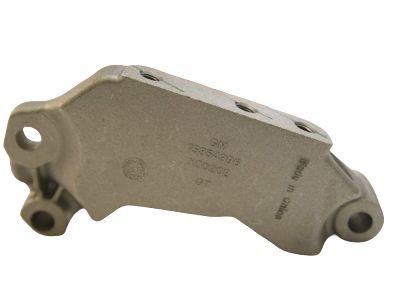
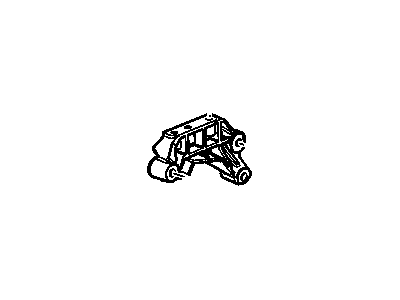
Engine mounts seldom require attention, but broken or deteriorated mounts should be replaced immediately to prevent damage to driveline components. During the check, the engine must be raised slightly to remove the weight from the mount. Raise the vehicle and support it securely on jackstands, then position the jack under the engine oil pan with a large block of wood between the jack head and the oil pan, carefully raising the engine just enough to relieve the weight from the mount without fully supporting the engine. Inspect the mount for cracked, hardened rubber or separation from the metal plates, noting that the rubber may split down the center. Check for relative movement between the mount plates and the engine or frame using a large screwdriver or pry bar; if movement is noted, check the tightness of the mount fasteners before condemning the mount, as broken mounts typically allow the engine to move easily when pried or under load. For replacement, ensure the engine transaxle assembly is balanced in weight distribution among the powertrain mounts before tightening the mounting bolts. Loosen all mount bolts, shake the engine side to side and front to rear to settle it, and then tighten the mounts in a specific order. For the right-side mount, remove the engine cover and air filter housing, then raise the vehicle securely on jackstands. For 2009 and earlier 3.6L models, remove the engine mount struts, disconnect the catalytic converter pipe, remove the right front wheel and inner splash shield, and then remove the engine mount-to-subframe nuts. Support the engine with a floor jack and a block of wood, then remove the engine mount bracket bolts and the mount itself. For 3.0L models and 2013 and later 3.6L models, mark the mount location before removal, support the engine, and remove the necessary bolts and nuts to take out the mount. Installation is the reverse of removal, using new fasteners and applying thread-locking compound to the engine mount studs. Engine torque strut mounts for 3.6L models can be replaced without jacking up the engine by removing the through-bolts and the bolts attaching the struts to the radiator support, and alignment may require a pry bar to rotate the engine as needed.