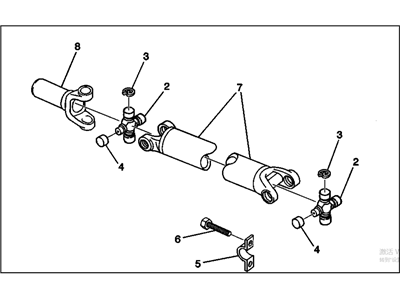
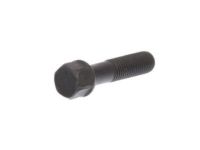
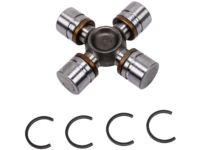
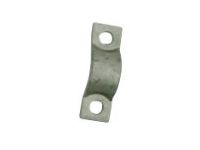
Remove the negative terminal connecting wire from the car battery. First, lift the car and hold it still with jackstands while placing the transmission in Neutral gear and releasing the parking brake. Block the front wheels so the car won't move or roll during work. Before you take the driveshaft and differential apart, make marks on their parts with a scribe, hammer, punch, and paint. These marks will help you put things back together correctly. Take out this part's front and rear joint bolts and straps while you rotate either the shaft or wheels to make everything easy to reach. Unbolt and take off the four bolts, nuts, and washers from the companion flange at the back of 4WD trucks. To take out the center same bearing bracket on two-piece driveshafts, first unscrew and take off all bolts, nuts, and washers. Use tape to hold the bearing caps to the spider while you work so they can't fall off when you take the parts apart. Pull down the driveshaft's rear section, then ease out the front end of it through the transmission or transfer case opening. In case your vehicle has a splined yoke, place a plastic bag over the transmission or transfer case housing to keep oil from spilling or mixing with dirt. To replace the middle bearing on a two-piece drive shaft, loosen the collar, disconnect the two parts, remove the collar and bearing, put the new parts back in place, recombine the shaft sections, and secure the collar. Take off the plastic bag from around the transmission or transfer case and clean the space well. Check for leaks and dirt damage to the oil seal. Put the front of the driveshaft into its spot on the transmission or transfer case. Also connect the companion plate and tighten all bolts just by hand. Turn the rear wheel as needed, while lifting up the other part of the driveshaft and lining up the marks. After removing the tape from the bearing caps, bolt in the straps and fasten them until you reach correct tightness. Lower the car back down, reconnect the battery, and put the negative connection first. If your vehicle is 4WD, lift it and place it safely on jackstands, taking off the skid plate if your truck has one. Before taking out the bolts, make a note on where the driveshaft meets the front differential flange. First disconnect the driveshaft's front end, and pull the transmission output shaft apart from the CV joint. Start by attaching the front end of the driveshaft to the front differential flange. Add straps and bolts, but loosen them at first for easier adjustments. Move the driveshaft to the right length by either pushing it forward or pulling it back. Connect the rear end to the transfer case, secure with straps, and bolt down. Tighten all fasteners with care, following recommendations carefully.
Posted by GMPartsGiant Specialist 
