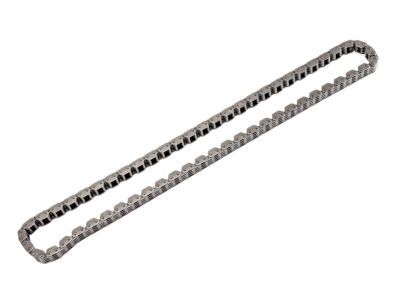
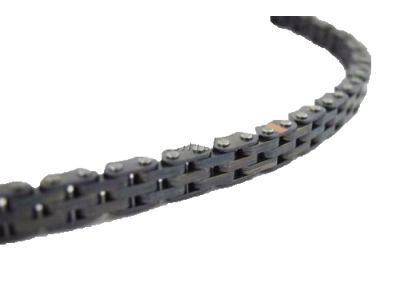
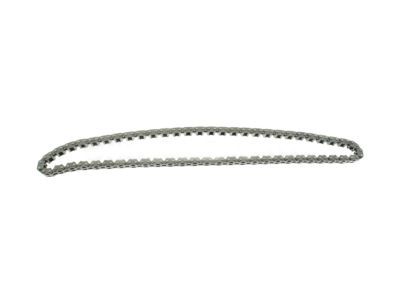
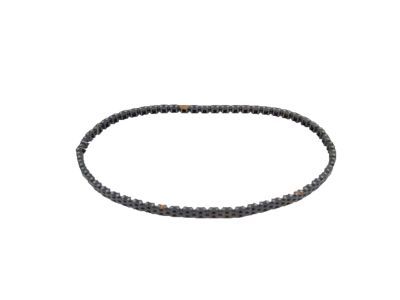
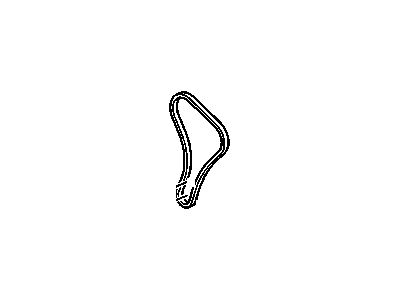
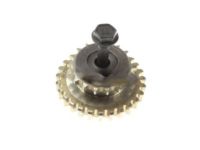
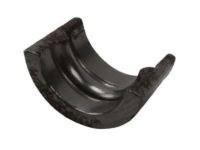
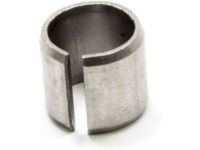
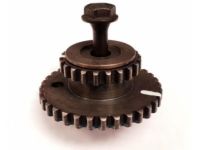
Pull the connector off the negative terminal with the battery then undo all the front engine cover bolts and the front engine cover, next are the rear cover bolts and the rear cover. You have to remove the lower radiator and expansion tank bolt, the drive belt, the coolant, and oil sump drains. It is necessary to remove air filler housing and intake duct, upper and lower hoses of the radiator, fans and water pump. For L99 engine models, if has the front cover to be removed, then the CMP actuator magnet retaining bolts, magnet and gasket of the timing chain cover should also be removed. Take off the oil pan and the alternator together with the bracket and the mounting bolts. Remove the timing chain cover mounting bolts and remove the timing cover from the block using a pry bar if needed to break the gasket loose with out damage the aluminum timing cover. Pull out the oil pick-up tube and oil pump, and check the state of gears, or chain and the dampener. For L99 engines, the camshaft position actuator solenoid valve should be loosened and for LS3 as well as LSA the actuator bolt holding the sprocket and for LS3/LSA model the crankshaft should be turned until the timing marks face up and the number one piston gets TDC. Take off the camshaft position actuator solenoid valve and the camshaft/actuator sprocket, then immobilise the actuator and reluctor wheel with a plastic strap. For LS3 and LSA engines, if supplied as a single assembly, remove the bolts of the end of the camshaft and camshaft sprocket, chain. If replacing the tensioner install it on the engine. Check for the conditions of the camshaft and crankshaft sprockets meanwhile if you have to remove the crankshaft sprocket, you should do so gently. Timing chains are to be changed as a set with the camshaft and crankshaft sprockets. Applying some gasket scraping, the cover and the engine block can be cleaned, placing the crankshaft sprocket over the Woodruff key, and finally pressing the latter onto crankshaft. Compact the timing chain tensioner to the compression scale, while installed, and lock it into the compressed position before tightening the tensioner bolt. Incase of positioning, adjust the timing marks if required, engage the chain on the crankshaft sprocket and then place the camshaft actuator/sprocket on the camshaft. It is very important to ensure that the marks made on the timing chain guide are properly aligned with the chain when fitting it. On L99 engines, replace a camshaft position actuator solenoid valve and inspect its installation. Take out the timing chain tensioner retaining pin and tighten the solenoid valve as required. Coat the chain with clean engine oil, get the oil pump and the oil pick-up tube in place. Place a new timing chain cover gasket onto the block and loosely bolt the cover into place, being certain to align the dowels first. Lacking the front cover alignment tool, level a straightedge and measure the distance from the oil pan rail to the timing chain cover and space them evenly if required. Upon proper positioning of the cover, give the bolts torque, apply RTV sealant on the area where the timing chain cover and the cylinder block rubs and fit the oil pan. Perform the following procedures as a reverse of the removal procedures, add coolants and oil the engine and conduct leakage test whilst running the engine.
Posted by GMPartsGiant Specialist 
