My Garage
My Account
Cart
Genuine 1991 Pontiac Firebird Oil Pan
Oil Drain Pan- Select Vehicle by Model
- Select Vehicle by VIN
Select Vehicle by Model
orMake
Model
Year
Select Vehicle by VIN
For the most accurate results, select vehicle by your VIN (Vehicle Identification Number).
2 Oil Pans found
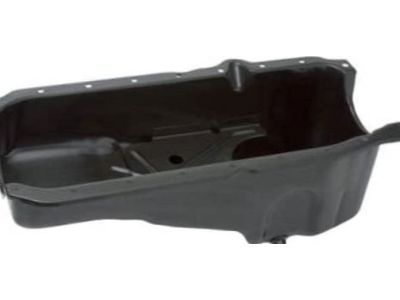
1991 Pontiac Firebird Oil Pan
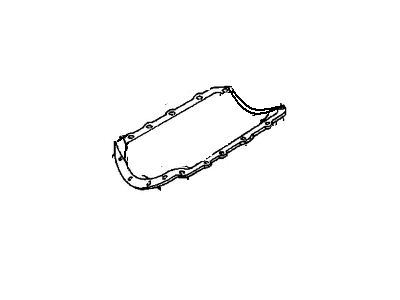
Part Number: 12557558$174.95 MSRP: $301.79You Save: $126.84 (43%)Ships in 1-3 Business DaysProduct Specifications- Other Name: PAN, Engine Oil; Oil Pan, Oil Pan Gasket
- Replaces: 12528916
- Item Weight: 7.50 Pounds
- Item Dimensions: 24.9 x 11.6 x 9.0 inches
- Condition: New
- Fitment Type: Direct Replacement
- SKU: 12557558
- Warranty: This genuine part is guaranteed by GM's factory warranty.
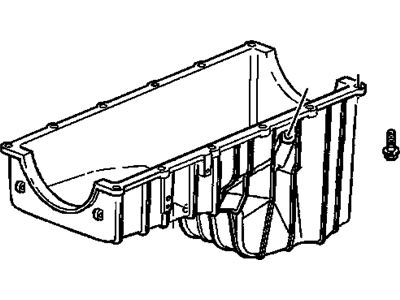
1991 Pontiac Firebird Oil Pan Assembly
Part Number: 10078999$73.94 MSRP: $149.08You Save: $75.14 (51%)Product Specifications- Other Name: Pan Assembly, Oil; Oil Pan
- Item Weight: 7.30 Pounds
- Item Dimensions: 9.9 x 9.1 x 18.4 inches
- Condition: New
- Fitment Type: Direct Replacement
- SKU: 10078999
- Warranty: This genuine part is guaranteed by GM's factory warranty.
1991 Pontiac Firebird Oil Pan
We are your prime source for competitively priced and high-quality OEM 1991 Pontiac Firebird Oil Pan. We provide you with parts that will allow you to save a lot of money without sacrificing quality. All our OEM parts are backed by the manufacturer's warranty and shipped out at a swift rate.
1991 Pontiac Firebird Oil Pan Parts Questions & Experts Answers
- Q: How to disconnect the cable from the negative battery terminal and remove the oil pan in V6 engine on 1991 Pontiac Firebird?A: Disconnect the cable from the negative battery terminal. For carbureted models, remove the air cleaner assembly, tagging each hose to be disconnected with a piece of numbered tape for easier reinstallation; for fuel injected models, remove the air intake duct. Remove the distributor cap to prevent damage when the engine is raised. Unbolt and remove the top half of the fan shroud. Raise the vehicle and support it on jack-stands. Drain the engine oil. Disconnect the exhaust crossover pipe at the exhaust manifold flanges, lower the exhaust pipes, and suspend them from the frame with wire. If equipped with an automatic transmission, remove the converter shroud; if equipped with a manual transmission, remove the flywheel cover. Remove the starter. Remove the throughbolt at each engine mount. Using an engine hoist, raise the engine to allow the oil pan to clear the crossmember, checking clearances all around the engine as it is raised, paying particular attention to the distributor and the cooling fan. Place wood blocks between the frame front crossmember and the engine block, ensuring they are approximately three inches thick. Lower the engine onto the wood blocks, making sure it is firmly supported, and if a hoist is being used, keep the lifting chains secured to the engine. Remove the oil pan bolts, noting the different sizes used and their locations, then remove the oil pan. Before installing the pan, ensure that the sealing surfaces on the pan, block, and front cover are clean and free of oil; if the old pan is being reinstalled, ensure that all sealant has been removed from the pan sealing flange and from the blind attaching holes. With all sealing surfaces clean, place a 1/8-inch bead of ATV sealant on the oil pan sealing flange. Lift the pan into position and install all bolts finger tight, tightening the end bolts first and then the remaining bolts working from the center out to the ends. Lower the engine onto the mounts and install the throughbolts, tightening them to the specified torque. Follow the removal steps in reverse order, fill the crankcase with the correct grade and quantity of oil, start the engine, and check for leaks.


