My Garage
My Account
Cart
Genuine 1994 Chevrolet Beretta Axle Shaft
Car Axle Shaft- Select Vehicle by Model
- Select Vehicle by VIN
Select Vehicle by Model
orMake
Model
Year
Select Vehicle by VIN
For the most accurate results, select vehicle by your VIN (Vehicle Identification Number).
16 Axle Shafts found
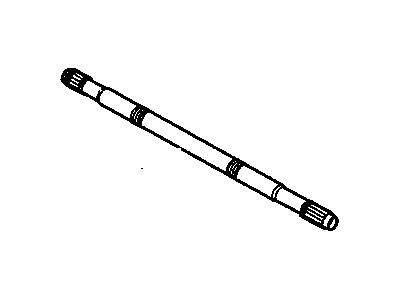
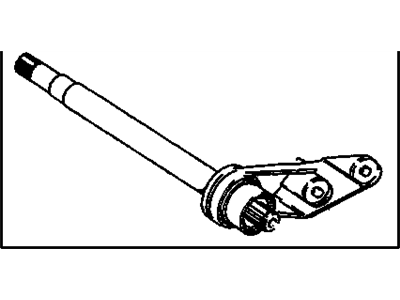
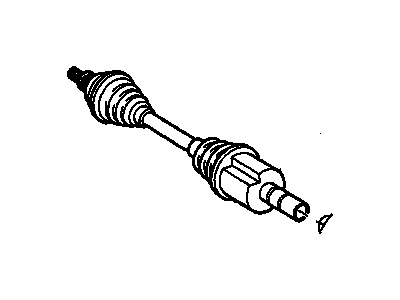
1994 Chevrolet Beretta Front Wheel Drive Axle Shaft
Part Number: 7845152$36.30 MSRP: $65.42You Save: $29.12 (45%)Product Specifications- Other Name: Shaft, Axle ; Shaft, Front Wheel Drive Axle; Axle Shaft, Shaft
- Position: Front
- Item Weight: 3.50 Pounds
- Item Dimensions: 19.3 x 2.0 x 2.0 inches
- Condition: New
- Fitment Type: Direct Replacement
- SKU: 7845152
- Warranty: This genuine part is guaranteed by GM's factory warranty.
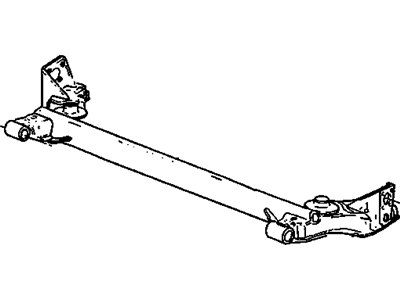
- Product Specifications
- Other Name: Axle, Rear Axle
- Position: Rear
- Condition: New
- Fitment Type: Direct Replacement
- SKU: 12353516
- Warranty: This genuine part is guaranteed by GM's factory warranty.
- Product Specifications
- Other Name: Axle, Rear Axle
- Position: Rear
- Condition: New
- Fitment Type: Direct Replacement
- SKU: 22592489
- Warranty: This genuine part is guaranteed by GM's factory warranty.
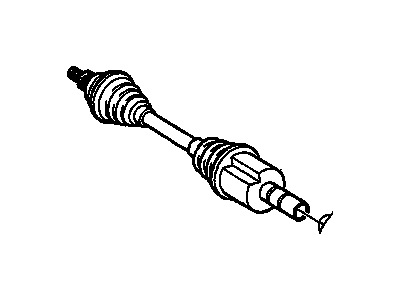
- Product Specifications
- Other Name: Shaft, Front Wheel Drive Axle; Axle Shaft
- Position: Front
- Condition: New
- Fitment Type: Direct Replacement
- SKU: 26003631
- Warranty: This genuine part is guaranteed by GM's factory warranty.
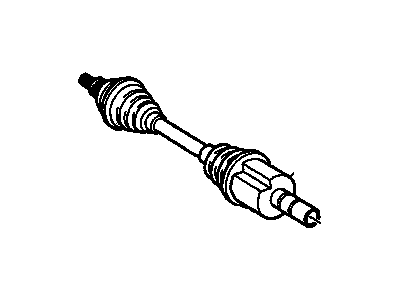
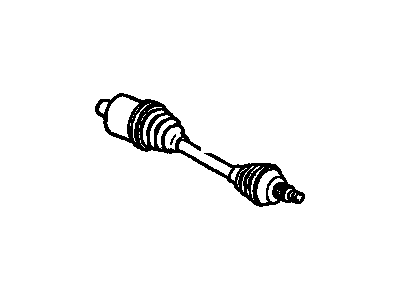
- Product Specifications
- Other Name: Shaft Kit, Front Wheel Drive Axle; Axle Assembly
- Position: Front
- Item Weight: 18.40 Pounds
- Item Dimensions: 29.9 x 5.6 x 5.6 inches
- Condition: New
- Fitment Type: Direct Replacement
- SKU: 26018512
- Warranty: This genuine part is guaranteed by GM's factory warranty.
- Product Specifications
- Other Name: Shaft, Front Wheel Drive Axle; Axle Shaft, Shaft
- Position: Front
- Condition: New
- Fitment Type: Direct Replacement
- SKU: 26039162
- Warranty: This genuine part is guaranteed by GM's factory warranty.
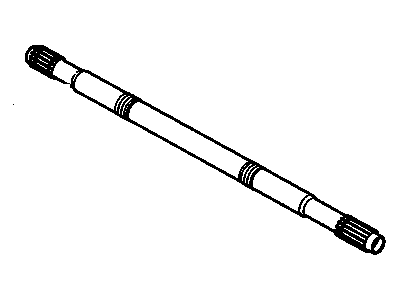
- Product Specifications
- Other Name: Shaft,Front Wheel Drive ; Shaft, Front Wheel Drive Axle; Axle Shaft, Shaft
- Position: Front
- Item Weight: 2.70 Pounds
- Item Dimensions: 19.2 x 3.7 x 3.7 inches
- Condition: New
- Fitment Type: Direct Replacement
- SKU: 26003632
- Warranty: This genuine part is guaranteed by GM's factory warranty.
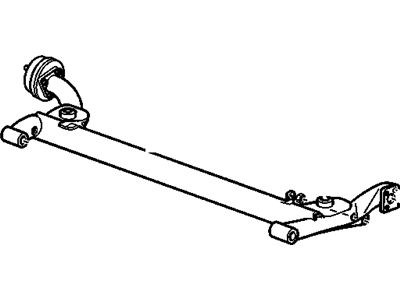
- Product Specifications
- Other Name: Axle Assembly, Rear (W/O Brake) ; Axle Assembly, Rr (W/O Brk)
- Position: Rear
- Replaces: 22567478
- Item Weight: 44.50 Pounds
- Item Dimensions: 54.0 x 20.8 x 7.4 inches
- Condition: New
- Fitment Type: Direct Replacement
- SKU: 12351583
- Warranty: This genuine part is guaranteed by GM's factory warranty.
- Product Specifications
- Other Name: Shaft Kit,Front Wheel Drive Intermediate; Intermed Shaft, Intermediate Shaft
- Position: Front
- Item Weight: 11.70 Pounds
- Item Dimensions: 19.3 x 9.9 x 6.2 inches
- Condition: New
- Fitment Type: Direct Replacement
- SKU: 26034381
- Warranty: This genuine part is guaranteed by GM's factory warranty.
- Product Specifications
- Other Name: Shaft Kit, Front Wheel Drive; Axle Assembly
- Position: Front
- Item Weight: 16.20 Pounds
- Item Dimensions: 29.9 x 5.6 x 5.7 inches
- Condition: New
- Fitment Type: Direct Replacement
- SKU: 26018514
- Warranty: This genuine part is guaranteed by GM's factory warranty.
- Product Specifications
- Other Name: Shaft Kit,Front Wheel Drive ; Shaft Kit, Front Wheel Drive Axle; Axle Assembly
- Position: Front
- Replaces: 26034302
- Item Weight: 17.30 Pounds
- Item Dimensions: 23.8 x 5.5 x 5.5 inches
- Condition: New
- Fitment Type: Direct Replacement
- SKU: 26059859
- Warranty: This genuine part is guaranteed by GM's factory warranty.
- Product Specifications
- Other Name: Shaft Kit, Front Wheel Drive; Axle Assembly, Drive Axle
- Position: Front
- Item Weight: 22.00 Pounds
- Item Dimensions: 43.2 x 6.0 x 5.9 inches
- Condition: New
- Fitment Type: Direct Replacement
- SKU: 26018516
- Warranty: This genuine part is guaranteed by GM's factory warranty.
- Product Specifications
- Other Name: Axle Assembly, Rear (W/O Brake); Axle, Axle Assembly, Axle Beam
- Position: Rear
- Item Weight: 46.40 Pounds
- Item Dimensions: 55.4 x 21.1 x 8.2 inches
- Condition: New
- Fitment Type: Direct Replacement
- SKU: 10150398
- Warranty: This genuine part is guaranteed by GM's factory warranty.
- Product Specifications
- Other Name: Shaft Kit, Front Wheel Drive; Axle Assembly, Drive Axle
- Position: Front
- Item Weight: 14.50 Pounds
- Item Dimensions: 25.1 x 5.9 x 5.8 inches
- Condition: New
- Fitment Type: Direct Replacement
- SKU: 26018515
- Warranty: This genuine part is guaranteed by GM's factory warranty.
- Product Specifications
- Other Name: Shaft Kit, Front Wheel Drive; Axle Assembly
- Position: Front
- Item Weight: 17.30 Pounds
- Item Dimensions: 24.5 x 5.4 x 5.4 inches
- Condition: New
- Fitment Type: Direct Replacement
- SKU: 26018511
- Warranty: This genuine part is guaranteed by GM's factory warranty.
- Product Specifications
- Other Name: Shaft Kit,Front Wheel Drive ; Shaft Kit, Front Wheel Drive Axle; Axle Assembly
- Position: Front
- Replaces: 26034303
- Item Weight: 16.30 Pounds
- Item Dimensions: 24.8 x 5.6 x 5.6 inches
- Condition: New
- Fitment Type: Direct Replacement
- SKU: 26059858
- Warranty: This genuine part is guaranteed by GM's factory warranty.
1994 Chevrolet Beretta Axle Shaft
We are your prime source for competitively priced and high-quality OEM 1994 Chevrolet Beretta Axle Shaft. We provide you with parts that will allow you to save a lot of money without sacrificing quality. All our OEM parts are backed by the manufacturer's warranty and shipped out at a swift rate.
1994 Chevrolet Beretta Axle Shaft Parts Questions & Experts Answers
- Q: How Should the Right Driveaxle and Axle Shaft Be Removed and Replaced on 1994 Chevrolet Beretta?A: Loosen the right front wheel lug nuts, raise the front of the vehicle, and support it securely on jackstands. Apply the parking brake and block the rear wheels to prevent rolling off the jackstands, then remove the wheel. Disconnect the stabilizer bar from the right control arm, remove the balljoint stud nut, and separate the control arm from the steering knuckle. Pull the inner end of the right driveaxle out of the intermediate shaft and support it with a piece of wire to avoid damage to the outer CV joint. Disconnect the detonation sensor electrical connector and remove the sensor. Remove the power steering pump brace, then take out the intermediate shaft bracket bolts and pull the shaft out of the transaxle. For installation, lubricate the lips of the differential seal with multi-purpose grease and slide the intermediate shaft into the transaxle, installing and tightening the bolts to the specified torque. Reinstall the power steering pump brace, the detonation sensor, and reconnect the electrical connector. Apply multi-purpose grease to the intermediate shaft splines and install the driveaxle in the shaft. Insert the balljoint stud into the steering knuckle and tighten the nut, ensuring a new cotter pin is used. Finally, install the stabilizer bar-to-control arm bolt, then install the wheel and tire, tightening the lug nuts to the specified torque.
