My Garage
My Account
Cart
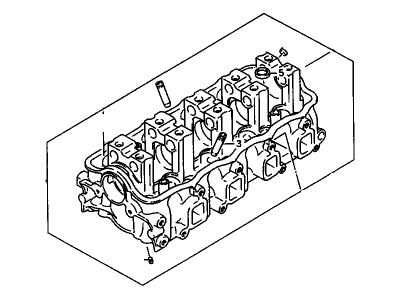
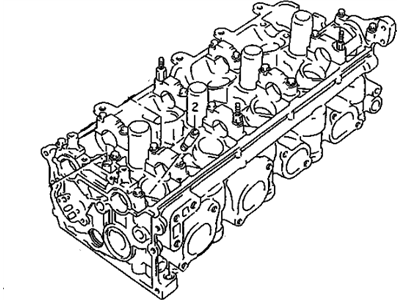
Genuine 1999 Chevrolet Tracker Cylinder Head
Head- Select Vehicle by Model
- Select Vehicle by VIN
Select Vehicle by Model
orMake
Model
Year
Select Vehicle by VIN
For the most accurate results, select vehicle by your VIN (Vehicle Identification Number).
2 Cylinder Heads found
- Product Specifications
- Other Name: Head Asm,Cylinder (On Esn) ; Head, Engine Cylinder; Cylinder Head
- Replaces: 96068566
- Item Weight: 21.60 Pounds
- Item Dimensions: 19.1 x 8.6 x 8.1 inches
- Condition: New
- Fitment Type: Direct Replacement
- SKU: 91177344
- Warranty: This genuine part is guaranteed by GM's factory warranty.
- Product Specifications
- Other Name: Head Asm,Cylinder (On Esn) ; Head, Engine Cylinder; Cylinder Head
- Replaces: 91177126, 91175492
- Item Weight: 29.30 Pounds
- Item Dimensions: 19.5 x 9.5 x 8.6 inches
- Condition: New
- Fitment Type: Direct Replacement
- SKU: 91177444
- Warranty: This genuine part is guaranteed by GM's factory warranty.
1999 Chevrolet Tracker Cylinder Head
We are your prime source for competitively priced and high-quality OEM 1999 Chevrolet Tracker Cylinder Head. We provide you with parts that will allow you to save a lot of money without sacrificing quality. All our OEM parts are backed by the manufacturer's warranty and shipped out at a swift rate.
1999 Chevrolet Tracker Cylinder Head Parts Questions & Experts Answers
- Q: How to reassemble the Cylinder Head after valve service on 1999 Chevrolet Tracker?A: Regardless of whether or not the head was sent to an automotive repair shop for valve servicing, make sure it's clean before beginning reassembly. If the head was sent out for valve servicing, the valves and related components will already be in place. Install new seals on each of the valve guides. Using a hammer and a deep socket or seal installation tool, gently tap each seal into place until it's completely seated on the guide. Don't twist or cock the seals during installation or they won't seal properly on the valve stems. Beginning at one end of the head, lubricate and install the first valve. Apply moly-base grease or clean engine oil to the valve stem. Drop the spring seat or shim(s) (if used) over the valve guide and set the valve spring(s) and retainer in place. On DOHC engines, make sure that the inner and outer springs are installed with the large-pitch end at the top of the spring and the small-pitch end at the bottom. Compress the springs with a valve spring compressor and carefully install the keepers in the groove, then slowly release the compressor and make sure the keepers seat properly. Apply a small dab of grease to each keeper to hold it in place if necessary. Repeat the procedure for the remaining valves. Be sure to return the components to their original locations-don't mix them up! Check the installed valve spring height with a ruler graduated in 1/32-inch increments or a dial caliper. If the head was sent out for service work, the installed height should be correct (but don't automatically assume that it is). The measurement is taken from the top of each spring seat or shim(s) to the bottom of the retainer. If the height is greater than specified, shims can be added under the springs to correct it. Caution: Don't, under any circumstances, shim the springs to the point where the installed height is less than specified. Apply moly-base grease to the rocker arm faces and the camshaft, then install the camshaft, rocker arms, springs and shafts. On 16-valve engines, tighten the bearing caps to the torque. Reinstall the distributor case, using a new O-ring.


