My Garage
My Account
Cart
Genuine 2005 Chevrolet Trailblazer Oil Pan
Oil Drain Pan- Select Vehicle by Model
- Select Vehicle by VIN
Select Vehicle by Model
orMake
Model
Year
Select Vehicle by VIN
For the most accurate results, select vehicle by your VIN (Vehicle Identification Number).
2 Oil Pans found
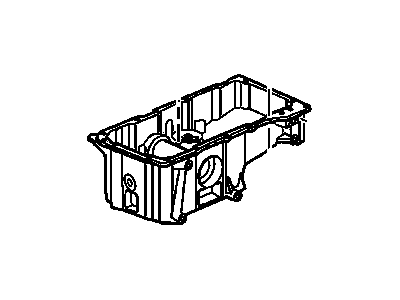
2005 Chevrolet Trailblazer Oil Pan Assembly
Part Number: 12613437$316.51 MSRP: $523.85You Save: $207.34 (40%)Ships in 1-3 Business DaysProduct Specifications- Other Name: PAN, Engine Oil; Oil Pan
- Replaces: 12579723, 12624620
- Item Weight: 23.10 Pounds
- Item Dimensions: 26.6 x 12.6 x 13.0 inches
- Condition: New
- Fitment Type: Direct Replacement
- SKU: 12613437
- Warranty: This genuine part is guaranteed by GM's factory warranty.
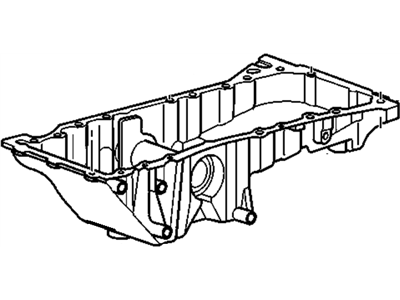
2005 Chevrolet Trailblazer Oil Pan
Part Number: 12584321$220.43 MSRP: $348.26You Save: $127.83 (37%)Product Specifications- Other Name: PAN, Engine Oil; Oil Pan
- Item Weight: 22.30 Pounds
- Item Dimensions: 33.7 x 16.2 x 10.1 inches
- Condition: New
- Fitment Type: Direct Replacement
- SKU: 12584321
- Warranty: This genuine part is guaranteed by GM's factory warranty.
2005 Chevrolet Trailblazer Oil Pan
We are your prime source for competitively priced and high-quality OEM 2005 Chevrolet Trailblazer Oil Pan. We provide you with parts that will allow you to save a lot of money without sacrificing quality. All our OEM parts are backed by the manufacturer's warranty and shipped out at a swift rate.
2005 Chevrolet Trailblazer Oil Pan Parts Questions & Experts Answers
- Q: How to remove and install the oil pan in V8 engine on 2005 Chevrolet Trailblazer?A: To remove the oil pan, first disconnect the cable from the negative terminal of the battery. Raise the vehicle securely on jackstands, drain the engine oil, and remove the oil filter. If equipped, take off the oil pan skid plate and the lower control arm crossmember by removing the bolts. For 4WD vehicles, unbolt and lower the front differential carrier with a floor jack. Disconnect the front exhaust Y pipe from the engine and exhaust system, which is not absolutely necessary but will facilitate oil pan removal. Remove the starter motor and, for 2005-on models, the air conditioning compressor. Detach the wiring harness bracket from the front of the oil pan and the bracket on the passenger side securing the transmission oil cooler lines and starter motor wiring, and disconnect the electrical connector from the oil level sensor. Remove the transmission to oil pan bolts, and if equipped, the engine oil cooler lines and adapter from the driver's side of the oil pan. Take out the access plugs covering the fasteners at the rear of the oil pan, then remove all oil pan bolts and lower the pan from the engine, using a rubber mallet if necessary to break the gasket seal. Before applying force, ensure all bolts are removed, and carefully slide the oil pan down and out to the rear. For installation, drill out the rivets securing the old oil pan gasket and clean the oil pan with solvent. Clean the mounting surfaces of the oil pan and engine block, then apply a bead of RTV sealant to the corners where the front and rear covers meet the engine block. Attach the new gasket to the pan, install the pan, and tighten the bolts lightly, ensuring the oil gallery passages are aligned. Measure the distance between the rear face of the pan and the front face of the transmission bellhousing, ensuring the clearance is acceptable before tightening the pan bolts/studs in sequence to the specified torque. The rear of the oil pan should not protrude rearward of the bellhousing plane of the block. Complete the installation by reversing the removal steps, tightening the bolts to the specified torque, adding the correct type and quantity of oil, starting the engine, and checking for leaks before returning the vehicle to service.


