My Garage
My Account
Cart
Genuine 2006 Pontiac G6 Crankshaft Seal
- Select Vehicle by Model
- Select Vehicle by VIN
Select Vehicle by Model
orMake
Model
Year
Select Vehicle by VIN
For the most accurate results, select vehicle by your VIN (Vehicle Identification Number).
4 Crankshaft Seals found
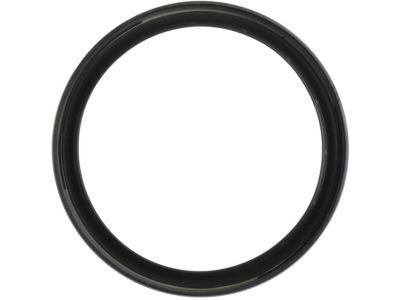
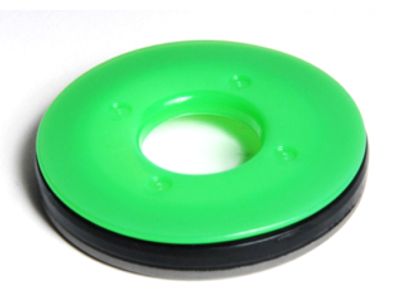
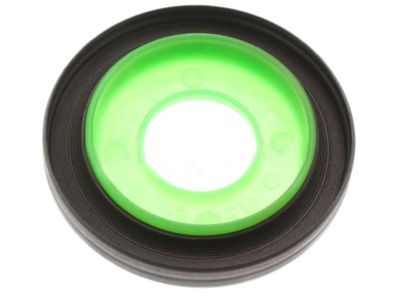
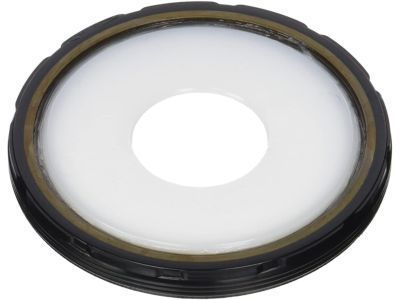
2006 Pontiac G6 Seal Assembly, Crankshaft Rear Oil
Part Number: 12591866$21.33 MSRP: $36.17You Save: $14.84 (42%)Product Specifications- Other Name: SEAL, Engine Rear Main Bearing; Rear Main Seal
- Position: Rear
- Replaces: 90298408, 90325572, 90280462, 90354378
- Item Weight: 0.30 Pounds
- Item Dimensions: 4.5 x 4.4 x 1.1 inches
- Condition: New
- Fitment Type: Direct Replacement
- SKU: 12591866
- Warranty: This genuine part is guaranteed by GM's factory warranty.
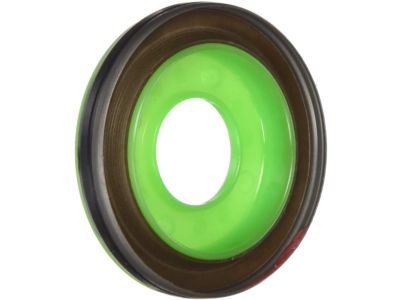
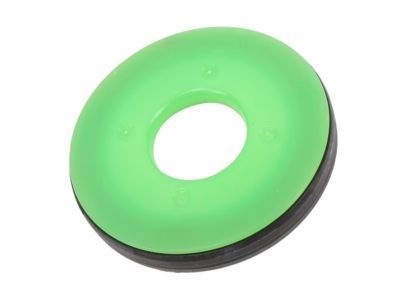
2006 Pontiac G6 Seal, Crankshaft Front Oil
Part Number: 12584041$9.08 MSRP: $15.04You Save: $5.96 (40%)Ships in 1-3 Business DaysProduct Specifications- Other Name: SEAL, Engine Front Cover & Crankshaft Seal
- Position: Front
- Replaces: 12580989, 55564509, 12609467, 90571925
- Item Weight: 0.30 Pounds
- Item Dimensions: 2.8 x 2.8 x 0.5 inches
- Condition: New
- Fitment Type: Direct Replacement
- SKU: 12584041
- Warranty: This genuine part is guaranteed by GM's factory warranty.
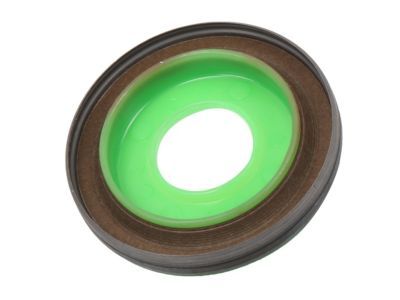
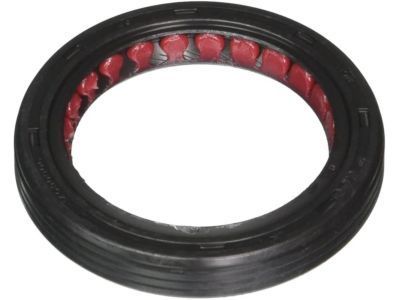
2006 Pontiac G6 Seal,Crankshaft Front Oil
Part Number: 14090906$18.33 MSRP: $30.33You Save: $12.00 (40%)Ships in 1-2 Business DaysProduct Specifications- Other Name: SEAL, Engine Front Cover & Crankshaft Seal
- Position: Front
- Replaces: 12577710
- Item Weight: 0.30 Pounds
- Item Dimensions: 3.0 x 3.0 x 0.5 inches
- Condition: New
- Fitment Type: Direct Replacement
- SKU: 14090906
- Warranty: This genuine part is guaranteed by GM's factory warranty.
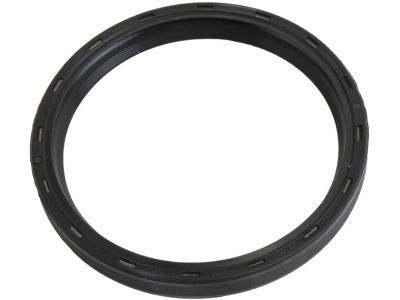
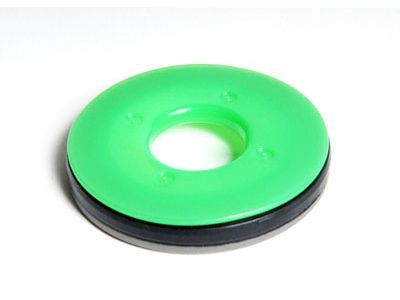
2006 Pontiac G6 Seal Assembly, Crankshaft Rear Oil
Part Number: 12592195$44.81 MSRP: $76.64You Save: $31.83 (42%)Ships in 1-2 Business DaysProduct Specifications- Other Name: SEAL KIT, Engine Rear Main Bearing
- Position: Rear
- Replaces: 14085829
- Item Weight: 0.40 Pounds
- Item Dimensions: 4.3 x 4.1 x 0.5 inches
- Condition: New
- Fitment Type: Direct Replacement
- SKU: 12592195
- Warranty: This genuine part is guaranteed by GM's factory warranty.
2006 Pontiac G6 Crankshaft Seal
We are your prime source for competitively priced and high-quality OEM 2006 Pontiac G6 Crankshaft Seal. We provide you with parts that will allow you to save a lot of money without sacrificing quality. All our OEM parts are backed by the manufacturer's warranty and shipped out at a swift rate.
2006 Pontiac G6 Crankshaft Seal Parts Questions & Experts Answers
- Q: How to replace the rear crankshaft seal assembly in 3.6L V6 engine on 2006 Pontiac G6?A: At the time of publication, the rear Crankshaft Seal is supplied as an assembly consisting of the oil seal and housing. The manufacturer recommends removing the oil pan and using special studs EN 46109, seal alignment tool EN 47839, and handle J 42183 to ensure correct alignment of the seal, with these tools available through GM dealers and specialty automotive tool suppliers. Begin by disconnecting the cable from the negative battery terminal. Next, remove the driveplate and then the oil pan, as this method is recommended to ensure correct alignment of the Crankshaft Seal housing. Afterward, remove the retaining bolts and take off the seal housing from the engine, using a knife if necessary to cut the sealant away from the joint between the rear Crankshaft Seal housing and the cylinder block, while being cautious not to scratch the machined faces of the components. Thoroughly clean the mounting surfaces of the oil pan, rear Crankshaft Seal housing, and engine block of old gasket material and sealer, wiping the gasket surfaces with a rag soaked in brake system cleaner. Install the two dowels into the Crankshaft Seal housing bolt holes, then apply a 1/8-inch wide bead of RTV sealant around the sealing area of the Crankshaft Seal housing, passing on the inside of the bolt holes. Next, install the special alignment tool EN 47839 on the rear of the crankshaft, attaching it with the two supplied screws, and then install the Crankshaft Seal housing over the alignment tool and studs onto the rear of the engine block, removing the guide studs but leaving the alignment tool in place. Install the housing bolts and tighten them to the specified torque before removing the alignment tool. The remainder of the installation follows the reverse order of removal, after which add oil as necessary, run the engine, and check for leaks.
