
My Garage
My Account
Cart
Genuine 2006 Saturn Vue Intake Manifold
Engine Intake Manifold- Select Vehicle by Model
- Select Vehicle by VIN
Select Vehicle by Model
orMake
Model
Year
Select Vehicle by VIN
For the most accurate results, select vehicle by your VIN (Vehicle Identification Number).
4 Intake Manifolds found
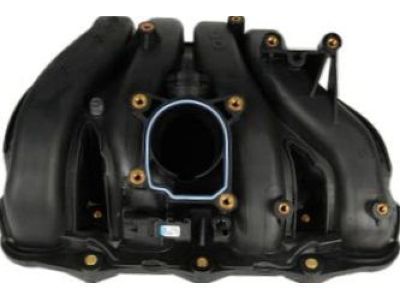
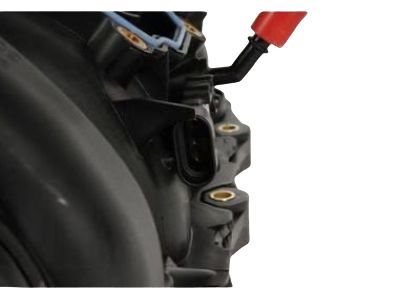
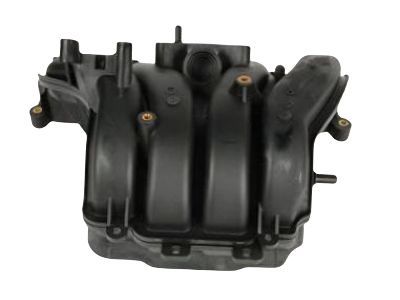
2006 Saturn Vue Intake Manifold Assembly
Part Number: 12608305$95.53 MSRP: $147.94You Save: $52.41 (36%)Product Specifications- Other Name: MANIFOLD, Engine Fuel Intake Manifold; Intake Manifold
- Replaces: 12587202, 24467211
- Item Weight: 6.10 Pounds
- Item Dimensions: 9.5 x 18.5 x 13.3 inches
- Condition: New
- Fitment Type: Direct Replacement
- SKU: 12608305
- Warranty: This genuine part is guaranteed by GM's factory warranty.
 Product Specifications
- Other Name: Intake Manifold
- Item Weight: 3.40 Pounds
- Item Dimensions: 14.3 x 6.4 x 6.4 inches
- Condition: New
- Fitment Type: Direct Replacement
- SKU: 12597465
- Warranty: This genuine part is guaranteed by GM's factory warranty.
- Product Specifications
- Other Name: MANIFOLD, Engine Fuel Intake Manifold; Intake Manifold
- Item Weight: 15.80 Pounds
- Item Dimensions: 20.1 x 18.8 x 6.9 inches
- Condition: New
- Fitment Type: Direct Replacement
- SKU: 12612726
- Warranty: This genuine part is guaranteed by GM's factory warranty.
- Product Specifications
- Other Name: MANIFOLD, Engine Fuel Intake Manifold; Intake Manifold
- Item Weight: 3.60 Pounds
- Item Dimensions: 14.0 x 6.6 x 6.4 inches
- Condition: New
- Fitment Type: Direct Replacement
- SKU: 12597466
- Warranty: This genuine part is guaranteed by GM's factory warranty.
2006 Saturn Vue Intake Manifold
We are your prime source for competitively priced and high-quality OEM 2006 Saturn Vue Intake Manifold. We provide you with parts that will allow you to save a lot of money without sacrificing quality. All our OEM parts are backed by the manufacturer's warranty and shipped out at a swift rate.
2006 Saturn Vue Intake Manifold Parts Questions & Experts Answers
- Q:How to remove and install the upper and lower intake manifolds and spacers in 3.5L V6 engine on 2006 Saturn Vue?Posted by Malcolm Z.A:Before removing the upper intake manifold and spacer, depress the fuel pressure, if the lower intake manifold is to be removed as well. Let the cable on the negative terminal of the battery loose, and then remove the breather hose as well as the air intake duct. Remove the vacuum hoses and other joineries that is connected to the throttle body then remove the throttle body. Then, unbolt the brake booster hose and the PCV hoses from the intake manifold and remove the interfering engine harness connectors that are to be refitted and tag them accordingly. Take out the air outlet duct bracket and the intake manifold cover. The bolts and nuts are to be removed in the reverse of the tightening sequence, which will free the upper intake manifold from the engine and spacer and gaskets can also be removed. For the installation, remove the old gasket from the studs of the lower manifold and clean the mounting surfaces of both manifolds, This is followed by putting on a new gasket over the studs on the lower manifold before putting on the spacer then followed by the upper intake manifold where all the fasteners have to be tightened in a cycle in the manner described above while using the specified torque. Engine intake manifold cover should be installed with a new gasket; the bolts should be tightened taking into account the recommended sequence. Connect the battery, look at the coolant level and if none add it. For the lower intake manifolds, first the upper intake manifold and spacer plate has to be removed, next fuel rails and injectors. Remove the two lower intake manifold sections from the cylinder heads with care so as not to mar the gasket surfaces. Scrape the layers of gasket material off and clean the flanges of both manifolds and cylinder heads; then apply new gaskets and place the lower manifolds across the dowel pins. Tighten it slowly towards the end in order to avoid the warping of the fasteners and then fit the upper intake manifold. Last but not the least, one can check the coolant level and rev up the engine to ensure there is no leakage.Answered by GM Parts Specialist Henry / Sep 11, 2025
