My Garage
My Account
Cart
Genuine Buick Century Brake Pedal
Brake Pedal Pad- Select Vehicle by Model
- Select Vehicle by VIN
Select Vehicle by Model
orMake
Model
Year
Select Vehicle by VIN
For the most accurate results, select vehicle by your VIN (Vehicle Identification Number).
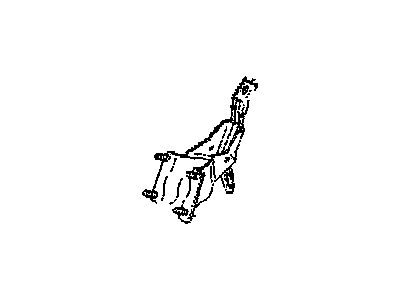
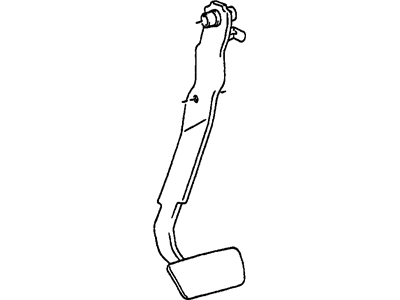
3 Brake Pedals found
Buick Century Brake Pedal
Each OEM Buick Century Brake Pedal we offer is competitively priced and comes with the assurance of the manufacturer's warranty for the part. Furthermore, we guarantee the speedy delivery of your orders right to your doorstep. Our hassle-free return policy is also in place for your peace of mind.
Buick Century Brake Pedal Parts Questions & Experts Answers
- Q: How can I adjust the brakes and brake pedal on Buick Century?A:Because disc brakes automatically adjust themselves, no adjustments are possible. Like all Century drum brakes, you won't need to adjust them unless you use them to stop backing up several times. To make further adjustments or when replacing the brakes, lift your car, place it on jackstands, remove the backing plate's rubber plug, and from there proceed with manual adjustment. Slide a brake adjusting spoon into the horizontal slot and press down to turn the last locking starwheel tooth, until the brake locks the wheel. Move the automatic lever with a small screwdriver or firm wire. Keep it pushed to the side while you use the spoon to grasp the star wheel's topmost tooth and pull to open the adjusting screw, letting the wheel turn easily with readjustment. Remember to count your turns. Push back the adjusting lever the same number of turns on each brake to keep them from pulling the wheel in different directions. First, adapt and center the brake cables. After that, check each brake system again to make sure their pulling power matches. Finally, drive slowly forward by backing up multiple times to level all four wheels. The trip to the brake pedal should be checked with the pedal kept in a firm position when the brakes are not active yet, meeting these measurements: 2¼ inches for 1975-84 cars, 3¾ inches for 1985-87 autos, and 31/J inches for hydro-boost equipped vehicles when cold. When using power brakes, first pump your brakes three times without starting the car, then measure. To fix the pedal height, remove the screw under the dash holding the push rod to the brake pedal, pull the push rod from the pedal, loosen the adjusting nut below it, and adjust the push rod to the desired position. When you've checked and fix your travel issue, redo the removal steps.
Related Buick Century Parts
Browse by Year
2005 Brake Pedal 2004 Brake Pedal 2003 Brake Pedal 2002 Brake Pedal 2001 Brake Pedal 2000 Brake Pedal 1999 Brake Pedal 1998 Brake Pedal 1997 Brake Pedal 1996 Brake Pedal 1995 Brake Pedal 1994 Brake Pedal 1993 Brake Pedal 1992 Brake Pedal 1991 Brake Pedal 1990 Brake Pedal 1989 Brake Pedal 1988 Brake Pedal 1987 Brake Pedal


