My Garage
My Account
Cart
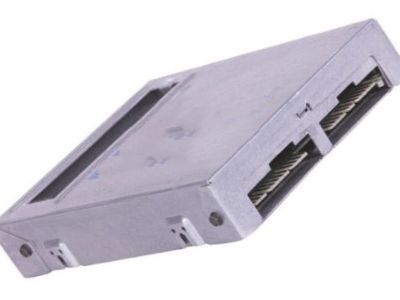
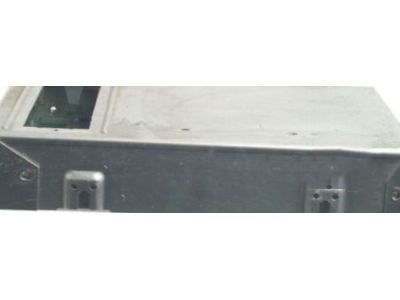
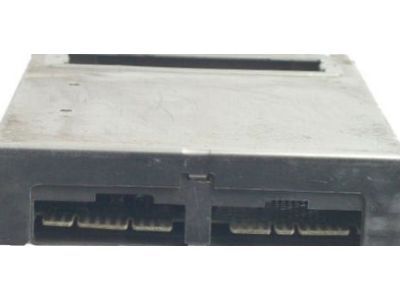
Genuine Buick Century Engine Control Module
Engine Control Computer- Select Vehicle by Model
- Select Vehicle by VIN
Select Vehicle by Model
orMake
Model
Year
Select Vehicle by VIN
For the most accurate results, select vehicle by your VIN (Vehicle Identification Number).
34 Engine Control Modules found
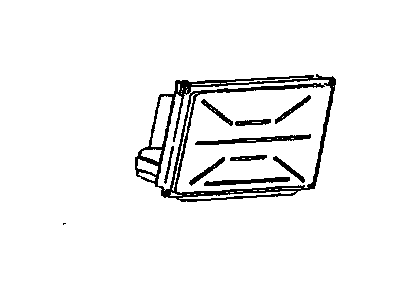
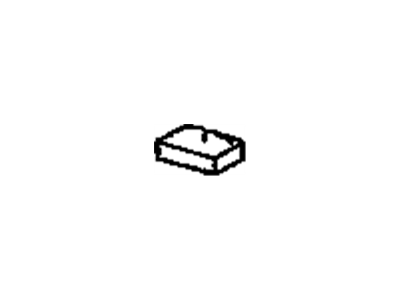
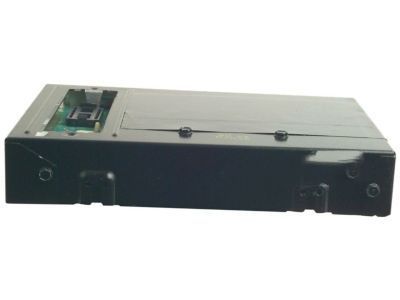
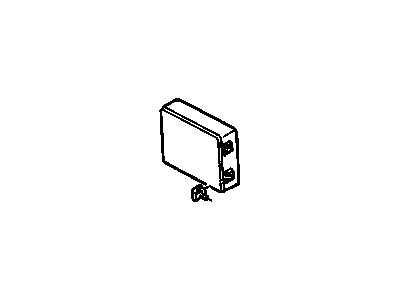
Buick Century Engine Control Module Assembly (Remanufacture)
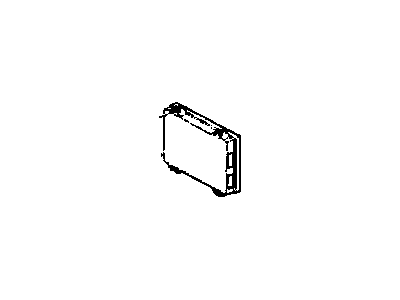
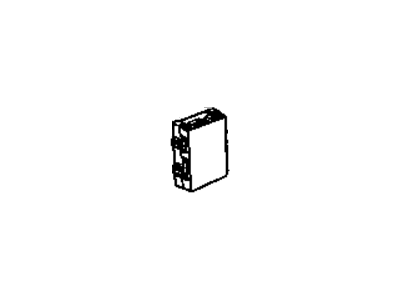
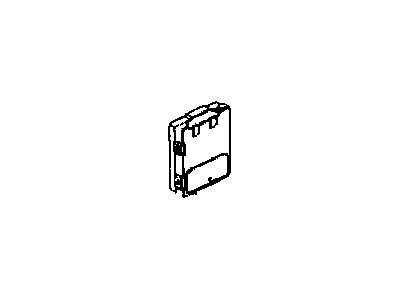
Part Number: 88999112$107.29 MSRP: $201.52You Save: $94.23 (47%)Buick Century Engine Control Module Assembly (Remanufacture)
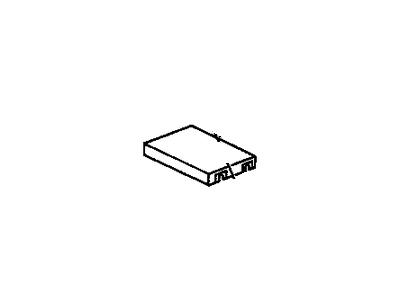
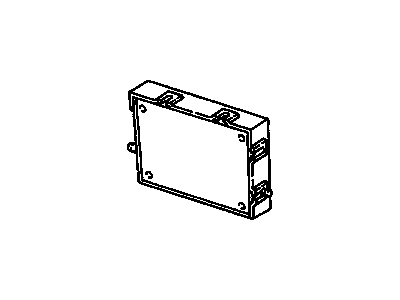
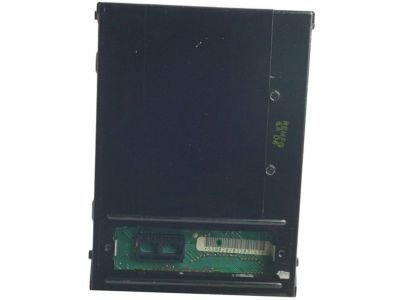
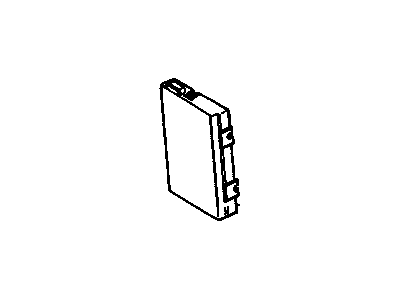
Part Number: 88999170$122.22 MSRP: $228.82You Save: $106.60 (47%)Ships in 1-2 Business DaysBuick Century Engine Control Module Assembly (Remanufacture)
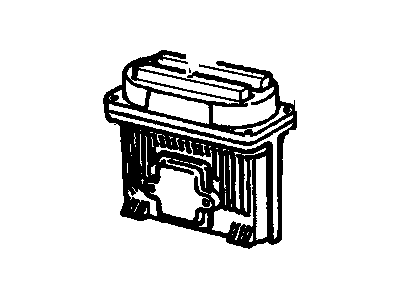
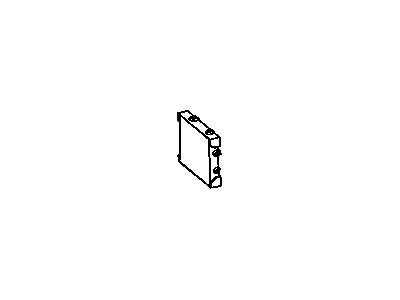
Part Number: 88999123$65.28 MSRP: $182.68You Save: $117.40 (65%)Buick Century Powertrain Control Module (Remanufacture)
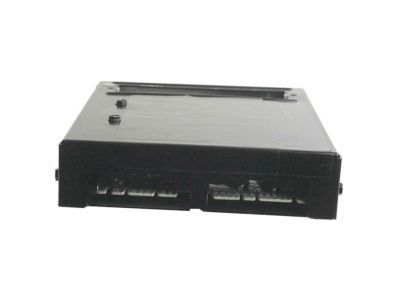
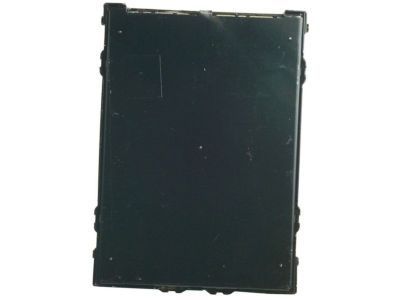
Part Number: 16215830$138.40 MSRP: $261.14You Save: $122.74 (47%)Ships in 1-2 Business DaysBuick Century Powertrain Control Module (Remanufacture)
Part Number: 12583827$452.53 MSRP: $918.86You Save: $466.33 (51%)Ships in 1-2 Business DaysBuick Century Engine Control Module Assembly (Remanufacture)
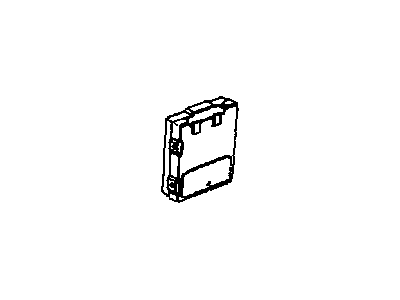
Part Number: 88963804$73.61 MSRP: $203.04You Save: $129.43 (64%)Ships in 1-2 Business DaysBuick Century Engine Control Module Assembly (Remanufacture)
Part Number: 88999110$101.15 MSRP: $190.66You Save: $89.51 (47%)Buick Century Powertrain Control Module Assembly (Remanufacture)
Part Number: 88961140$117.03 MSRP: $218.12You Save: $101.09 (47%)Ships in 1-2 Business DaysBuick Century Engine Control Module Assembly (Remanufacture)
Part Number: 88999111$112.43 MSRP: $211.94You Save: $99.51 (47%)Buick Century Engine Control Module Assembly (Re manufactured)
Part Number: 1226864$67.37 MSRP: $189.14You Save: $121.77 (65%)Ships in 1-2 Business DaysBuick Century Powertrain Control Module Assembly (Remanufacture) Requires Reprogramming
Part Number: 88963800$147.49 MSRP: $275.77You Save: $128.28 (47%)Ships in 1-2 Business DaysBuick Century Engine Control Module Assembly (Remanufacture) Requires Reprogramming
Part Number: 88999204$152.72 MSRP: $282.81You Save: $130.09 (46%)Ships in 1-2 Business DaysBuick Century Engine Control Module Assembly (Remanufacture)
Part Number: 88999147$105.45 MSRP: $197.18You Save: $91.73 (47%)Buick Century Engine Control Module Assembly (Remanufacture)
Part Number: 88999199$122.04 MSRP: $224.92You Save: $102.88 (46%)Ships in 1-2 Business DaysBuick Century Engine Control Module Assembly (Remanufacture)
Part Number: 88999107$92.07 MSRP: $173.52You Save: $81.45 (47%)Buick Century Engine Control Module Assembly (Remanufacture)
Part Number: 88999119$111.32 MSRP: $207.34You Save: $96.02 (47%)Buick Century Engine Control Module Assembly (Remanufacture)
Part Number: 88999121$101.16 MSRP: $181.12You Save: $79.96 (45%)Buick Century Engine Control Module Assembly (Remanufacture)
Part Number: 88999101$98.34 MSRP: $176.21You Save: $77.87 (45%)Buick Century Engine Control Module (Remanufacture)
Part Number: 88999196$152.82 MSRP: $271.95You Save: $119.13 (44%)
| Page 1 of 2 |Next >
1-20 of 34 Results
Buick Century Engine Control Module
Engine control module of Buick Century automobile works as a central processor which decides the amount of effort displayed by many component after interpreting data from sensors. This module helps to change the air and fuel mixture, regulates the ignition and controls the idling speed for proper working of engines. The ECM can also be called the Engine Control Unit ECU or where the transmission control is incorporated the Power train Control Module PCM. During the years Buick Century has incorporated various types of ECMs ranging from integrated circuits, simple microprocessors on the body control, to complex system microprocessors. These modern given ECMs enable constant monitoring and adjustment on performance, and modifications made to parts. options for a Buick Century Engine Control Module are new or remanufactured all with attention to the model of the specific car that is being worked on.
Each OEM Buick Century Engine Control Module we offer is competitively priced and comes with the assurance of the manufacturer's warranty for the part. Furthermore, we guarantee the speedy delivery of your orders right to your doorstep. Our hassle-free return policy is also in place for your peace of mind.
Buick Century Engine Control Module Parts Questions & Experts Answers
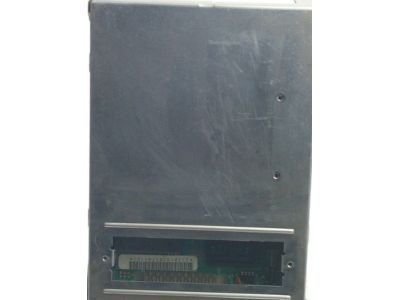
- Q: Where is the engine control module located and what are the key components and procedures involved in its replacement on Buick Century?A:The multicube or the electronic control module according to the make and model of the car is located on the front passenger side at the back of the instrument panel. Depending on the specific car models that the ECM is designed for, the calibrated or built-in PROM contains specific information about the car's weight, make and model of the engine, transmission type and axle ration. Original equipment numbers should be confirmed in order to prevent the installation of a non-related PROM because units referred to as controllers, replacements for the ECM, do not include a PROM. It will be important that the PROM from the old ECM that is being married to the new unit is delicately removed and then put in place. Also, on the same access cover as the PROM but in the form of a calpak which can deliver fuel if there are issues with other ECM parts. In the case of a faulty ECM, the PROM should be checked for correctness as trouble code 51 mean incorrect installation. If the ECM is being replaced, it is mandatory to manually enter the broadcast code and the production ECM number on a new part label put on the new ECM, but nothing to be recorded on the cover of the ECM. Before the ECM can be removed, the battery must be disconnected, the wiring harness and mounting brackets and screws must be disconnected as well as removed before pulling the ECM out of the passengers compartment. The PROM and calpak are located under the access cover that is located on the top of the control unit. Rocker type PROM removal tool should be inserted by engaging one end of the PROM carrier with the tool and pressing on the vertical bar and then rocked upwards by the engaged end of the PROM carrier. Same operations are to be performed at the other end till the PROM carrier and PROM are out of the socket and a removal tool is used to avoid damage on the PROM or socket.
Related Buick Century Parts
Browse by Year
2005 Engine Control Module 2004 Engine Control Module 2003 Engine Control Module 2000 Engine Control Module 1998 Engine Control Module 1997 Engine Control Module 1996 Engine Control Module 1995 Engine Control Module 1994 Engine Control Module 1993 Engine Control Module 1992 Engine Control Module 1991 Engine Control Module 1990 Engine Control Module 1989 Engine Control Module 1988 Engine Control Module 1987 Engine Control Module 1986 Engine Control Module 1985 Engine Control Module 1984 Engine Control Module 1983 Engine Control Module 1982 Engine Control Module
