My Garage
My Account
Cart
Genuine Buick LaCrosse Trailing Arm
Trailing Control Arm- Select Vehicle by Model
- Select Vehicle by VIN
Select Vehicle by Model
orMake
Model
Year
Select Vehicle by VIN
For the most accurate results, select vehicle by your VIN (Vehicle Identification Number).
20 Trailing Arms found
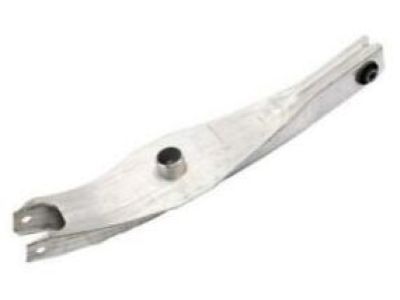
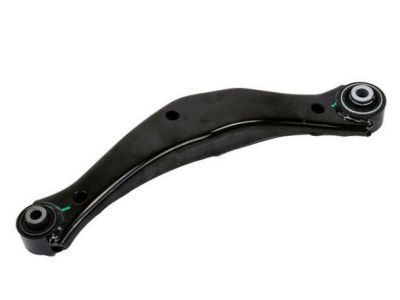
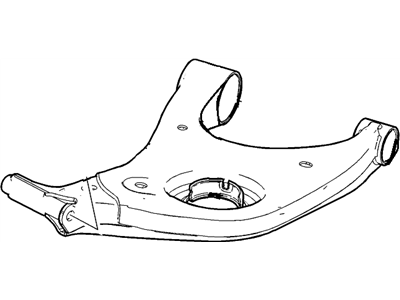
Buick LaCrosse Rear Lower Suspension Control Arm Assembly
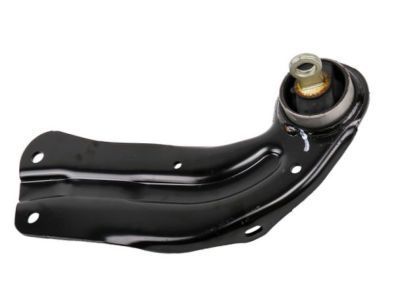
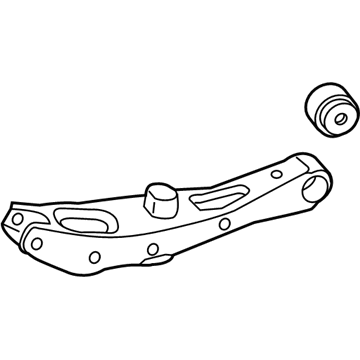
Part Number: 13219164$57.00 MSRP: $97.48You Save: $40.48 (42%)Ships in 1-2 Business DaysBuick LaCrosse Rear Suspension Trailing Arm Assembly
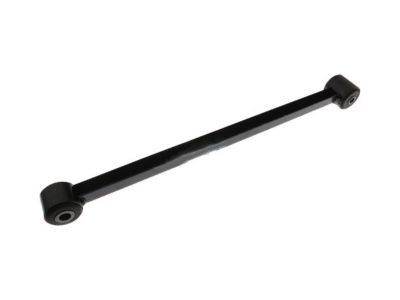
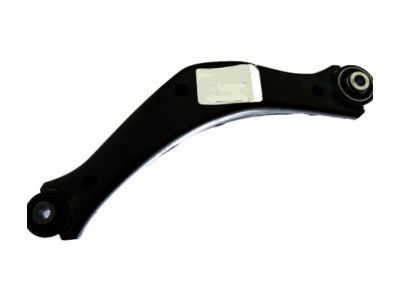
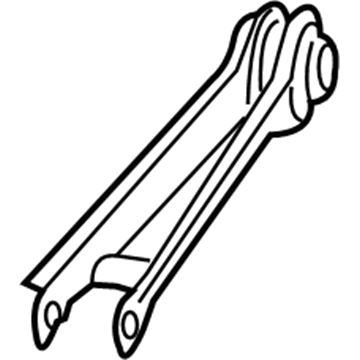
Part Number: 15820927$60.40 MSRP: $102.38You Save: $41.98 (41%)Ships in 1-2 Business DaysBuick LaCrosse Rear Upper Suspension Control Arm Assembly
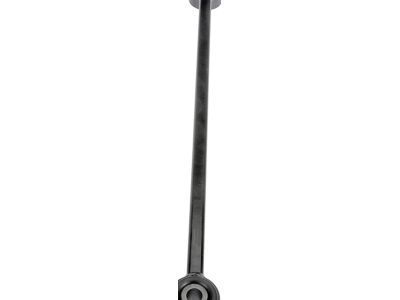
Part Number: 20900531$107.64 MSRP: $188.43You Save: $80.79 (43%)Ships in 1-2 Business DaysBuick LaCrosse Rear Upper Suspension Control Arm Assembly
Part Number: 23216530$136.33 MSRP: $236.63You Save: $100.30 (43%)Ships in 1-2 Business DaysBuick LaCrosse Rear Suspension Control Arm Assembly
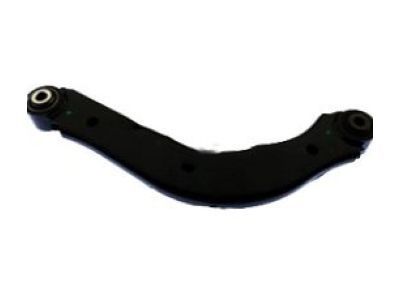
Part Number: 22927292$81.42 MSRP: $199.56You Save: $118.14 (60%)Ships in 1-2 Business DaysBuick LaCrosse Rear Suspension Trailing Arm Assembly
Part Number: 25990164$35.81 MSRP: $59.27You Save: $23.46 (40%)Ships in 1-2 Business DaysBuick LaCrosse Rear Upper Suspension Control Arm Assembly
Part Number: 20900532$100.02 MSRP: $172.08You Save: $72.06 (42%)Ships in 1-2 Business DaysBuick LaCrosse Rear Lower Suspension Control Arm Assembly
Part Number: 23214430$271.81 MSRP: $456.60You Save: $184.79 (41%)Ships in 1-2 Business DaysBuick LaCrosse Rear Lower Suspension Control Arm Assembly
Part Number: 23214431$282.06 MSRP: $456.59You Save: $174.53 (39%)Ships in 1-2 Business DaysBuick LaCrosse Rear Upper Suspension Control Arm Assembly
Part Number: 23216531$136.33 MSRP: $236.63You Save: $100.30 (43%)Ships in 1-2 Business DaysBuick LaCrosse Rear Upper Suspension Control Arm Assembly
Part Number: 13318345$91.10 MSRP: $150.78You Save: $59.68 (40%)Ships in 1-2 Business DaysBuick LaCrosse Rear Lower Suspension Control Arm Assembly
Part Number: 22985456$48.21 MSRP: $79.79You Save: $31.58 (40%)Ships in 1-2 Business DaysBuick LaCrosse Rear Suspension Control Arm Assembly
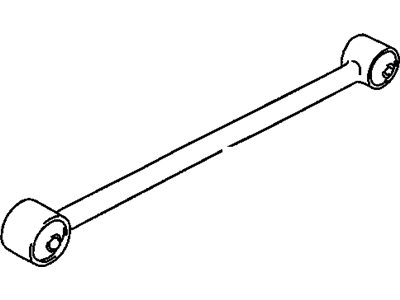
Part Number: 22927293$125.86 MSRP: $215.20You Save: $89.34 (42%)Ships in 1-2 Business DaysBuick LaCrosse Link Assembly, Rear Susp Lwr Trailing
Part Number: 84380557$61.94 MSRP: $105.91You Save: $43.97 (42%)Ships in 1-2 Business DaysBuick LaCrosse Rear Lower Suspension Control Arm Assembly
Part Number: 84449394$66.85 MSRP: $110.65You Save: $43.80 (40%)Ships in 1-2 Business DaysBuick LaCrosse Rear Lower Suspension Control Arm Assembly
Part Number: 13230633$199.49 MSRP: $264.14You Save: $64.65 (25%)Ships in 1-2 Business DaysBuick LaCrosse Rear Upper Suspension Control Arm Assembly
Part Number: 84178161$93.79 MSRP: $161.80You Save: $68.01 (43%)Buick LaCrosse Rear Upper Suspension Control Arm Assembly
Part Number: 13318344$92.10 MSRP: $144.92You Save: $52.82 (37%)
Buick LaCrosse Trailing Arm
Each OEM Buick LaCrosse Trailing Arm we offer is competitively priced and comes with the assurance of the manufacturer's warranty for the part. Furthermore, we guarantee the speedy delivery of your orders right to your doorstep. Our hassle-free return policy is also in place for your peace of mind.
Buick LaCrosse Trailing Arm Parts Questions & Experts Answers
- Q: How to remove Trailing Arm for 2009 and earlier Buick LaCrosse?A:For the removal of Trailing Arm 1, first release the rear wheel lug nuts and secure the front wheels. Next, lift the back of your vehicle and set it up on sturdy jackstands. Remove the rear wheels as well as the back part of the exhaust system. Lastly, unhook from stabilizer bar link at stabilizer bar and if there is any disconnect ABS wiring harness clips from arm. On trailing arms' rear knuckle remove mounting fasteners for both trailing arms and detach both arms from knuckle. Take off hydraulic brake line from above of rear suspension support and place a floor jack under it. Raise this until only touch its center with that support just a bit higher to make sure it does not slip out when a bolt is removed in step seventeen below. Unbolt rear suspension support on same side that arm is being removed from and loosen bolts on opposite side of support. Lower slowly with floor jack until trailing arm's mounting fasteners can be reached by you in case if required put one big bolt through last hole so that after flooring we will use that bolt to pull beam down safe .A pipe clamp put around top so we could tighten them all together so that they won't move apart anymore but check also what kind of other connections may exist between parts here.Put a stack or 2x4s on ground next to where jack will stand take stand out place directly under blue lifting device . Now go ahead remove remaining nuts completely before taking even larger ones loose then look carefully inspect bushings both sides neatness because if necessary replace these things (two small metal inserts into rubber) otherwise don't take anything off yet or else would be forced having them repaired pretty soon anyway. For Trailing Arm 2 follow exactly the same steps like those followed for Trailing Arm 1.To remove Trailing Arm, take out bracket-to-body mounting bolts and trailing arm-to-knuckle mounting fasteners of trailing arm. Finally, remove the trailing arm and check the condition of its bushing. Take it for bushing replacement if necessary.
