My Garage
My Account
Cart
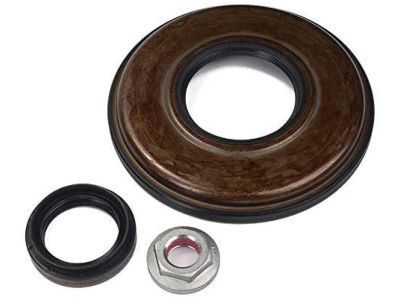
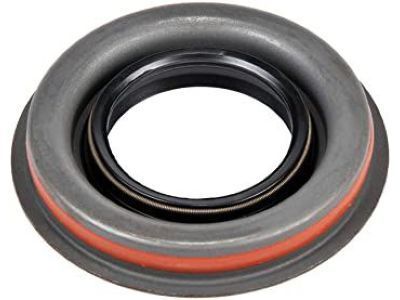
Genuine Buick Regal Differential Seal
- Select Vehicle by Model
- Select Vehicle by VIN
Select Vehicle by Model
orMake
Model
Year
Select Vehicle by VIN
For the most accurate results, select vehicle by your VIN (Vehicle Identification Number).
6 Differential Seals found
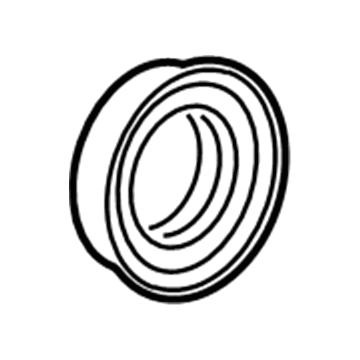
Buick Regal Seal Kit, Differential Clutch
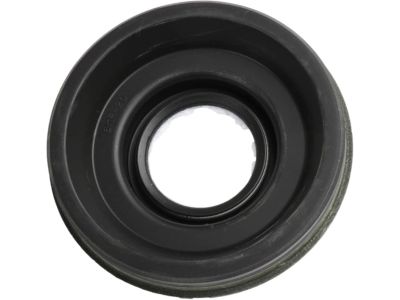
Part Number: 13334079$34.40 MSRP: $59.33You Save: $24.93 (43%)Ships in 1-2 Business DaysBuick Regal Seal, Differential Drive Pinion Gear
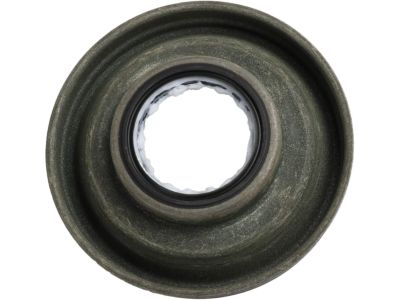
Part Number: 13296280$16.92 MSRP: $31.92You Save: $15.00 (47%)Buick Regal Seal, Differential Drive Pinion Gear
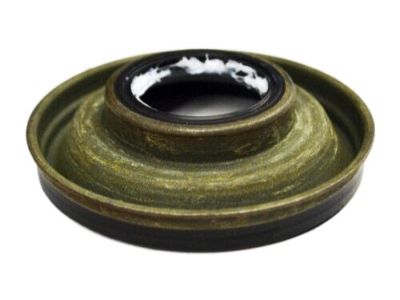
Part Number: 26026792$20.72 MSRP: $34.10You Save: $13.38 (40%)Ships in 1-2 Business DaysBuick Regal Seal, Differential Drive Pinion Gear
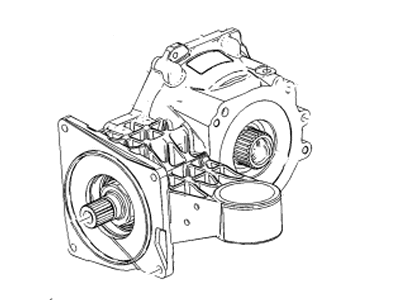
Part Number: 23269748$8.20 MSRP: $14.91You Save: $6.71 (45%)Ships in 1-2 Business Days
Buick Regal Differential Seal
Each OEM Buick Regal Differential Seal we offer is competitively priced and comes with the assurance of the manufacturer's warranty for the part. Furthermore, we guarantee the speedy delivery of your orders right to your doorstep. Our hassle-free return policy is also in place for your peace of mind.
Buick Regal Differential Seal Parts Questions & Experts Answers
- Q: How to remove and install Differential Seal on Buick Regal?A:To remove or install the pinion companion flange, align the driveshaft and the pinion companion flange before assembly in order to avoid mishits. Remove the driveshaft from the pinion companion flange by slackening the nuts securing it, hoist the propeller shaft on the body tunnel and fix it to the exhaust pipe by joining the wires. If the above joint bearing caps do not come with a retainer strap then the same should be fastened with the help of a tape. Subsequently, note the alignment of position of the companion flange, pinion shaft and nut such that when assembling it, it will achieve the correct pinion bearing preload. To remove the companion flange nut and washer, engage Tool J-8614-10 or an equivalent tool to hold the pinion companion flange. Put an appropriate tray to collect the fluid that may drip out of the rear axle before heading out to remove the pinion companion flange with the tool. Expel the seal utilising a blunt chisel and examine the pinion companion flange for nicks or damages, in which case have the former substituted. Inspect the pinion seal bore in the carrier for burr and professionally remove them. For refitting use Tool J-23911 or equivalent to refit a new seal, smear the pinion flange and sealing lip of the new seal with Special Seal Lubricant and then refit the pinion companion flange and nut and tighten the nut slightly beyond the alignment marks.
