My Garage
My Account
Cart
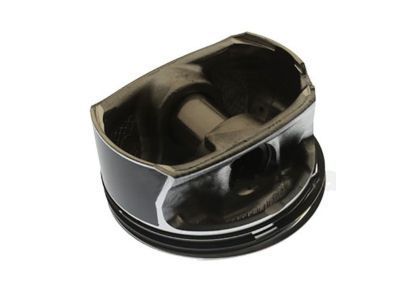
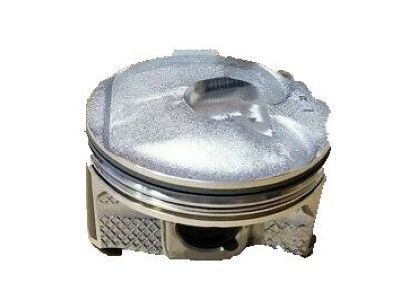
Genuine Cadillac CTS Piston
Engine Pistons- Select Vehicle by Model
- Select Vehicle by VIN
Select Vehicle by Model
orMake
Model
Year
Select Vehicle by VIN
For the most accurate results, select vehicle by your VIN (Vehicle Identification Number).
43 Pistons found
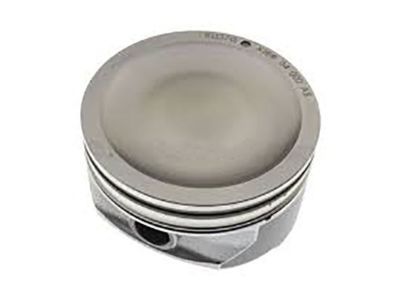
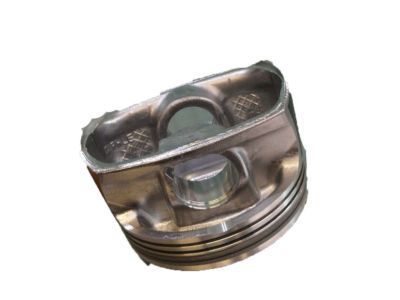
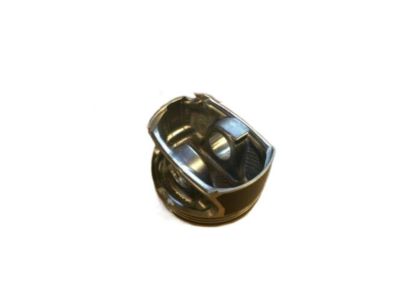
Cadillac CTS Piston, (W/Pinion)
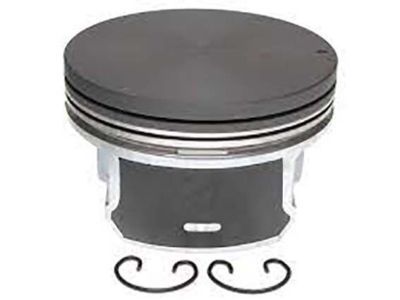
Part Number: 19180413$63.30 MSRP: $104.78You Save: $41.48 (40%)Ships in 1-3 Business DaysCadillac CTS Piston, (W/Pinion)
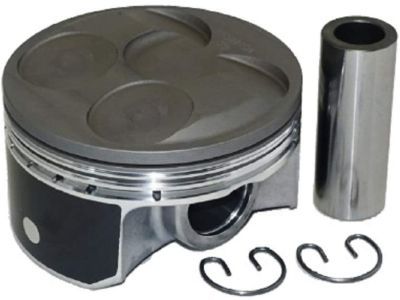
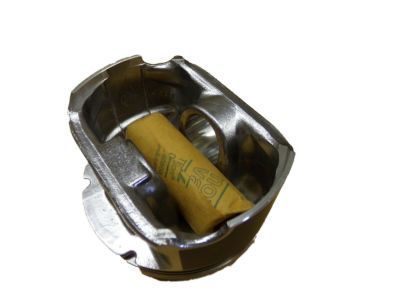
Part Number: 12631195$38.65 MSRP: $63.95You Save: $25.30 (40%)Ships in 1-3 Business DaysCadillac CTS Piston, (W/Pinion)
Part Number: 12631196$38.65 MSRP: $63.95You Save: $25.30 (40%)Ships in 1-2 Business DaysCadillac CTS Piston, (W/Pinion)
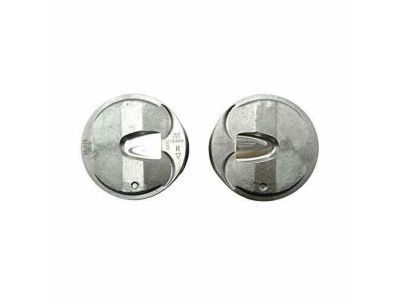
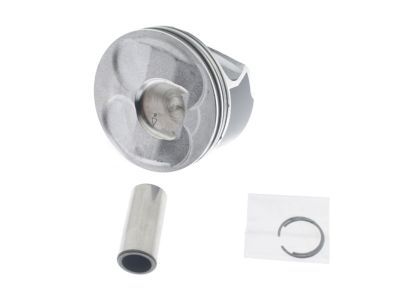
Part Number: 12616972$47.25 MSRP: $114.39You Save: $67.14 (59%)Ships in 1-3 Business DaysCadillac CTS Piston Assembly, (W/ Pin & Cmprn & Oil Ring)(Lh)
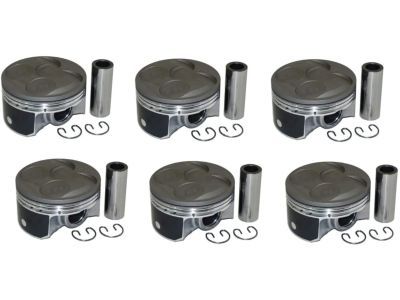
Part Number: 12686358$32.32 MSRP: $51.53You Save: $19.21 (38%)Ships in 1-2 Business DaysCadillac CTS Piston Kit
Part Number: 12674055$33.89 MSRP: $56.08You Save: $22.19 (40%)Ships in 1-3 Business DaysCadillac CTS Piston Kit
Part Number: 12674056$33.89 MSRP: $56.09You Save: $22.20 (40%)Ships in 1-3 Business DaysCadillac CTS Piston, (W/Pinion)
Part Number: 12616971$68.64 MSRP: $113.56You Save: $44.92 (40%)Ships in 1-2 Business DaysCadillac CTS Piston Kit,Engine
Part Number: 19178305$86.55 MSRP: $138.04You Save: $51.49 (38%)Ships in 1-3 Business DaysCadillac CTS Piston, (W/Pinion)
Part Number: 12590866$23.81 MSRP: $39.41You Save: $15.60 (40%)Ships in 1-3 Business DaysCadillac CTS Piston Assembly, (W/ Pinion & Compression & Oil Ring) Lh
Part Number: 12641602$97.66 MSRP: $155.75You Save: $58.09 (38%)Ships in 1-3 Business DaysCadillac CTS Piston Assembly, (W/ Pin & Cmprn & Oil Ring)(Rh)
Part Number: 12686359$32.32 MSRP: $51.53You Save: $19.21 (38%)Ships in 1-2 Business DaysCadillac CTS Piston, (W/Pinion)
Part Number: 12654415$85.45 MSRP: $136.30You Save: $50.85 (38%)Ships in 1-3 Business DaysCadillac CTS Piston Kit (.5Mm O/S, Lt4 Lh)
Part Number: 12690483$141.72 MSRP: $234.88You Save: $93.16 (40%)Ships in 1-3 Business DaysCadillac CTS Piston Assembly, (W/ Pinion)
Part Number: 12654417$96.42 MSRP: $159.58You Save: $63.16 (40%)Ships in 1-3 Business DaysCadillac CTS Piston Assembly, (W/ Pinion)
Part Number: 12654422$156.05 MSRP: $258.28You Save: $102.23 (40%)Ships in 1-3 Business DaysCadillac CTS PISTON KIT, (STD - LH)
Part Number: 19431933$201.31 MSRP: $321.08You Save: $119.77 (38%)Cadillac CTS Piston, (Machining) (Lh) (Lf1/Lfw, Inmetro)
Part Number: 19300903$297.84 MSRP: $492.95You Save: $195.11 (40%)Ships in 1-3 Business DaysCadillac CTS PISTON KIT (.5MM O/S LT4 RH)
Part Number: 12690484$359.79 MSRP: $587.20You Save: $227.41 (39%)Ships in 1-3 Business Days
| Page 1 of 3 |Next >
1-20 of 43 Results
Cadillac CTS Piston
Each OEM Cadillac CTS Piston we offer is competitively priced and comes with the assurance of the manufacturer's warranty for the part. Furthermore, we guarantee the speedy delivery of your orders right to your doorstep. Our hassle-free return policy is also in place for your peace of mind.
Cadillac CTS Piston Parts Questions & Experts Answers
- Q: What steps must be taken before removing the piston and connecting rod assemblies on Cadillac CTS?A:Before the piston and connected road assemblies are withdrawn, the cylinder head and vehicle's oil pan must be unbolted. Slide a rod all the way down and with your nail try to feel for ridge at the top limit of ring travel about 1/4 inch below the top of each cylinder. If they are there due to carbon depots or due to the cylinder wear they should be further smoothed with a ridge reamer to avoid piston breakage. It is advisable to put a serial number and an arrow pointing to the front of the engine on each piston while ensuring that there is no stamping or centre punching done on the pistons. With the Crankshaft vertical and the engine horizontal knock the off the ridges then using the feeler gauges set the connecting rod end play okay within the set limits. Locate each of the connecting rods and caps evidently, tightening the cap bolts to the extent that they can be unscrewed manually. It's easy to lose the bearing insert, and the connecting rod/piston assembly is pusher out through the top of the engine after removing the connecting rod cap and bearing insert. Place back the caps and inserts on to avoid problems when inspecting on them. Before fitting the piston ring consider the gaps at the ends of the rings and piston ring side clearance. Bolt the piston/connecting rod assemblies onto the new ring sets so as to install the top ring on the first cylinder and use the feeler gauges to set the end gap. Were the gap wrong, it should be corrected slowly as the ring ends are filed. Start with the oil control ring, then the middle and top rings; these should be placed in the correct way around. Before installation, you should clean the cylinder walls and give a small taper to the top edge of each cylinder bore. Before installing the piston and rings, lubricate them, and then use the piston ring compressor in order to compress the piston into position in the cylinder. Measure the oil clearance of the connecting rod bearing with Plastigage and make sure that the bearing faces are clean and lubricated once it will be assembled again. When a connecting rod cap and the nuts of new bolts were in place, and tightened then proceed with other assemblies. Lastly, turn the crankshaft to find out whether there is binding and checking the connecting rod clearance so that it can be within the manufacturer recommended ones.
