My Garage
My Account
Cart
Genuine Cadillac CTS Trailing Arm
Trailing Control Arm- Select Vehicle by Model
- Select Vehicle by VIN
Select Vehicle by Model
orMake
Model
Year
Select Vehicle by VIN
For the most accurate results, select vehicle by your VIN (Vehicle Identification Number).
14 Trailing Arms found
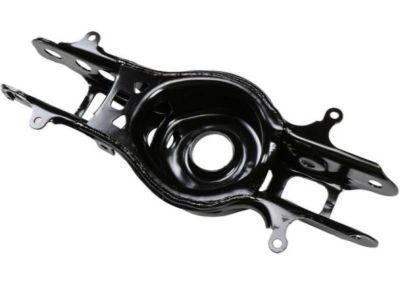
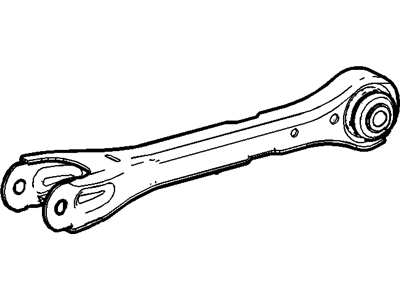
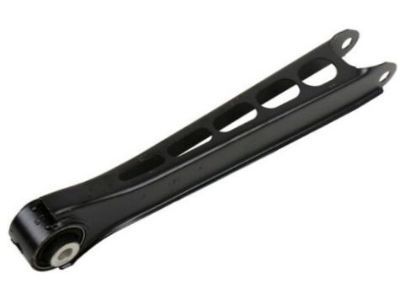
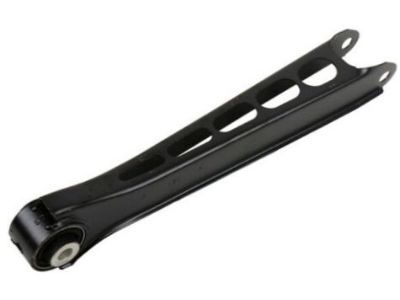
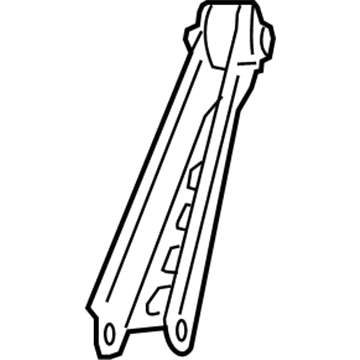
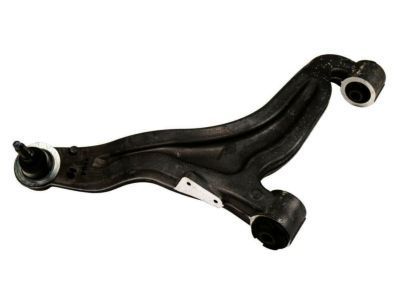
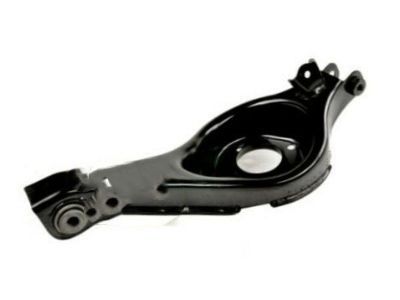
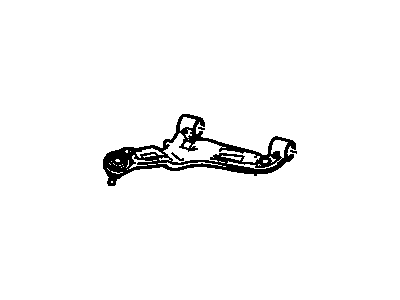
Cadillac CTS Rear Lower Suspension Control Arm Assembly
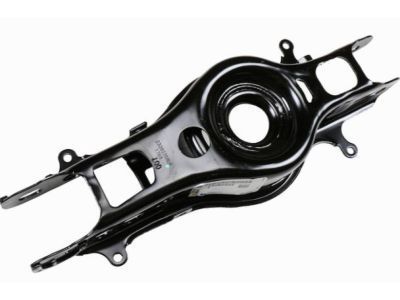
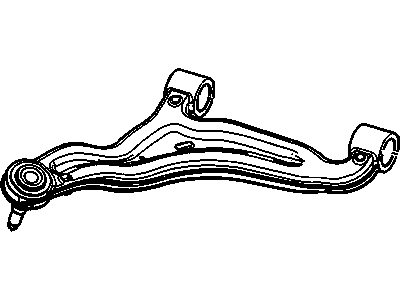
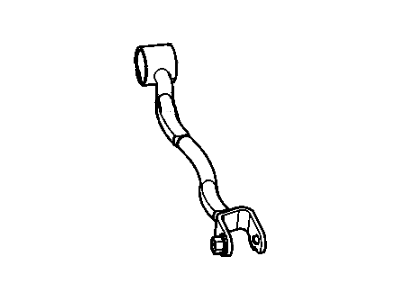
Part Number: 23282358$59.58 MSRP: $98.63You Save: $39.05 (40%)Ships in 1-3 Business DaysCadillac CTS Rear Upper Suspension Control Arm Assembly
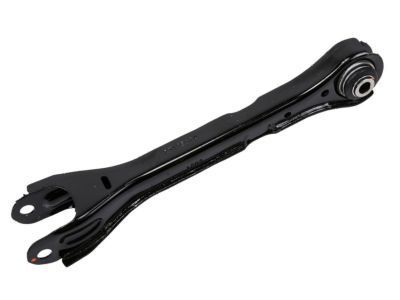
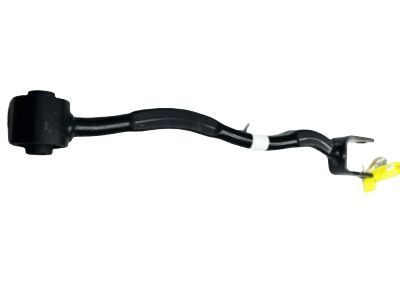
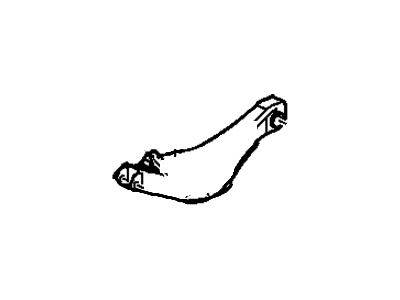
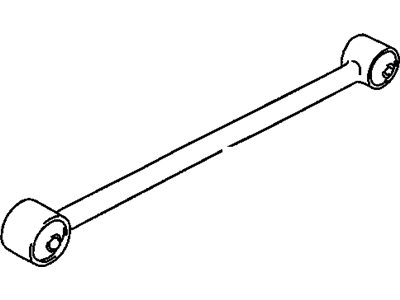
Part Number: 23105024$56.69 MSRP: $93.82You Save: $37.13 (40%)Ships in 1-2 Business DaysCadillac CTS Link Assembly, Rear Susp Lwr Trailing
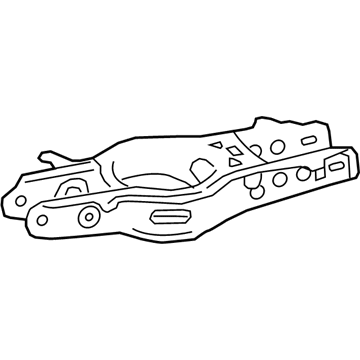
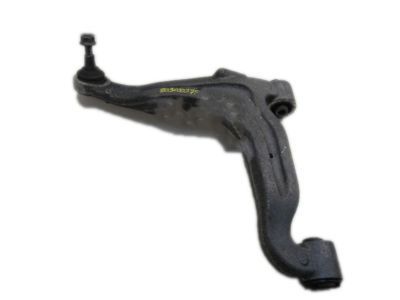
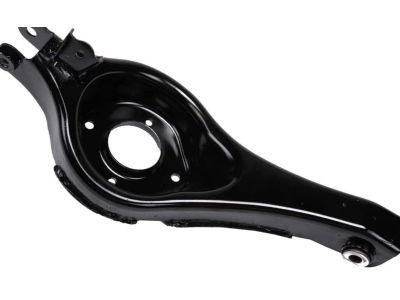
Part Number: 84356289$26.87 MSRP: $44.47You Save: $17.60 (40%)Ships in 1-2 Business DaysCadillac CTS Rear Suspension Upper Control Arm
Part Number: 15267619$120.82 MSRP: $199.96You Save: $79.14 (40%)Ships in 1-2 Business DaysCadillac CTS Rear Upper Suspension Control Arm Assembly
Part Number: 15267620$124.17 MSRP: $198.03You Save: $73.86 (38%)Ships in 1-2 Business DaysCadillac CTS Rear Lower Suspension Control Arm Assembly
Part Number: 23282359$57.60 MSRP: $99.35You Save: $41.75 (43%)Ships in 1-2 Business DaysCadillac CTS Rear Lower Suspension Control Arm Assembly
Part Number: 20777471$104.87 MSRP: $164.99You Save: $60.12 (37%)Cadillac CTS Rear Lower Suspension Control Arm Assembly
Part Number: 20777472$106.15 MSRP: $167.00You Save: $60.85 (37%)
Cadillac CTS Trailing Arm
Trailing arm in Cadillac CTS All known cars contain the so-called trailing-link suspension system, in which the Trailing Arm plays a significant role since it links the axle to the chassis of the car. Its major role is to reduce unwarranted motion of the axle, therefore, improving on the vehicle's stability and grip. The Cadillac CTS uses different types of Trailing Arm suspensions, the basic one is the trailing-arm suspension which may consist of several links besides the Panhard rod for enhancing the car's lateral stability, the other type is the semi trailing arm suspension, where the arm is triangular and rotates at two points for flexibility. With these designs of Trailing Arm are effective for rear axles that contribute to a bigger boot space and a more leveled floor in Cadilac CTS. Thus, the differences in the Trailing Arm configurations affect the car's performance and ride quality, thus providing a compliance with different types of road surfaces without compromising on the car's handling capabilities.
Each OEM Cadillac CTS Trailing Arm we offer is competitively priced and comes with the assurance of the manufacturer's warranty for the part. Furthermore, we guarantee the speedy delivery of your orders right to your doorstep. Our hassle-free return policy is also in place for your peace of mind.
Cadillac CTS Trailing Arm Parts Questions & Experts Answers
- Q: How to remove and install the Trailing Arm on Cadillac CTS?A:Loosen the wheel lug nuts, raise the vehicle, and support it securely on jackstands while blocking the front wheels to prevent rolling, then remove the wheel. Next, remove the brake caliper and caliper mounting bracket, followed by the rear Shock Absorber, ensuring to support the lower Control Arm with a floor jack positioned under the spring pocket throughout the procedure. Remove the upper balljoint nut and use a balljoint removal tool to separate the ballstud from the knuckle. Support the rear differential and sub-frame with a floor jack, loosening the subframe bolts enough to access the upper control arm mounting nut bolts; some items may need to be removed to lower the subframe, but complete removal is not necessary. Remove the mounting nut/bolts from the inner end of the upper suspension arm and take the arm out of the vehicle. For installation, reverse the removal steps and tighten the fasteners to the specified torque, raising the lower arm to simulate normal ride height before tightening the inner pivot bolts/nuts. For the lower suspension arm, remove the coil spring, then take out the lower arm inner nut/bolt and remove the arm, with installation being the reverse of removal and fasteners tightened to the specified torque. Support the lower control arm with a floor jack, then remove the trailing arm-to-knuckle nut bolt and the trailing arm-to-subframe nut bolt before removing the arm, with installation being the reverse of removal and fasteners tightened to the specified torque. On 2008 and later models, it may be necessary to support, unbolt, and lower the front of the subframe to access the inner toe-link bolt; remove the inner toe-link nut bolt, then the outer toe-link bolt before removing the link arm, with installation being the reverse of removal and fasteners tightened to the specified torque.
Related Cadillac CTS Parts
Browse by Year
2019 Trailing Arm 2018 Trailing Arm 2017 Trailing Arm 2016 Trailing Arm 2015 Trailing Arm 2014 Trailing Arm 2013 Trailing Arm 2012 Trailing Arm 2011 Trailing Arm 2010 Trailing Arm 2009 Trailing Arm 2008 Trailing Arm 2007 Trailing Arm 2006 Trailing Arm 2005 Trailing Arm 2004 Trailing Arm 2003 Trailing Arm
