My Garage
My Account
Cart
Genuine Cadillac CTS Control Arm
Suspension Arm- Select Vehicle by Model
- Select Vehicle by VIN
Select Vehicle by Model
orMake
Model
Year
Select Vehicle by VIN
For the most accurate results, select vehicle by your VIN (Vehicle Identification Number).
23 Control Arms found
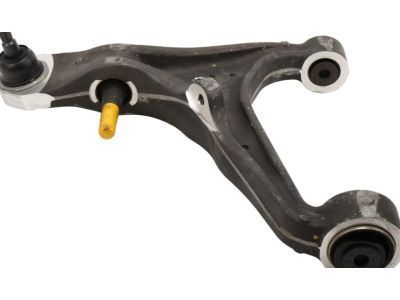
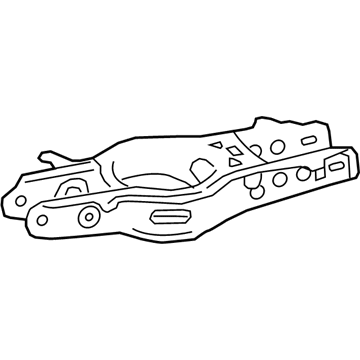
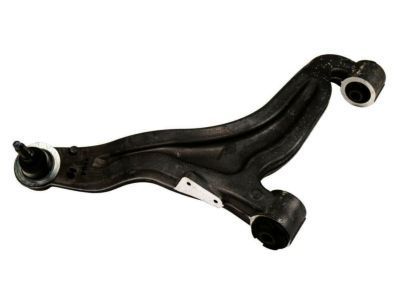
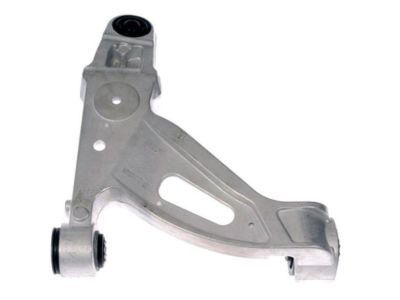
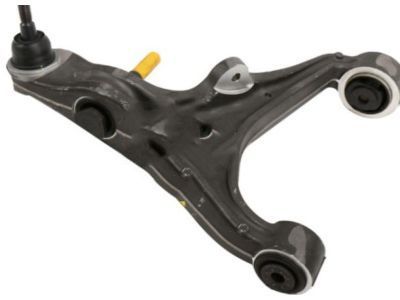
Cadillac CTS Front Lower Control Arm Assembly
Part Number: 25862781$254.69 MSRP: $406.96You Save: $152.27 (38%)Ships in 1-2 Business DaysCadillac CTS Front Lower Control Arm Assembly Front
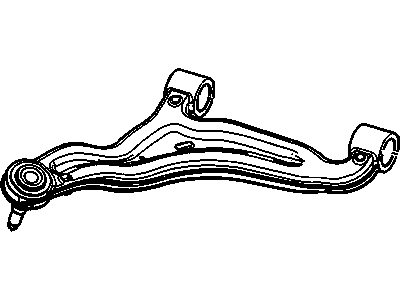
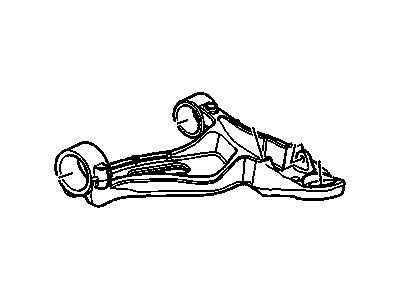
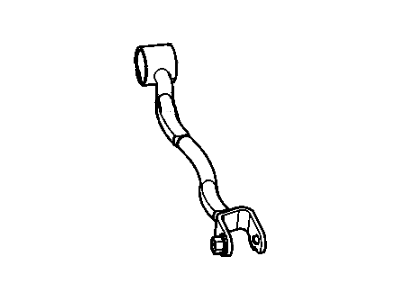
Part Number: 20888439$110.36 MSRP: $190.35You Save: $79.99 (43%)Cadillac CTS Rear Lower Suspension Control Arm Assembly
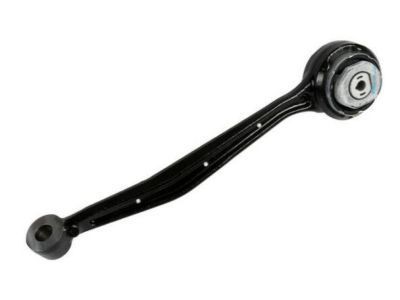
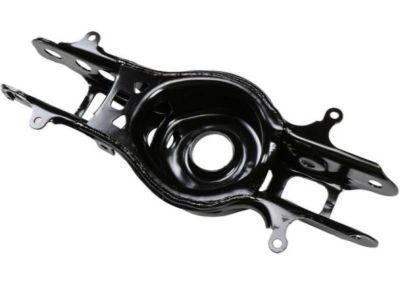
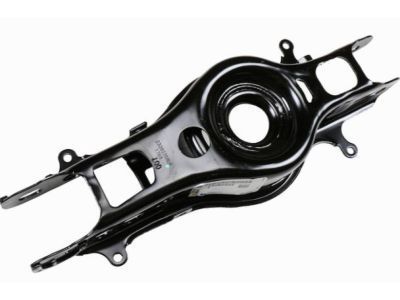
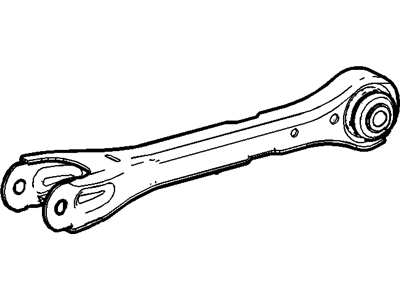
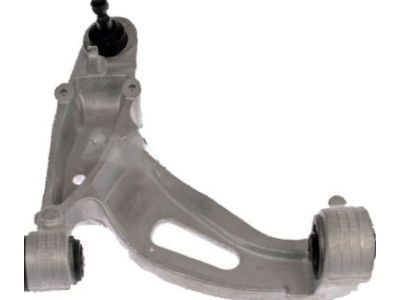
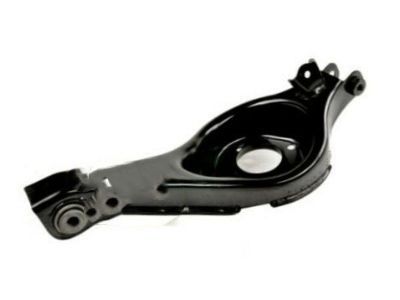
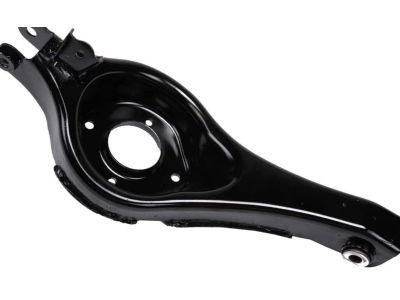
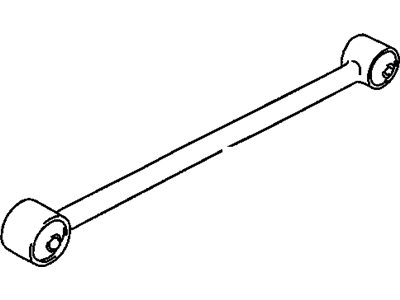
Part Number: 23282358$59.58 MSRP: $98.63You Save: $39.05 (40%)Ships in 1-3 Business DaysCadillac CTS Rear Upper Suspension Control Arm Assembly
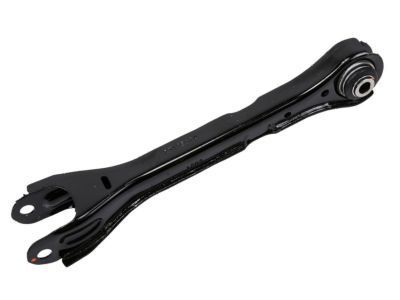
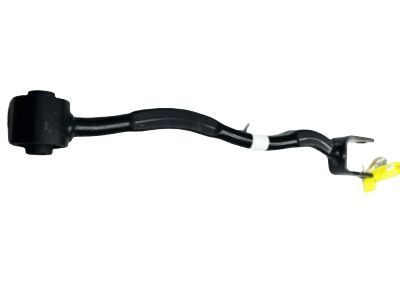
Part Number: 23105024$56.69 MSRP: $93.82You Save: $37.13 (40%)Ships in 1-2 Business DaysCadillac CTS Rear Suspension Upper Control Arm
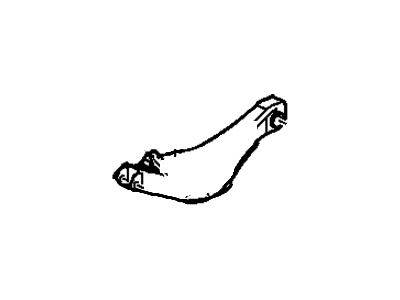
Part Number: 15267619$120.82 MSRP: $199.96You Save: $79.14 (40%)Ships in 1-2 Business DaysCadillac CTS Rear Upper Suspension Control Arm Assembly
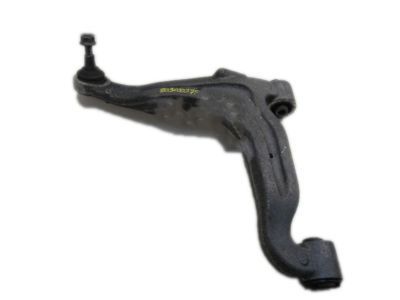
Part Number: 15267620$124.17 MSRP: $198.03You Save: $73.86 (38%)Ships in 1-2 Business DaysCadillac CTS Front Lower Control Arm
Part Number: 25758283$328.93 MSRP: $519.88You Save: $190.95 (37%)Ships in 1-3 Business DaysCadillac CTS Front Lower Control Arm
Part Number: 25758282$328.93 MSRP: $519.88You Save: $190.95 (37%)Ships in 1-3 Business DaysCadillac CTS Front Lower Control Arm Assembly Front
Part Number: 20888438$111.33 MSRP: $190.35You Save: $79.02 (42%)Cadillac CTS Rear Lower Suspension Control Arm Assembly
Part Number: 23282359$57.60 MSRP: $99.35You Save: $41.75 (43%)Ships in 1-2 Business DaysCadillac CTS Front Lower Control Arm
Part Number: 25758281$328.93 MSRP: $519.88You Save: $190.95 (37%)Ships in 1-3 Business DaysCadillac CTS Front Lower Control Arm
Part Number: 25758280$320.90 MSRP: $507.20You Save: $186.30 (37%)Ships in 1-3 Business DaysCadillac CTS Rear Lower Suspension Control Arm Assembly
Part Number: 20777471$104.87 MSRP: $164.99You Save: $60.12 (37%)Cadillac CTS Rear Lower Suspension Control Arm Assembly
Part Number: 20777472$106.15 MSRP: $167.00You Save: $60.85 (37%)
| Page 1 of 2 |Next >
1-20 of 23 Results
Cadillac CTS Control Arm
The Control Arm is utilized in Cadillac CTS cars to connect the frame of the car to its wheels while creating an ability for the movement of the suspension system. It provides capability to move the wheels up and down so that efficient handling and alignments can take place depending on the surface of road. Current Cadillac CTS models have employed different types of Control Arms, these are fabricated from stamped steel, with vaster and recent models fabricated from either cast iron or aluminium types as these facilitate higher strength with little weight. However, like any other vehicle, the standard Control Arms are very strong but may at times need some of their components such as bushing and ball joints to be replaced. There are Cadillac CTS Control Arms which are performance oriented that comes with higher horsepower and high performance controlling stems that have complex angles for better control and a higher degree of strength. These enhancements make for better handling and stability, useful in high speed or any sort of enhancements over standard package.
Each OEM Cadillac CTS Control Arm we offer is competitively priced and comes with the assurance of the manufacturer's warranty for the part. Furthermore, we guarantee the speedy delivery of your orders right to your doorstep. Our hassle-free return policy is also in place for your peace of mind.
Cadillac CTS Control Arm Parts Questions & Experts Answers
- Q: How to remove and install the lower and upper control arms on Cadillac CTS?A:Before you can take off the lower arm, however, you need to put the car on a jack, and with the wheel off and splash shield removed, loosen the wheel lug nuts. For models from 2008 and later, remove the front wheel speed sensor 13 . Remove the nut from the stabilizer bar link which is on the control arm and also remove the nut joining the lower end of the Shock Absorber to control arm. Remove the outer tie-rod ends, and then loosen the bolts fastening the steering gear; lift the steering gear up a little to allow the bolts to be removed. Remove the lower ball joint nut and then using ball joint separator, pry out the ball stud from the knuckle and use Allen key to hold this ball from turning further with the nut. Take out the arm to subframe mounting bolts and then take out the lower control arm. For the upper arm, it connects to the top of the Steering Knuckle with a ball joint and to two places at the shock absorber top mount with bolts that can pivot. Disassemble the shock absorber and then you will have to undo the nuts and bolts of the upper arm mounting. Examine the condition of the control arm and the wear of the bushings and with the need of a new hardware do not straighten a bent control arm. Installation is performed vice versa how removal is done, to make sure that all nuts and bolts are tightened to the stated torque, before tightening the pivot nuts/bolts, lift the outer end of the lower arm approximately to normal height. Lastly, the wheel and lug nuts should be fitted on the wheel and then the vehicle should be lowered, further to that the lug nuts should be tightened to the appropriate torque and if possible after completing all the job it is recommended that one should take the car for a front wheel alignment check up.
