My Garage
My Account
Cart
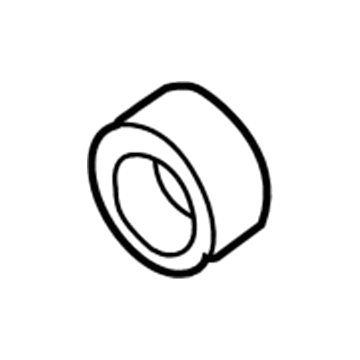
Genuine Cadillac Deville Crankshaft Seal
- Select Vehicle by Model
- Select Vehicle by VIN
Select Vehicle by Model
orMake
Model
Year
Select Vehicle by VIN
For the most accurate results, select vehicle by your VIN (Vehicle Identification Number).
8 Crankshaft Seals found
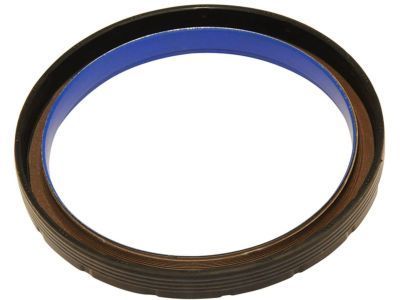
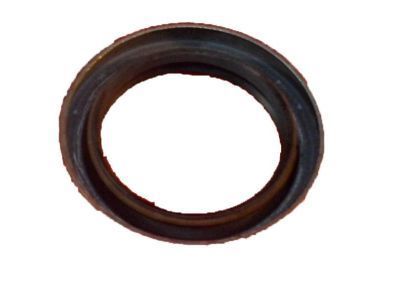
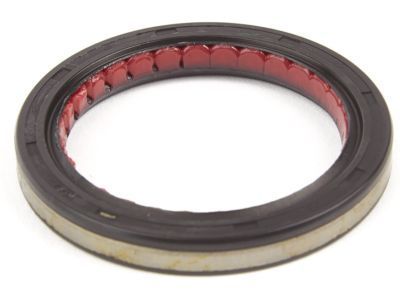
Cadillac Deville Seal,Crankshaft Rear Main Bearing Cap
Part Number: 12568025$49.03 MSRP: $83.84You Save: $34.81 (42%)Ships in 1-3 Business DaysCadillac Deville Seal Assembly, Crankshaft Oil
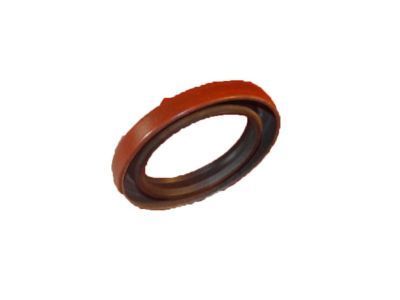
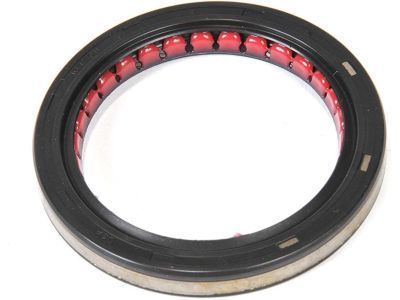
Part Number: 552711$8.81 MSRP: $15.56You Save: $6.75 (44%)Cadillac Deville Seal, Crankshaft Rear Main Bearing Cap *Orange
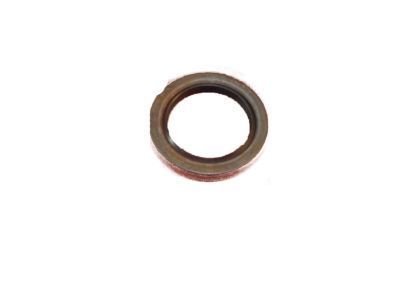
Part Number: 24500058$13.05Ships in 1-2 Business DaysCadillac Deville Seal
Part Number: 1647308$31.12 MSRP: $48.96You Save: $17.84 (37%)Ships in 1-3 Business DaysCadillac Deville Seal,Crankshaft Rear Main Bearing Cap
Part Number: 1627806$19.69 MSRP: $39.73You Save: $20.04 (51%)
Cadillac Deville Crankshaft Seal
The Crankshaft Seal in Cadillac DeVille automobiles is the component situated at the forward part of the motor, the main goal of which is to prevent the oil leakage from the crankcase. This round seal used in many vehicles normally fabricated of a metal with rubber content serves a vital function that is to maintain a constant flow of lubricant to the engines hence reduces friction and shortens the wear and tear of some body parts of the engine. Different Crankshaft Seal designs may have been used in Cadillacs DeVille model throughout its production up to date but the basic working has remained the same. The symptoms that suggest that a Crankshaft Seal is failing include oil leakage and some performance problems especially in high mileage cars, a clue that the seal needs to be replaced in order to achieve good functionality of the engine.
Each OEM Cadillac Deville Crankshaft Seal we offer is competitively priced and comes with the assurance of the manufacturer's warranty for the part. Furthermore, we guarantee the speedy delivery of your orders right to your doorstep. Our hassle-free return policy is also in place for your peace of mind.
Cadillac Deville Crankshaft Seal Parts Questions & Experts Answers
- Q: How to properly remove and install rear crankshaft seal in 4.6L V8 engine on Cadillac DeVille?A:Using a thin screwdriver or a seal removal tool, carefully remove the Crankshaft Seal from the engine block, ensuring not to damage the crankshaft surface while prying the seal out. Clean the bore in the block and the seal contact surface on the crankshaft, checking for scratches and nicks that could damage the new seal and cause oil leaks; if the crankshaft is damaged, a new or different crankshaft is necessary. Inspect the seal bore for nicks or scratches and carefully smooth it with a fine file if needed, taking care not to nick the crankshaft. A special tool, available at most auto parts stores, is recommended for installing the new seal; lubricate the lips of the seal with clean engine oil and slide it onto the mandrel until the dust lip bottoms squarely against the collar of the tool. If the tool isn't available, work the seal over the crankshaft and tap it into place squarely and evenly with a hammer and large-diameter socket or length of pipe. Align the dowel pin on the tool with the dowel pin hole in the crankshaft and attach the tool by hand-tightening the bolts. Turn the tool handle until the collar bottoms against the case, seating the seal, then loosen the tool handle and remove the bolts and the tool. Check that the seal is installed evenly and at the same depth as the original, with the remainder of the installation being the reverse of removal.
Related Cadillac Deville Parts
Browse by Year
2005 Crankshaft Seal 2004 Crankshaft Seal 2003 Crankshaft Seal 2002 Crankshaft Seal 2001 Crankshaft Seal 2000 Crankshaft Seal 1999 Crankshaft Seal 1998 Crankshaft Seal 1997 Crankshaft Seal 1996 Crankshaft Seal 1995 Crankshaft Seal 1994 Crankshaft Seal 1993 Crankshaft Seal 1992 Crankshaft Seal 1991 Crankshaft Seal 1990 Crankshaft Seal 1989 Crankshaft Seal 1988 Crankshaft Seal 1987 Crankshaft Seal 1986 Crankshaft Seal 1985 Crankshaft Seal 1984 Crankshaft Seal 1983 Crankshaft Seal 1982 Crankshaft Seal
