My Garage
My Account
Cart
Genuine Cadillac Deville Flywheel
Clutch Flywheel- Select Vehicle by Model
- Select Vehicle by VIN
Select Vehicle by Model
orMake
Model
Year
Select Vehicle by VIN
For the most accurate results, select vehicle by your VIN (Vehicle Identification Number).
9 Flywheels found
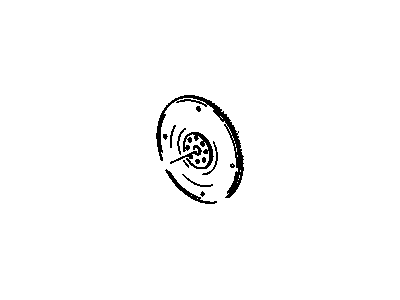
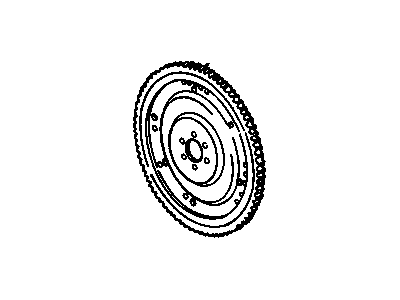
Cadillac Deville Engine Crankshaft FLYWHEEL
Part Number: 3544671$97.14 MSRP: $136.33You Save: $39.19 (29%)Ships in 1-2 Business Days
Cadillac Deville Flywheel
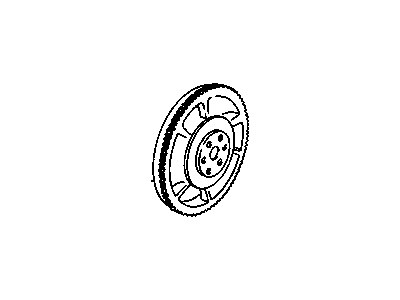
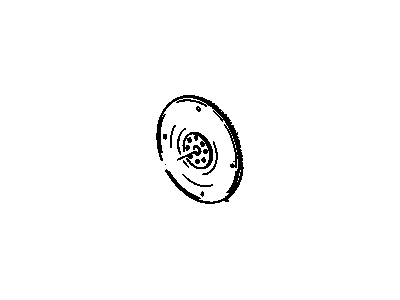
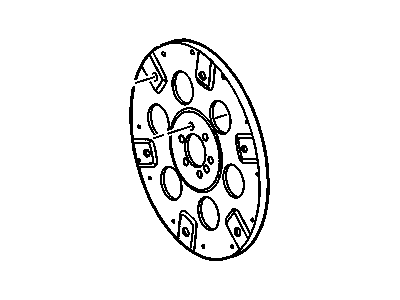
Three essential operations exist for the Cadillac DeVille Flywheel which includes rotational energy storage for power output smoothing while the starter drive uses the Flywheel to turn the crankshaft during ignition and provides a contact surface for the clutch disc. The Cadillac DeVille includes two types of Flywheel systems which include solid Flywheel together with dual mass Flywheel (DMFs). Simpler solid Flywheel operate together with DMFs which incorporate damping units that include springs to reduce engine vibration therefore producing better comfort and shifting results. The clutch contact surface wear on the part stands as a frequent cause for replacement since DMFs cannot be restored and therefore require whole unit substitution. System part ring gear damage sometimes leads to replacement but repair of this element independently from the whole replacement unit might be possible. The primary function of the replacement part in Cadillac DeVille models exists to enable smooth operation of the engine alongside effective clutch operation.
Each OEM Cadillac Deville Flywheel we offer is competitively priced and comes with the assurance of the manufacturer's warranty for the part. Furthermore, we guarantee the speedy delivery of your orders right to your doorstep. Our hassle-free return policy is also in place for your peace of mind.
Cadillac Deville Flywheel Parts Questions & Experts Answers
- Q: How to remove and reinstall the Flywheel in 4.6L V8 engine on Cadillac DeVille?A:Before finally installing it back, there should be a line drawn from the driveplate to the extremity of the crankshaft as a guide. Third, undo all the bolts holding the driveplate to the crankshaft rear flange while if the crankshaft turning, insert the flat edge of a screwdriver between the driveplate and crankshaft making it impossible for the driveplate to turn. Next, remove the driveplate on board and remember place and position of spacer rings if any were used. Of course, one should wear gloves or cover hands, as teeth on the ring gear are rather sharp. Remove any grease or oil from the driveplate and inspect the starter ring gear teeth for cracks of breaks and place the driveplate on a flat surface to inspect it for warping. Before installing the driveplate to the crankshaft, remove all debris on the mating surfaces of driveplate and crankshaft through cleaning them before placing the driveplate in contact (with) the crankshaft to fit the two marked positions. Use a non hardening thread locking compound to the bolt threads before fitting. There must be an anticlockwise torque of about 110 lb. ft. While tightening the bolts you must ensure that the crankshaft cannot turn by using a screwdriver and after tightening bolts to the specified torque you can tighten them again in two or three steps in a criss-cross fashion. Last but not the least, restore the system to normalcy by using the steps that are involved in the removal process in the reverse method.
Related Cadillac Deville Parts
Browse by Year
2005 Flywheel 2004 Flywheel 2003 Flywheel 2002 Flywheel 2001 Flywheel 2000 Flywheel 1999 Flywheel 1998 Flywheel 1997 Flywheel 1996 Flywheel 1995 Flywheel 1994 Flywheel 1993 Flywheel 1992 Flywheel 1991 Flywheel 1990 Flywheel 1989 Flywheel 1988 Flywheel 1987 Flywheel 1986 Flywheel 1985 Flywheel 1984 Flywheel 1983 Flywheel 1982 Flywheel
