My Garage
My Account
Cart
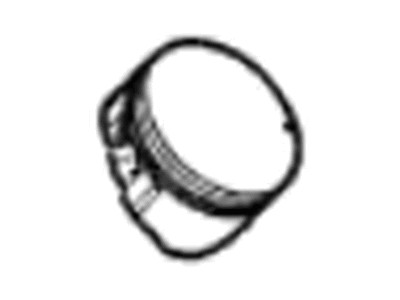
Genuine Cadillac Escalade Piston
Engine Pistons- Select Vehicle by Model
- Select Vehicle by VIN
Select Vehicle by Model
orMake
Model
Year
Select Vehicle by VIN
For the most accurate results, select vehicle by your VIN (Vehicle Identification Number).
40 Pistons found
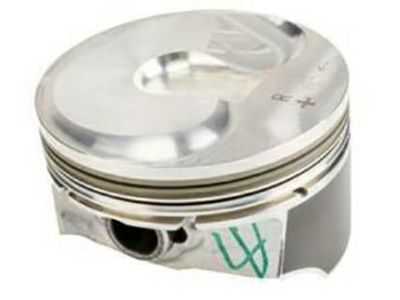
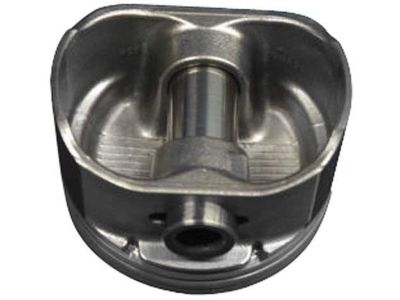
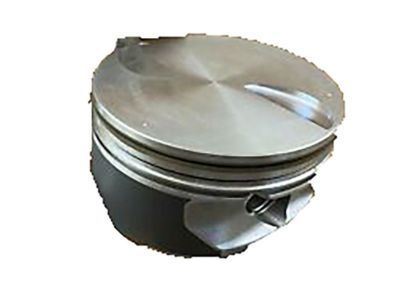
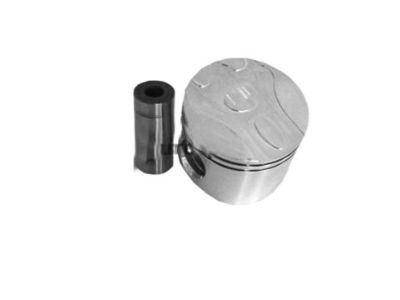
Cadillac Escalade Piston Kit (Std RH)
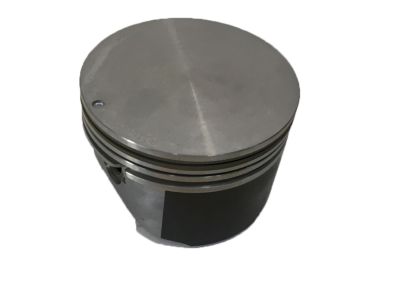
Part Number: 12656874$52.84 MSRP: $91.13You Save: $38.29 (43%)Ships in 1-3 Business DaysCadillac Escalade Piston Kit (Rh, Std)
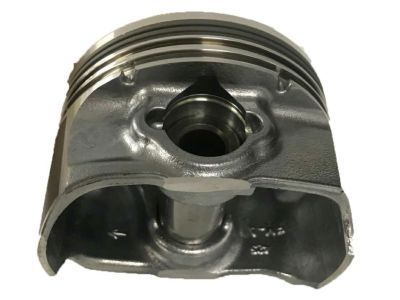
Part Number: 12656876$26.10 MSRP: $43.19You Save: $17.09 (40%)Ships in 1-2 Business DaysCadillac Escalade Piston Asm,(W/ Pinion)
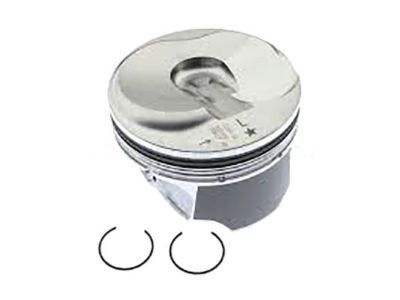
Part Number: 89060486$43.24 MSRP: $71.58You Save: $28.34 (40%)Ships in 1-2 Business DaysCadillac Escalade Piston Asm,(W/ Pinion)(Std)
Part Number: 88894280$133.03 MSRP: $220.18You Save: $87.15 (40%)Ships in 1-3 Business DaysCadillac Escalade Piston Kit,Engine
Part Number: 19208471$105.61 MSRP: $168.44You Save: $62.83 (38%)Ships in 1-3 Business DaysCadillac Escalade Piston Kit (Right Hnd .5Mm Outside)
Part Number: 12658744$261.54 MSRP: $416.97You Save: $155.43 (38%)Ships in 1-3 Business DaysCadillac Escalade Piston Asm,(W/ Pinion)
Part Number: 89060483$123.89 MSRP: $198.60You Save: $74.71 (38%)Cadillac Escalade Piston, (W/Pinion)
Part Number: 19208472$135.03 MSRP: $326.88You Save: $191.85 (59%)Ships in 1-3 Business DaysCadillac Escalade Piston Asm,(W/ Pinion)(0.127 Mm Outside)
Part Number: 88894281$110.92 MSRP: $223.69You Save: $112.77 (51%)Ships in 1-2 Business DaysCadillac Escalade Piston Kit (Left Hand .5Mm Outside)
Part Number: 12658743$261.54 MSRP: $416.97You Save: $155.43 (38%)Ships in 1-3 Business DaysCadillac Escalade Piston Assembly, .
Part Number: 55510938$64.38 MSRP: $102.66You Save: $38.28 (38%)Ships in 1-3 Business DaysCadillac Escalade Piston Asm,(W/ Pinion & Retainer) (0.5 Mm Outside)
Part Number: 88894242$281.88 MSRP: $546.30You Save: $264.42 (49%)Ships in 1-2 Business DaysCadillac Escalade Piston Kit (.5Mm Outside RH)
Part Number: 12659284$182.23 MSRP: $290.65You Save: $108.42 (38%)Ships in 1-3 Business DaysCadillac Escalade Piston Kit (Lh, Std)
Part Number: 12656877$27.45 MSRP: $43.19You Save: $15.74 (37%)Cadillac Escalade Piston, (W/Pinion, Std)
Part Number: 89017472$80.77 MSRP: $127.08You Save: $46.31 (37%)Cadillac Escalade Piston Asm,(W/ Pinion)
Part Number: 19209286$86.04 MSRP: $135.37You Save: $49.33 (37%)Cadillac Escalade Piston Kit (0.5Mm Oversize)
Part Number: 19178737$66.50 MSRP: $104.63You Save: $38.13 (37%)
| Page 1 of 2 |Next >
1-20 of 40 Results
Cadillac Escalade Piston
The Piston in Cadillac Escalade vehicles plays a critical role in the internal combustion engine where it helps in converting the power generated by burning of fuel into the energy that is required for the car movement. Through applying force from expanding gas onto the crankshaft the Cadillac Escalade Piston is a key component which enables efficient functioning of the engine in high pressure and temperature conditions. Various types of pistons have been used in Cadillac Escalade models since its design and development; they include trunk pistons which bear side load and has oil rings for lubrication purposes. Besides, racing pistons can be used for performance improvements which includes lightweight constructions that are capable of withstanding high RPMs. These pistons have been designed in a very precise manner thus making the Cadillac Escalade to be both efficient and durable when it comes to driving.
Each OEM Cadillac Escalade Piston we offer is competitively priced and comes with the assurance of the manufacturer's warranty for the part. Furthermore, we guarantee the speedy delivery of your orders right to your doorstep. Our hassle-free return policy is also in place for your peace of mind.
Cadillac Escalade Piston Parts Questions & Experts Answers
- Q: What steps must be taken before removing the piston and connecting rod assemblies on Cadillac Escalade?A:Before one can pull out the piston and connecting rods, one has to the cylinder head and oil pan out of the way. With the fingernail, one should feel or scrape for ridges at the maximum travel of the ring, which should be trimmed such a way to avoid a breakage of the piston. After the removal of the ridges, the position should be changed in a way that the crank shaft is at the top. Measurement of connecting rod end play with feelers, here should be within a given range, if beyond should change the connecting rods. It is suggested to mark the connecting rods and the caps for orientation before proceeding with the removal of the connecting rod cap bolts and the number one connecting rod cap and bearing insert loose but retaining the bearing in position. Slide out the connecting rod/piston assembly through the top of the engine, if there is any residue of the ridge material it should be removed. This is done for the other cylinders and the connecting rod caps and a bearing insert is then screwed only with finger tightening in order to prevent the delusing of the bearing. As it can be observed, the pistons and the connecting rods are now in a state where they can be inspected and overhauled if necessary. Whenever replacing the piston rings, make sure that the end gaps are okay and that side clearance of piston ring is as required. Place the piston/connecting rod assemblies for future pairing, as well as all new rings which are to be installed in sequence. Place the top ring into the first cylinder and align it with the cylinder walls; then, check the end gap with the feeler gauges. In the case where the gap is wrong, refine it gently by using the ring ends to file it. Repeat this for each ring and make sure that they are installed in the right way and the right sequence. Just before the piston/connecting rod assemblies are fitted, scrape the cylinder walls and cut the top edge of the cylinder bores to a buttress angle. Take off the cap of the number one connecting rod, deglaze the bearing surfaces and fit new bearing inserts without use of any oil. Ensure that the gaps of the piston ring are well aligned, after that, apply oil on the piston and the rings before using the piston ring compressor to compress the rings and fit them into the piston. Place the piston and connecting rod as such that the connecting rod big end fits over the Crankshaft journal. Inspect to determine the oil clearance of the connecting rod bearing with the help of Plastigage, on the crankshart and pistons surfaces it should be clean and without oil. If the clearance is not as specified then check the bearing inserts and the journal diameter. After that remove all the extra Plastigage material, put an even layer of grease or assembly lube on the bearing faces and put the rod cap back along with new bolts. Follow the same process for the other assemblies but be vigilant to maintain hygiene and proper alignment all through. After installation turn the crankshaft to test for binding and inspect, and measure the connecting rod small end clearance if required and rectify it.
