My Garage
My Account
Cart
Genuine Cadillac Fleetwood Brake Drum
- Select Vehicle by Model
- Select Vehicle by VIN
Select Vehicle by Model
orMake
Model
Year
Select Vehicle by VIN
For the most accurate results, select vehicle by your VIN (Vehicle Identification Number).
5 Brake Drums found
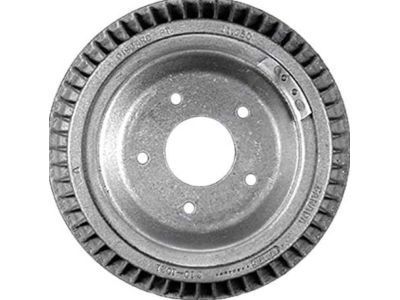
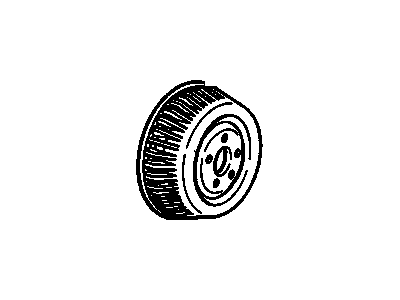
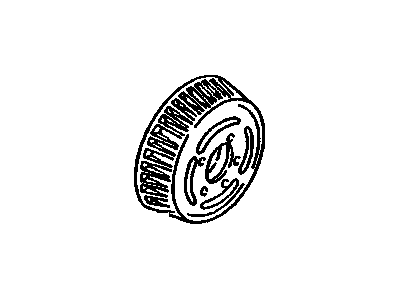
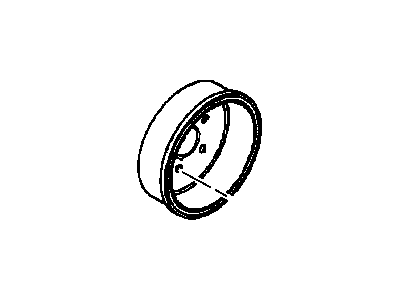
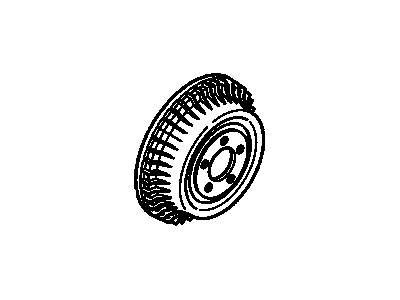
Cadillac Fleetwood Drum Assembly, Rear Brake
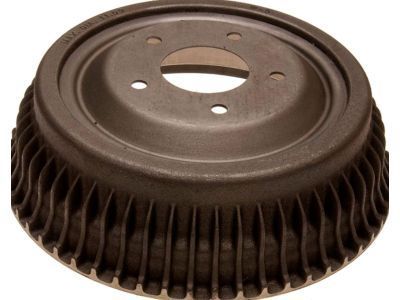
Part Number: 1244646$44.88 MSRP: $76.91You Save: $32.03 (42%)Cadillac Fleetwood Drum Assembly, Rear Brake
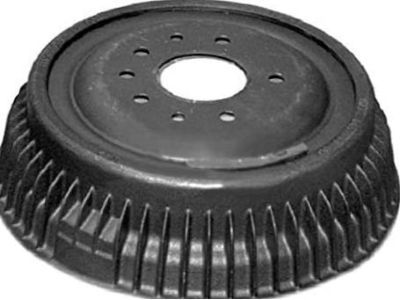
Part Number: 1244835$117.94 MSRP: $202.10You Save: $84.16 (42%)
Cadillac Fleetwood Brake Drum
The Brake Drum is used in Cadillac Fleetwood cars mainly to details slow or to halt the car through friction. This is made possible through the rubbing of the brake shoes against the Brake Drum that is usually made out of cast iron that is specifically manufactured for brake use due to its ability to withstand the heat generated from use. Since the Brake Drum is connected to the wheel and axle, the force required to slow down the vehicle is provided by pressure exerted by the brake lining against the inner surface of the brake drum. Year by year Cadillac Fleetwood has used different types of Brake Drum that has been produced to improve on performance and durability. Notwithstanding this premise, there generally could be variations in the forms, the materials used or the innovations or design attributes that enhance on heat exhaust or on wear and tear.
Each OEM Cadillac Fleetwood Brake Drum we offer is competitively priced and comes with the assurance of the manufacturer's warranty for the part. Furthermore, we guarantee the speedy delivery of your orders right to your doorstep. Our hassle-free return policy is also in place for your peace of mind.
Cadillac Fleetwood Brake Drum Parts Questions & Experts Answers
- Q: How to remove and install the brake drum on Cadillac Fleetwood?A:To remove and install the brake drum, first raise and safely support the vehicle, then remove the wheel and tire assembly. If equipped, discard the retainers from the wheel studs as they do not need to be reinstalled. Next, remove the brake drum; if it is difficult to remove, ensure the parking brake is released and back off the Parking Brake Cable adjustment. For vehicles from 1990 to early 1992, remove the access hole plug from the backing plate, while for 1992-93 vehicles with a knockout slug in the drum, use a hammer and metal punch to bend in the backing plate knockout slug. Insert a suitable tool through the hole to push the parking brake lever off its stop, allowing the Brake Shoes to retract slightly. Apply penetrating oil around the drum pilot hole and gently tap the outer rim of the drum with a rubber mallet, avoiding excessive force. After removing a drum with a metal knockout slug, use pliers or vise grips to remove the slug and install a rubber access hole plug to prevent contamination. Inspect the brake drum for cracks, scores, deep grooves, out-of-roundness, and taper, replacing any cracked drum as it is unsafe. Light scoring not exceeding 1/16 in. (1.5mm) is acceptable, but heavy scoring may require machining. If the brake shoes are slightly worn and the drum is grooved, polish the drum with fine emery cloth instead of machining. However, if replacing the brake shoes, a grooved drum must be machined to ensure proper performance. An out-of-round or tapered drum can lead to inaccurate brake shoe adjustment and excessive wear on other brake parts, as well as irregular tire tread wear and a pulsating brake pedal. Measure the inside diameter of the drum at several points using an inside micrometer to check for out-of-roundness and taper, and machine the drum as necessary while adhering to the maximum machine diameter specification. To install, adjust the brake shoes and reinstall the brake drum, followed by the wheel and tire assembly, and lower the vehicle.
