My Garage
My Account
Cart
Genuine Cadillac Fleetwood Control Arm
Suspension Arm- Select Vehicle by Model
- Select Vehicle by VIN
Select Vehicle by Model
orMake
Model
Year
Select Vehicle by VIN
For the most accurate results, select vehicle by your VIN (Vehicle Identification Number).
19 Control Arms found
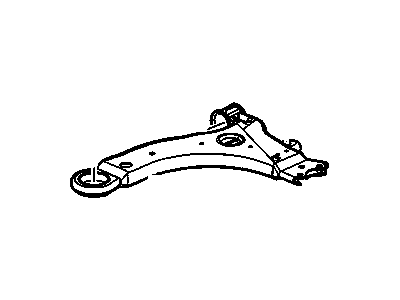
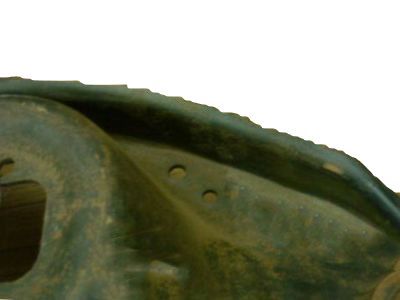
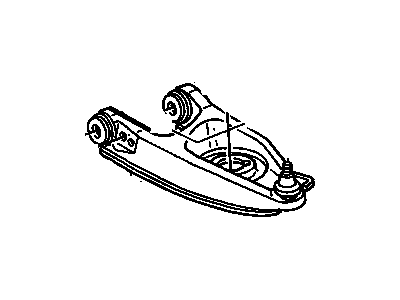
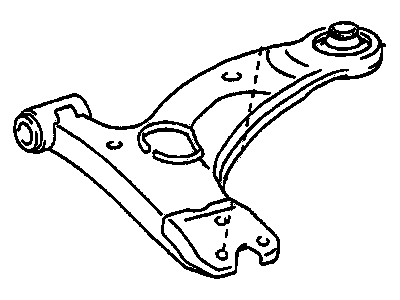
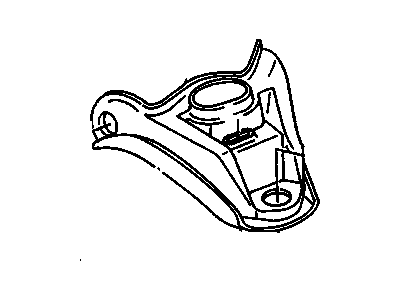
Cadillac Fleetwood Front Lower Control Arm Assembly
Part Number: 19149203$47.77 MSRP: $79.07You Save: $31.30 (40%)Ships in 1-2 Business DaysCadillac Fleetwood Front Lower Control Arm Assembly *Yellow
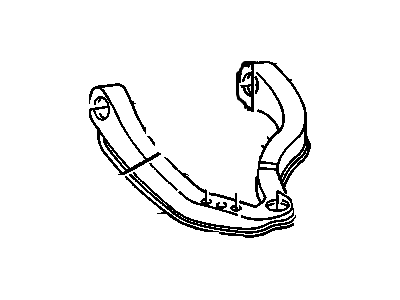
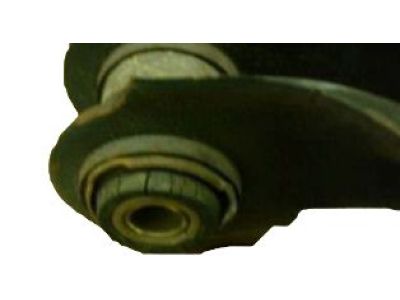
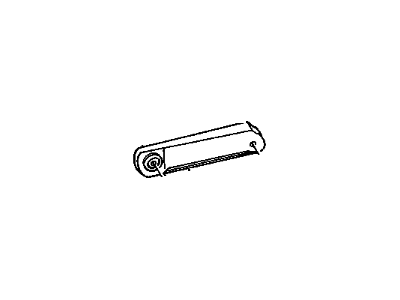
Part Number: 10282171$187.76 MSRP: $262.17You Save: $74.41 (29%)Ships in 1-2 Business DaysCadillac Fleetwood Rear Upper Control Arm Assembly *288Mm Center Of (, 2 Degree) *288Mm Center Of
Part Number: 12523508Cadillac Fleetwood Rear Upper Control Arm Assembly *278Mm Center Of (+2 Degree) *278Mm Center Of
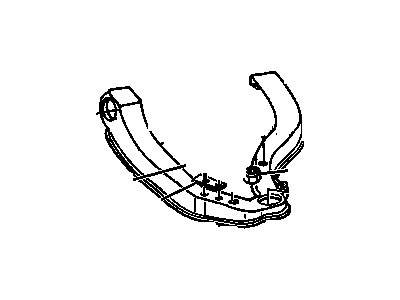
Part Number: 12523507Cadillac Fleetwood Rear Upper Control Arm Assembly *283Mm Center Of (0 Degree) *283Mm Center Of
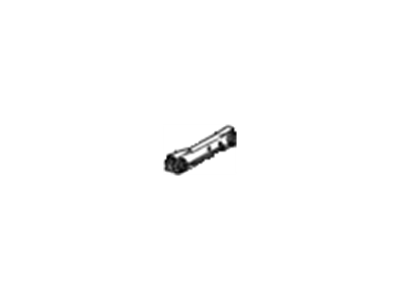
Part Number: 12522685
Cadillac Fleetwood Control Arm
Cadillac Fleetwood vehicles have a Control Arm that plays the role of acting as the connection between the frame and the wheels, which in turn supports the other suspension components like the shocks and springs. These arms rotate as per the road conditions; the wheels of the car can thus move up and down. Control Arms can also be of different shapes and construction depending on suspension design; however, they both use bushings or ball joint for connection. Originally, Control Arms were fabricated out of stamped steel; however, newer Control Arm designs use stronger materials such as cast iron or aluminum. Sway Bar are very important for keeping caster and camber in good conditions, cornering, and wear out of the tires especially for performance and high-speed based models are constructed for modified automobiles.
Each OEM Cadillac Fleetwood Control Arm we offer is competitively priced and comes with the assurance of the manufacturer's warranty for the part. Furthermore, we guarantee the speedy delivery of your orders right to your doorstep. Our hassle-free return policy is also in place for your peace of mind.
Cadillac Fleetwood Control Arm Parts Questions & Experts Answers
- Q: How to remove and install control arms on Cadillac Fleetwood?A:To start the process of changing control arms on different models of Cadillac made between 1990 and 1998, first lift and support the vehicle safely, remove the wheel and tire assembly, and disconnect such parts as height sensors, stabilizer bars or Shock Absorbers. In order to change control arms in Deville and Fleetwood models made between 1990 & 93 there is need to remove suspension adjustment link coil spring as well as ball joint stud and use specific tools to separate knuckle from ball joint. Put back the control arm then tighten all necessary nuts to given torque values then lubricate them. The steps for Eldorado and Seville models made between 1990 & 92 include disconnecting brake components, removing knuckle pivot bolt, lowering the suspension in order to take off the control arm. The control arm should be positioned and reattach components before tightening relevant bolts/nuts to specific torque values that would ensure proper suspension height. On Eldorado and Seville models manufactured from 1993 to 1998, removing lower control arm involves disconnecting stabilizer bar and shock absorber; removing inner lower control arm nuts and bolts; safely lowering control arm to relieve spring pressure. At this point the lower control arm is reinstalled with correct spring orientation by tightening all nuts/bolts at specified torque values. The sequence in which upper control arms are removed & installed includes disconnection of engine-specific components, removal of control arm bolts and ensuring right torque values for nuts. Finally reinstall the wheel/tire assembly while rear wheel alignment check is recommended after doing control arm work.
