My Garage
My Account
Cart
Genuine Cadillac Shock Absorber
Suspension Shock Absorber- Select Vehicle by Model
- Select Vehicle by VIN
Select Vehicle by Model
orMake
Model
Year
Select Vehicle by VIN
For the most accurate results, select vehicle by your VIN (Vehicle Identification Number).
593 Shock Absorbers found
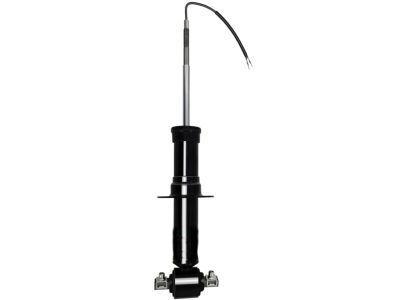
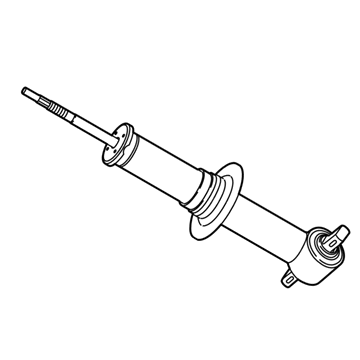
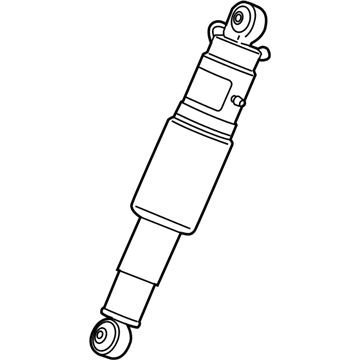
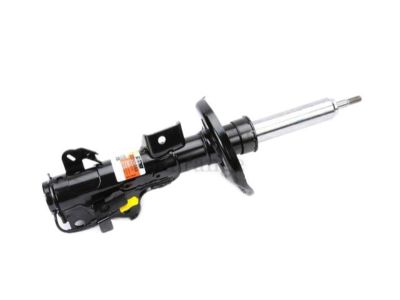
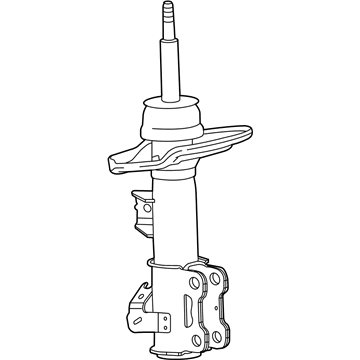
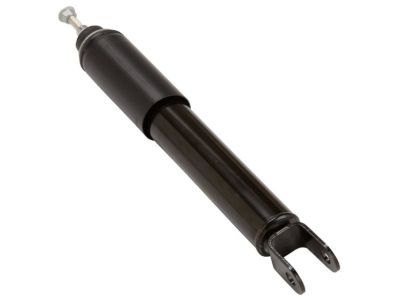
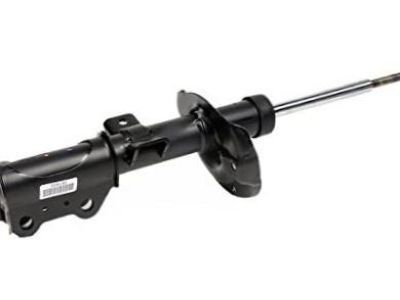
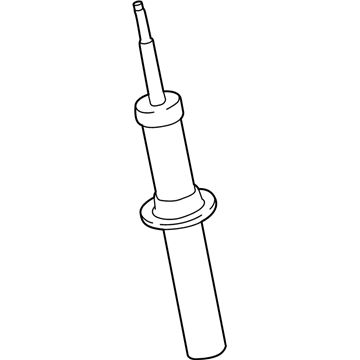
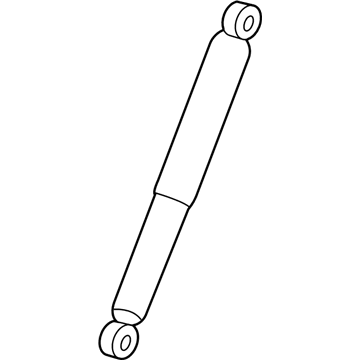
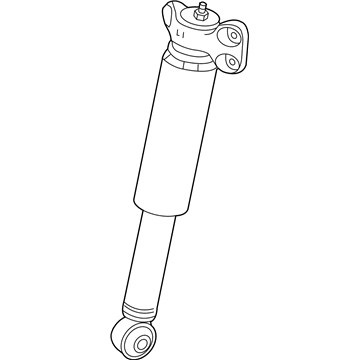
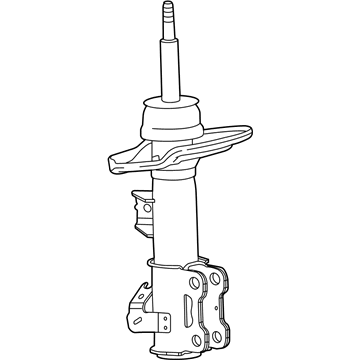
Cadillac Front Shock Absorber Assembly
Part Number: 84977478$485.84 MSRP: $955.44You Save: $469.60 (50%)Product Specifications- Other Name: Absorber Assembly, Front Shk; Shock Absorber, Strut
- Position: Front
- Replaces: 23151123, 84061228, 23464589, 84176631, 23312167
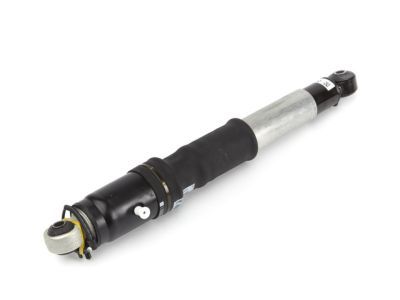
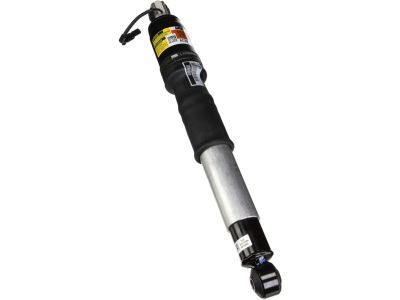
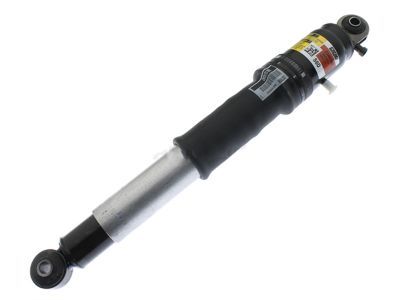
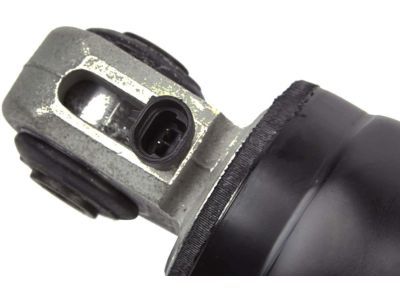
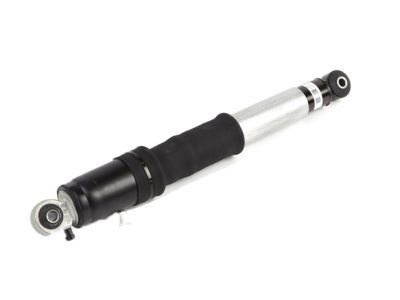
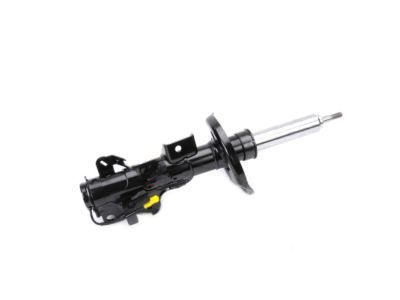
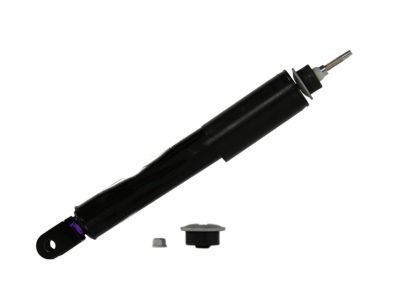
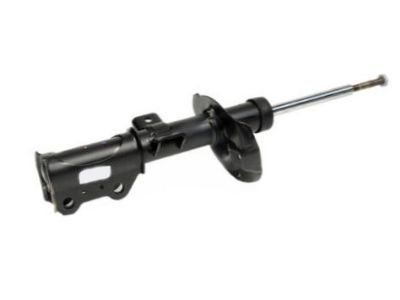
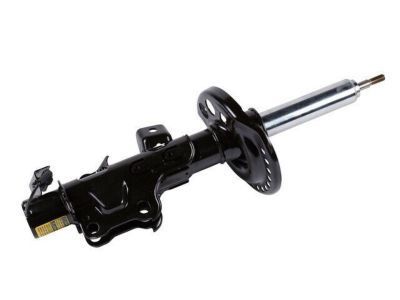
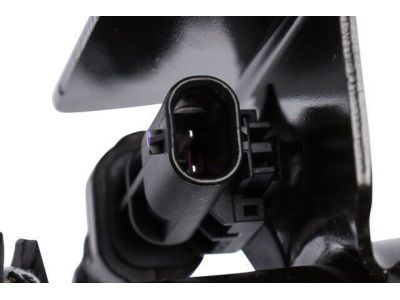
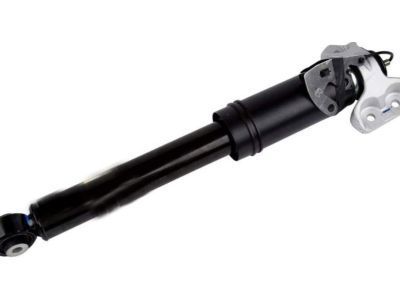
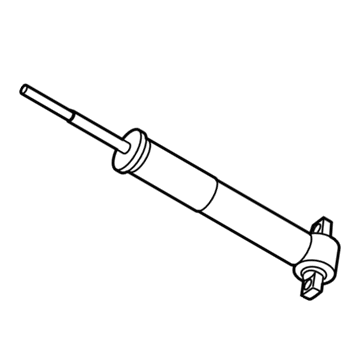
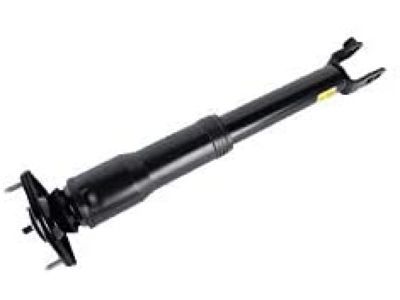
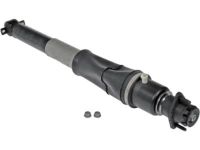
Cadillac Rear Leveling Shock Absorber Assembly
Part Number: 84176675$462.61 MSRP: $901.78You Save: $439.17 (49%)Ships in 1-3 Business DaysProduct Specifications- Other Name: Absorber Assembly, Rear Leveling Shock; Shock, Shock Absorber
- Position: Rear
- Replaces: 23267007, 23151122, 23290661
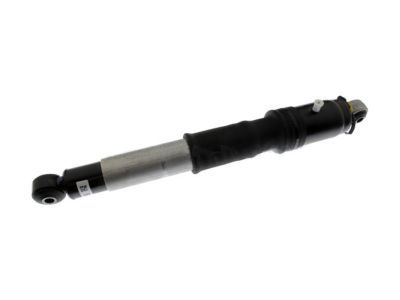
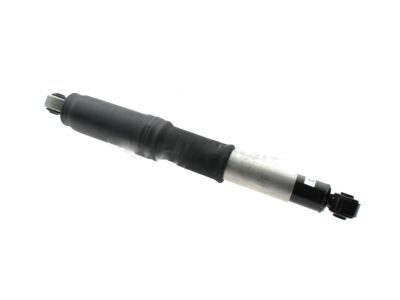
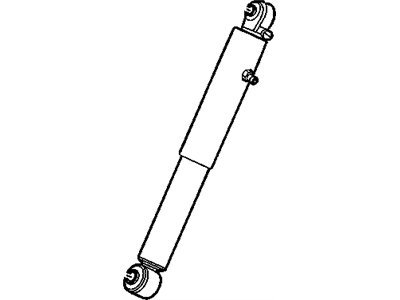
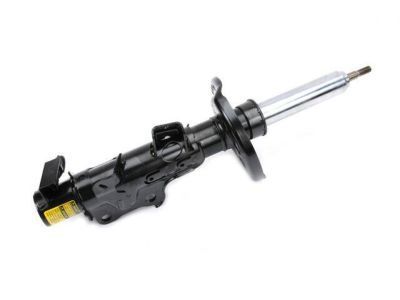
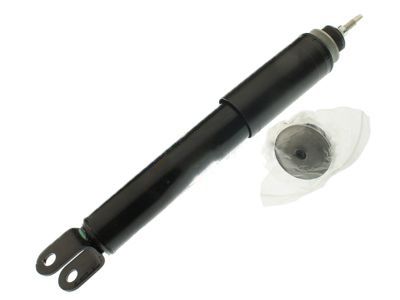
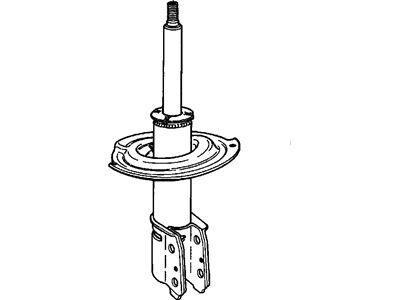
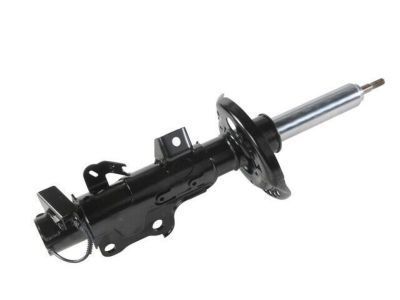
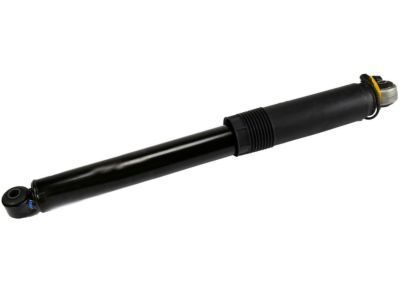
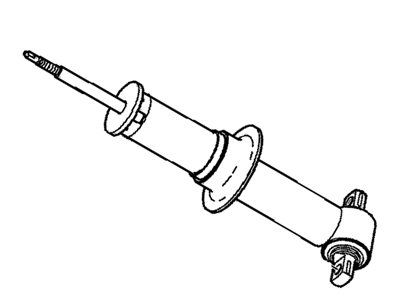
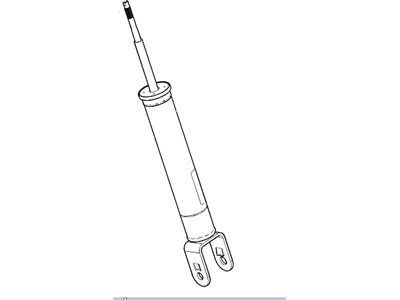
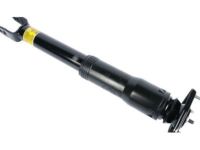
Cadillac Rear Shock Absorber Assembly *Black
Part Number: 19368461$338.10 MSRP: $664.88You Save: $326.78 (50%)Product Specifications- Other Name: Absorber Asm,Rr Lvlg Shk *Black; Shock, Shock Absorber
- Position: Rear
- Replaces: 15852157, 25979392, 19300070, 25885468, 15852158, 23487282, 15918524
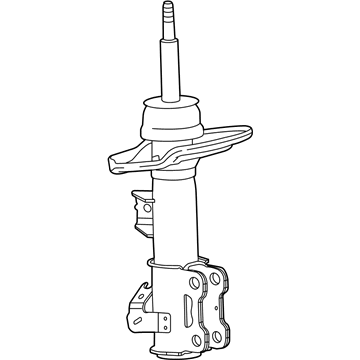
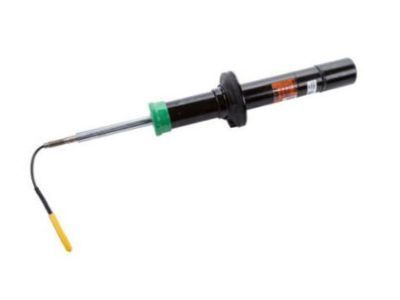
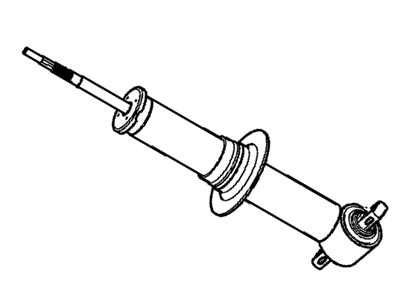
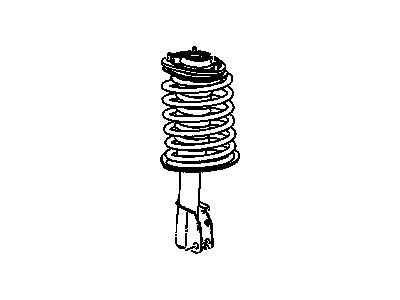
Cadillac Front Suspension Strut Assembly
Part Number: 84427197$475.87 MSRP: $935.82You Save: $459.95 (50%)Product Specifications- Other Name: Strut Assembly, Front Susp; Strut
- Position: Front
- Replaces: 23247462, 23163721, 23450533
Cadillac Front Suspension Strut Assembly
Part Number: 84427198$475.33 MSRP: $926.58You Save: $451.25 (49%)Product Specifications- Other Name: Strut Assembly, Front Susp; Strut
- Position: Front
- Replaces: 23247463, 23450534, 23163722
Cadillac Front Suspension Strut Assembly
Part Number: 84427195$479.44 MSRP: $942.84You Save: $463.40 (50%)Product Specifications- Other Name: Strut Assembly, Front Susp; Strut
- Position: Front
- Replaces: 23247464, 23142942, 23450539
Cadillac Front Shock Absorber Kit *Code 6296
Part Number: 19300047$262.55 MSRP: $511.80You Save: $249.25 (49%)Ships in 1-2 Business DaysProduct Specifications- Other Name: Absorber Kit,Front Shock *Code 6296; Shock, Shock Absorber
- Position: Front
- Replaces: 22187151, 22400884, 22400248, 22187157, 22187159, 22187155, 88965339
Cadillac Front Suspension Strut Assembly
Part Number: 22945153$125.55 MSRP: $244.78You Save: $119.23 (49%)Ships in 1-2 Business DaysProduct Specifications- Other Name: Strut Assembly, Front Suspension ; Strut, Front And Rear Suspension; Strut
- Position: Front
- Replaces: 20809892, 22783682, 20980704, 20888667, 20888665
Cadillac Front Shock Absorber Assembly
Part Number: 23405719$456.85 MSRP: $898.42You Save: $441.57 (50%)Product Specifications- Other Name: Absorber Assembly, Front Shock; Shock Absorber, Strut
- Position: Front
Cadillac Front Suspension Strut Assembly
Part Number: 84427196$465.49 MSRP: $915.42You Save: $449.93 (50%)Ships in 1-3 Business DaysProduct Specifications- Other Name: Strut Assembly, Front Susp; Strut
- Position: Front
- Replaces: 23142943, 23450540, 23247465
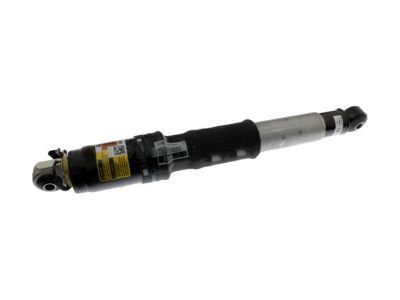
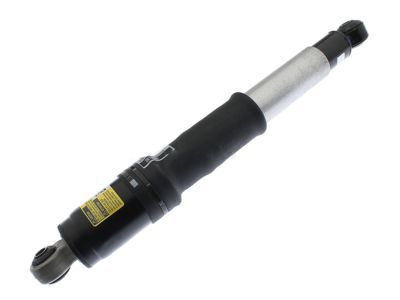
Cadillac Rear Shock Absorber Assembly
Part Number: 84178213$422.79 MSRP: $831.44You Save: $408.65 (50%)Product Specifications- Other Name: Absorber Assembly, Rear Shock; Shock
- Position: Rear
- Replaces: 23314866, 84072223, 23425431, 23303448
Cadillac Rear Shock Absorber Assembly With Upper Mount
Part Number: 84230453$397.05 MSRP: $780.82You Save: $383.77 (50%)Ships in 1-3 Business DaysProduct Specifications- Other Name: Absorber Assembly, Rear Shock (W/ Upper Mount); Shock, Shock Absorber
- Position: Rear Upper
- Replaces: 22931831, 23146371
Cadillac ABSORBER ASM,FRT SHK
Part Number: 19420490$363.40 MSRP: $685.66You Save: $322.26 (47%)Ships in 1-3 Business DaysProduct Specifications- Other Name: Shock, Shock Absorber, Strut
- Replaces: 15815632, 15918521, 19368454, 25888674, 25845437, 19353946, 19300036, 20810264
Cadillac ABSORBER ASM,FRT SHK
Part Number: 19420489$331.99 MSRP: $647.16You Save: $315.17 (49%)Ships in 1-2 Business DaysProduct Specifications- Other Name: Shock, Shock Absorber
- Replaces: 15918522, 19209555, 19300031, 19353945, 19368453, 25845446, 25845438, 25888675, 15909491, 15939374, 25888683, 25888684, 15886465, 25845447
Cadillac ABSORBER ASM,FRT SHK
Part Number: 19420493$344.99 MSRP: $678.44You Save: $333.45 (50%)Ships in 1 Business DayProduct Specifications- Other Name: Shock Absorber, Strut
- Replaces: 15911939, 15939373, 20810270, 25870256, 25821026, 25888682, 15909490, 19300039, 19368457, 19353949, 25845445
Cadillac ABSORBER ASM,FRT SHK
Part Number: 19420491$281.39 MSRP: $548.52You Save: $267.13 (49%)Ships in 1-2 Business DaysProduct Specifications- Other Name: Shock, Shock Absorber, Strut
- Replaces: 15815523, 15886467, 19353947, 19300037, 25845441, 25845439, 19368455, 25888678, 15918523, 20810265, 25821028, 25888676
Cadillac ABSORBER ASM,FRT SHK
Part Number: 19420492$280.65 MSRP: $551.90You Save: $271.25 (50%)Ships in 1-2 Business DaysProduct Specifications- Other Name: Strut
- Replaces: 15911938, 19368456, 25845440, 25888681, 25888679, 15939372, 15909489, 15911937, 19300038, 20810269, 25796769, 25888677, 25845442, 25888680, 25845443, 25845444, 19353948
Cadillac Front Suspension Strut Assembly
Part Number: 84636399$108.80 MSRP: $212.10You Save: $103.30 (49%)Ships in 1-2 Business DaysProduct Specifications- Other Name: Strut Assembly, Front Susp; Strut
- Position: Front
- Replaces: 22948026, 23219709, 23164519
Cadillac Rear Shock Absorber Assembly With Upper Mount
Part Number: 20951603$108.46 MSRP: $194.53You Save: $86.07 (45%)Product Specifications- Other Name: Absorber Assembly, Rear Shock (W/ Upper Mount) ; Absorber, Front And Rear Suspension; Shock, Shock Absorber
- Position: Rear Upper
- Replaces: 20820267
Cadillac Front Suspension Strut Assembly
Part Number: 19300076$261.08 MSRP: $470.41You Save: $209.33 (45%)Product Specifications- Other Name: Strut Asm,Front Suspension ; Strut, Front And Rear Suspension; Strut
- Position: Front
- Replaces: 88955399
| Page 1 of 30 |Next >
1-20 of 593 Results
Cadillac Shock Absorber
For superior quality and affordable Cadillac Shock Absorbers, consider our website. We proudly present a wide selection of genuine Cadillac Shock Absorbers at unbeatable prices. These OEM parts, supported by the manufacturer's warranty, are also eligible for our hassle-free return policy and swift delivery service.
Cadillac Shock Absorber Parts Questions & Experts Answers
- Q: How to remove and install rear Shock Absorbers on Cadillac CTS?A:Loosen the wheel lug nuts, raise the vehicle, and support it securely on jackstands while blocking the front wheels to prevent rolling, then remove the wheel. Support the rear lower control arm with a floor jack positioned under the spring pocket, ensuring the jack remains in this position throughout the procedure. Open the rear hatch or trunk and remove the trunk liner or seat back. Remove the lower shock mounting bolt and the nuts securing the upper shock mount to the body. Maneuver the shock out of the vehicle, and if new shocks are to be installed, swap the bracket to the top of the new shock. Installation follows the reverse of the removal procedure, taking care not to remove the fiberglass strap from the new gas-filled shock absorbers until they are installed. Finally, tighten the mounting fasteners to the specified torque, raising the lower arm to simulate normal ride height before tightening the lower mounting fasteners.
- Q: How to replace the front Coil Springs and Shock Absorber on Cadillac DeVille?A:To remove the struts, first, check for signs of wear such as leaking fluid or loss of dampening capability. Consider options like rebuilt or new strut assemblies that may be available on an exchange basis. Once ready, remove the strut and spring assembly and mount it in a vise, cushioning the vise jaws with rags or blocks of wood. Use a spring compressor to relieve pressure from the spring seat, following the tool manufacturer's instructions. Loosen the damper shaft nut while holding the shaft stationary with the proper tool. Lift off the bearing cap, upper spring seat, and upper insulator, inspecting the bearing in the spring seat for smooth operation and replacing if necessary. Carefully remove the compressed spring assembly and set it aside. For installation, assemble the new strut starting with the lower spring insulator and spring, followed by the upper spring insulator, spring seat, and bearing cap. Position the spring seal and bearing cap with the flats facing the steering knuckle flange. Install and tighten the damper shaft nut to the specified torque. Finally, install the strut and spring assembly and have the front-end alignment checked and adjusted if needed.
- Q: How should front shock absorbers be replaced on Cadillac Escalade?A:Shock Absorbers that are part of the Autoride® system that are electronically controlled must be replaced with compatible replacement shock absorbers only. Start by slightly unbearing the lug nuts of front wheel, lifting the front part of the car, placing it on a safe jack and then finally servicing the wheel. Place a floor jack beneath the outer end of lower control arm and make sure that will not move during the entire procedure. If a ride control system is present it is necessary to unlock the electrical connector and disconnect it from the top of the shock absorber. For the models of coil-over shock absorber, the shocks or springs may be replaceable but to disassemble the system, it may require the services of a professional car repair shop, and this is expensive. Take off the upper nuts of the shock absorber assembly, then taking a position beneath the car, undo the two bolts that fix the lower end of the shock absorber to the lower control arm and pull the shock out from beneath. Mounting is in the reverse sequence that dismounting was done to guarantee fastener tightness to the required torque. For torsion bar models, undo the two nuts on upper mounting then the nut and bolt on the lower mounting making sure you notice the direction of the bolt before you detach the shock absorber. Reinstallation is also the opposite of removal with specific reference to the angle of the lower mounting bolt as well as the use of torque on all bolts. If this is an equipped vehicle with a suspension control system, reconnect the electrical connector onto the top of the shock absorber, reinstall the wheels and the lug nuts, lower the vehicle and tight the lug nuts as recommended.
Related Cadillac Parts
Browse by Model
ATS Shock Absorber Allante Shock Absorber Brougham Shock Absorber CT4 Shock Absorber CT5 Shock Absorber CT6 Shock Absorber CTS Shock Absorber Catera Shock Absorber Cimarron Shock Absorber DTS Shock Absorber Deville Shock Absorber ELR Shock Absorber Eldorado Shock Absorber Escalade Shock Absorber Fleetwood Shock Absorber LYRIQ Shock Absorber SRX Shock Absorber STS Shock Absorber Seville Shock Absorber XLR Shock Absorber XT4 Shock Absorber XT5 Shock Absorber XT6 Shock Absorber XTS Shock Absorber
