My Garage
My Account
Cart
Genuine Cadillac Universal Joint
U-Joint- Select Vehicle by Model
- Select Vehicle by VIN
Select Vehicle by Model
orMake
Model
Year
Select Vehicle by VIN
For the most accurate results, select vehicle by your VIN (Vehicle Identification Number).
19 Universal Joints found
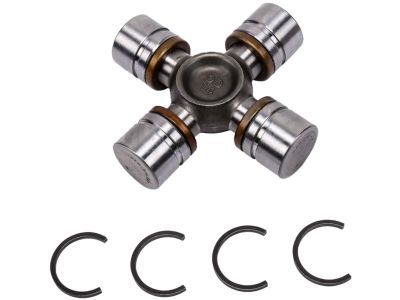
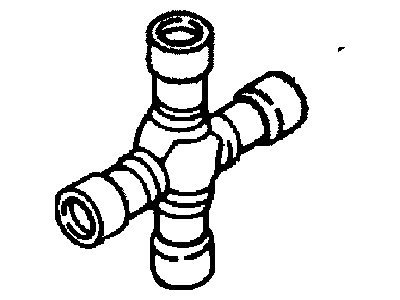
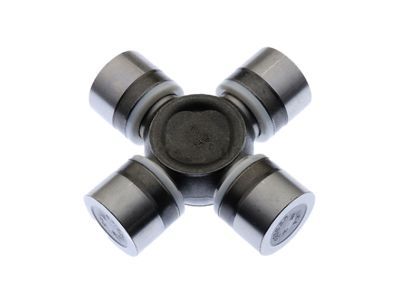
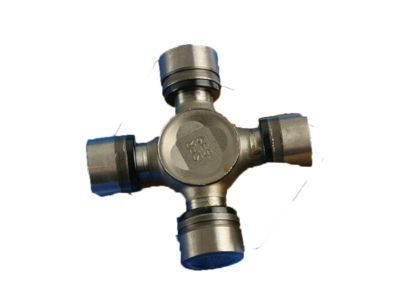
Cadillac Joint Kit, Front Axle Propeller Shaft Front Universal
Part Number: 23104840$51.58 MSRP: $88.98You Save: $37.40 (43%)Ships in 1-2 Business DaysProduct Specifications- Other Name: JOINT KIT, Propeller Shaft Universal Joint; Universal Joint
- Position: Front
- Replaces: 12471502, 12479126, 26042371
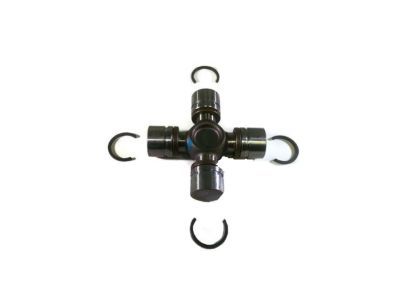
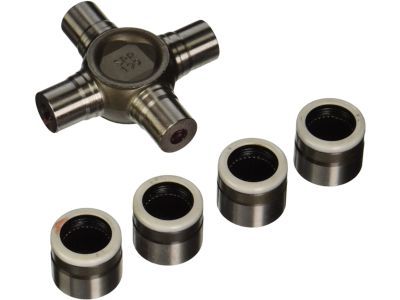
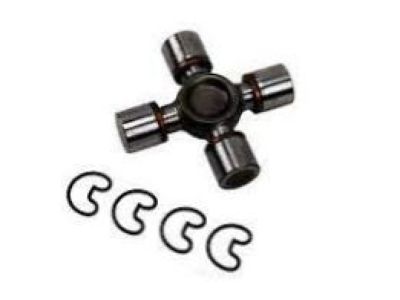
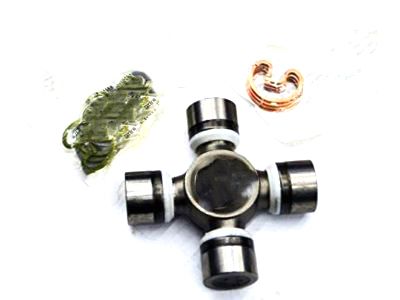
Cadillac Joint Kit,Front Axle Propeller Shaft Universal
Part Number: 89059111$163.11 MSRP: $273.43You Save: $110.32 (41%)Ships in 1-2 Business DaysProduct Specifications- Other Name: JOINT KIT, Propeller Shaft Universal Joint; Slip Yoke, Universal Joint
- Position: Front
- Replaces: 12472409, 12476231, 12471503, 12522048, 26049843, 88982758, 88964507, 94772179, 12476230
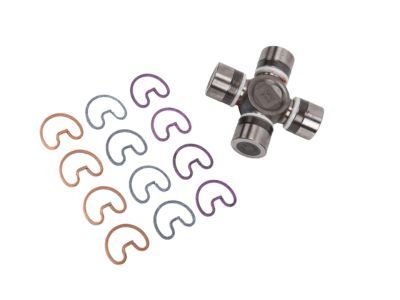
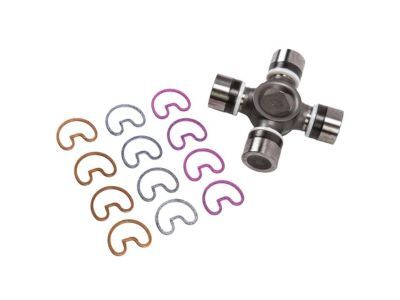
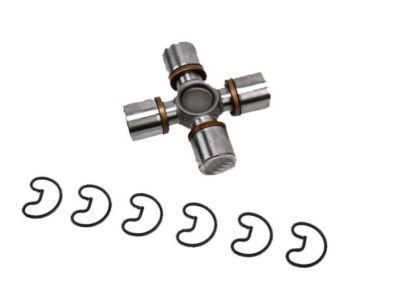
Cadillac Joint Kit,Front Axle Propeller Shaft Universal
Part Number: 88964413$197.48 MSRP: $328.19You Save: $130.71 (40%)Ships in 1-2 Business DaysProduct Specifications- Other Name: JOINT KIT, Propeller Shaft Universal Joint; Universal Joint
- Position: Front
- Replaces: 12385742, 12472406, 15599179, 19256729, 88982759, 12478057, 12471510, 12476310
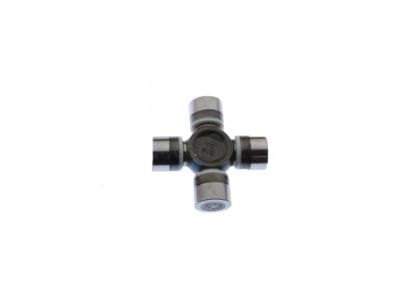
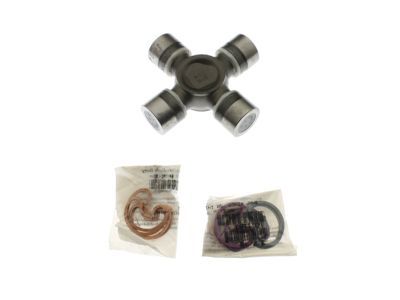
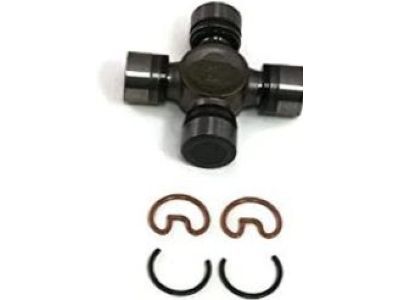
Cadillac Joint Kit,Propeller Shaft Universal (1415 Series)
Part Number: 19256729$197.48 MSRP: $328.19You Save: $130.71 (40%)Ships in 1-2 Business DaysProduct Specifications- Other Name: JOINT KIT, Propeller Shaft Universal Joint; Universal Joint
- Replaced by: 88964413
Cadillac Joint Kit,Propeller Shaft Rear Universal
Part Number: 89040245$106.93 MSRP: $180.82You Save: $73.89 (41%)Ships in 1-2 Business DaysProduct Specifications- Other Name: JOINT KIT, Propeller Shaft Universal Joint; Universal Joint
- Position: Rear
- Replaces: 12472402, 12543576, 15577432, 12476136
Cadillac Joint Kit,Propeller Shaft Front Universal
Part Number: 89040243$108.10 MSRP: $179.64You Save: $71.54 (40%)Ships in 1-2 Business DaysProduct Specifications- Other Name: JOINT KIT, Propeller Shaft Universal Joint; Universal Joint
- Position: Front
- Replaces: 12543573, 12473124, 12476135
Cadillac Joint Kit, Front Axle Propeller Shaft Front Universal
Part Number: 94772179$164.54 MSRP: $273.43You Save: $108.89 (40%)Ships in 1-3 Business DaysProduct Specifications- Other Name: JOINT KIT, Propeller Shaft Universal Joint; Universal Joint
- Position: Front
- Replaced by: 89059111
Cadillac Joint Kit, Prop Shf Universal
Part Number: 84712242$124.21 MSRP: $212.40You Save: $88.19 (42%)Ships in 1 Business DayProduct Specifications- Other Name: U-Joint, Universal Joint
- Replaced by: 84807275
Cadillac Joint Kit, Rear Whl Drv Shf Otr Cv
Part Number: 84449190$86.71 MSRP: $136.44You Save: $49.73 (37%)Ships in 1-3 Business DaysProduct Specifications- Position: Rear
Cadillac Joint Kit, Rear Wheel Drive Shaft Inner
Part Number: 84210651$72.45 MSRP: $114.00You Save: $41.55 (37%)Ships in 1-3 Business DaysProduct Specifications- Other Name: Joint Kit, Rear Whl Drv Shf Inr
- Position: Rear Inner
Cadillac Joint Kit, Rear Wheel Drive Shaft Outer Cv
Part Number: 84207687$71.92 MSRP: $114.71You Save: $42.79 (38%)Ships in 1-3 Business DaysProduct Specifications- Other Name: Joint Kit, Rear Whl Drv Shf Otr Cv; Outer Boot
- Position: Rear Outer
Cadillac Joint Kit, Rear Whl Drv Shf Inr
Part Number: 84710415$73.77 MSRP: $122.09You Save: $48.32 (40%)Ships in 1-3 Business DaysProduct Specifications- Other Name: Inner CV Joint
- Position: Rear
- Replaces: 84210654, 84207709
Cadillac Joint Kit, Rear Wheel Drive Shaft Outer Cv
Part Number: 84207572$85.91 MSRP: $135.18You Save: $49.27 (37%)Ships in 1-3 Business DaysProduct Specifications- Other Name: Joint Kit, Rear Whl Drv Shf Otr Cv
- Position: Rear Outer
Cadillac Joint Kit, Rear Whl Drv Shf Otr Cv
Part Number: 84449188$88.74 MSRP: $139.63You Save: $50.89 (37%)Ships in 1-3 Business DaysProduct Specifications- Position: Rear
Cadillac Joint Kit, Rear Whl Drv Shf Otr Cv
Part Number: 84449194$90.63 MSRP: $142.61You Save: $51.98 (37%)Ships in 1-3 Business DaysProduct Specifications- Position: Rear
Cadillac Joint Kit,Rear Wheel Drive Shaft Cv
Part Number: 26055829$64.39 MSRP: $343.18You Save: $278.79 (82%)Ships in 1-2 Business DaysProduct Specifications- Other Name: JOINT KIT, Rear Axle Universal Joint; Axle Shaft
- Position: Rear
- Product Specifications
- Other Name: JOINT KIT, Rear Axle Universal Joint; Outer CV Joint, Outer Joint Assembly
- Position: Rear Outer
- Product Specifications
- Other Name: JOINT KIT, Rear Axle Universal Joint; Inner CV Joint
- Position: Rear Inner
- Product Specifications
- Other Name: JOINT KIT, Rear Axle Universal Joint; Inner CV Joint, Inner Joint Assembly
- Position: Rear Inner
Cadillac Universal Joint
For superior quality and affordable Cadillac Universal Joints, consider our website. We proudly present a wide selection of genuine Cadillac Universal Joints at unbeatable prices. These OEM parts, supported by the manufacturer's warranty, are also eligible for our hassle-free return policy and swift delivery service.
Cadillac Universal Joint Parts Questions & Experts Answers
- Q: How should you properly replace a universal joint on Cadillac Escalade?A:Always purchase a universal joint service kit for your model vehicle before beginning this procedure and read through the entire process beforehand. Start by removing the driveshaft. Place the driveshaft on a bench equipped with a vise and use a small pair of pliers to remove the snap-rings from the ends of the universal joint yokes. To remove the U-joint from the driveshaft, position a piece of pipe or a large socket with an outside diameter slightly larger than one of the bearing caps over that cap, and use a smaller socket against the opposite cap to press the bearing cap out using the vise. Once the U-joint is pressed through as far as possible, grip the bearing cap with pliers to remove it. A universal joint repair kit will contain a new U-joint, seals, bearings, caps, and snap-rings, so inspect the bearing cap bores in the yokes for wear and damage; if they are too worn, the driveshaft must be replaced. Ensure the dust seals are properly located on the U-joint, then press one bearing cap into the yoke approximately 1/4-inch using a vise. Use chassis grease to hold the needle rollers in place in the caps, insert the U-joint into the partially installed bearing cap without dislodging the needle rollers, and hold the U-joint in alignment while pressing both caps into place by carefully closing the jaws of the vise. Use a socket slightly smaller in diameter than the caps to press them into the yoke, pressing in one side, installing the snap-ring, then pressing the other side to shift the U-joint assembly tight against the installed snap-ring and install the other snap-ring. Repeat these operations for the remaining two bearing caps. If the joint has been previously rebuilt, remove the snap-rings located on the inner part of each bearing cap by tapping them off with a screwdriver and hammer; if this is the first rebuild, there won't be any snap-rings, as the pressing operation will shear the molded plastic retaining material, which may require heating the U-joint over 500-degrees to melt the plastic before pressing it apart. Press out the bearing caps, remove the U-joint, and clean all plastic material from the yoke, using a small punch to clear the injection holes. Reassembly follows the same process as for the outer snap-ring joint, with snap-rings located on the inner part of each bearing cap, pressing the bearing cap in until the snap-ring can be installed. If the joint is stiff after assembly, strike the yoke sharply with a hammer to spring the yoke ears and free up the joint.
