My Garage
My Account
Cart
Genuine Chevrolet Astro Headlight
Headlamp- Select Vehicle by Model
- Select Vehicle by VIN
Select Vehicle by Model
orMake
Model
Year
Select Vehicle by VIN
For the most accurate results, select vehicle by your VIN (Vehicle Identification Number).
6 Headlights found
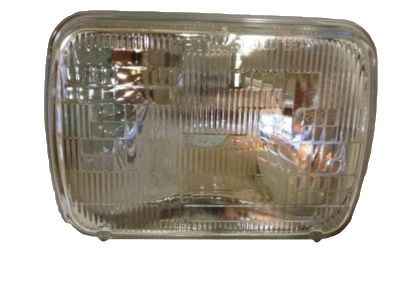
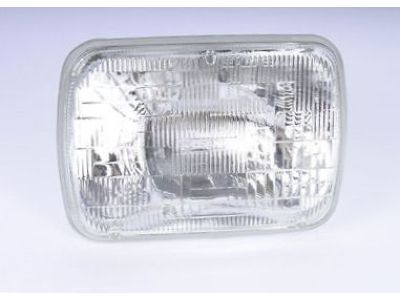
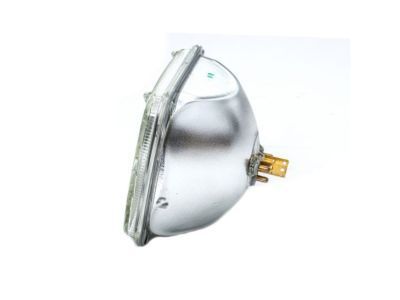
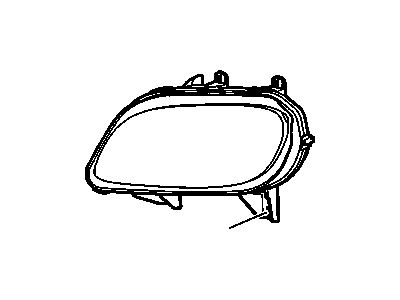
Chevrolet Astro Headlamp Assembly
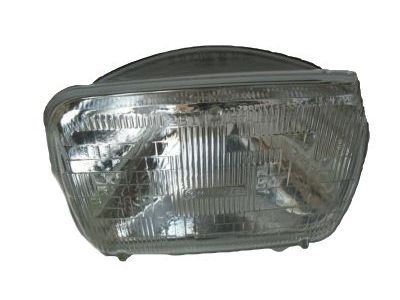
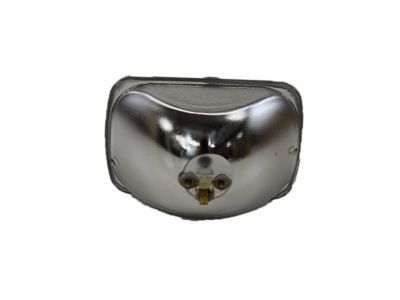
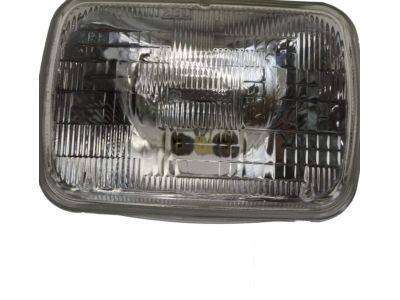
Part Number: 5968098$13.76 MSRP: $24.05You Save: $10.29 (43%)Ships in 1-2 Business DaysChevrolet Astro Headlamp Capsule Assembly
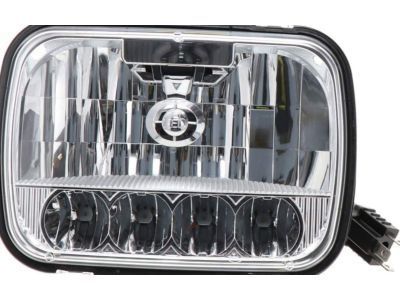
Part Number: 16522983$104.38 MSRP: $150.00You Save: $45.62 (31%)Ships in 1-3 Business Days
Chevrolet Astro Headlight
Each OEM Chevrolet Astro Headlight we offer is competitively priced and comes with the assurance of the manufacturer's warranty for the part. Furthermore, we guarantee the speedy delivery of your orders right to your doorstep. Our hassle-free return policy is also in place for your peace of mind.
Chevrolet Astro Headlight Parts Questions & Experts Answers
- Q: How important is it to aim headlights correctly to avoid blinding oncoming drivers and ensure optimal visibility on the road on Chevrolet Astro?A:It's important that the headlights be aimed correctly to avoid blinding oncoming drivers and to ensure optimal visibility on the road. Headlights should be checked for proper aim every 12 months and whenever a new sealed beam headlight is installed or front end body work is performed. Each sealed beam headlight features two spring-loaded screws: one on the top for vertical movement and one on the side for horizontal movement. For composite type headlights, the hood must be opened to access the adjuster screws located on top of each headlight assembly, which are Torx head number T-15. The simplest adjustment method requires an empty wall 25 feet in front of the vehicle and a level floor. Park the vehicle on a level surface 25 feet from the wall, then position masking tape vertically on the wall in line with the vehicle centerline and the centerlines of both headlights. A horizontal tape line should be placed in line with the centerline of all headlights, which may be easier to position with the vehicle parked just a few inches away. Adjustments should be made with the vehicle level, the gas tank half-full, and without any unusually heavy load. For the Low beam adjustment, position the high intensity zone two inches below the horizontal line and two inches to the right of the headlight vertical line, adjusting the top screw clockwise to raise the beam and counterclockwise to lower it, while using the side screw to move the beam left or right. With the High beams on, the high intensity zone should be vertically centered just below the horizontal line, keeping in mind that it may not be possible to achieve perfect aim for both High and Low beams; if a compromise is necessary, prioritize the Low beams for driver safety.
