My Garage
My Account
Cart
Genuine Chevrolet Astro Transmission Assembly
Trans Assembly- Select Vehicle by Model
- Select Vehicle by VIN
Select Vehicle by Model
orMake
Model
Year
Select Vehicle by VIN
For the most accurate results, select vehicle by your VIN (Vehicle Identification Number).
31 Transmission Assemblies found
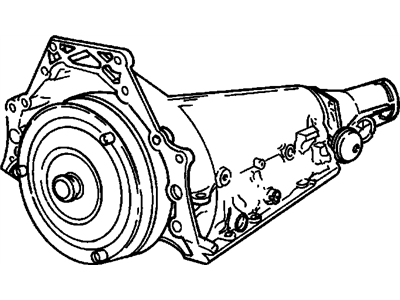
Chevrolet Astro Transmission Asm, Auto (4Mjd) (Re manufactured)
Part Number: 8688973$2254.56 MSRP: $2542.09You Save: $287.53 (12%)Ships in 1-3 Business DaysChevrolet Astro Automatic Transmission Assembly (Remanufactured)
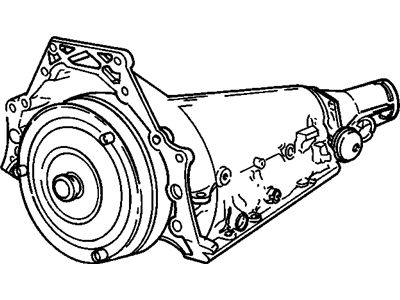
Part Number: 8691927$2254.56 MSRP: $2542.09You Save: $287.53 (12%)Ships in 1-3 Business DaysChevrolet Astro Transmission Asm,Auto (3Tad) (Goodwrench Remanufacture)
Part Number: 24229167$2836.96 MSRP: $3192.60You Save: $355.64 (12%)Ships in 1-3 Business DaysChevrolet Astro Transmission Asm, Auto (4Msd) (Re manufactured)
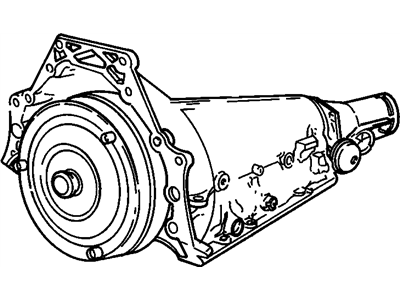
Part Number: 8688975$2254.56 MSRP: $2542.09You Save: $287.53 (12%)Ships in 1-3 Business DaysChevrolet Astro Transmission Asm, Auto (Re manufactured)
Part Number: 24201021$2316.69 MSRP: $2612.38You Save: $295.69 (12%)Ships in 1-3 Business DaysChevrolet Astro Automatic Transmission Assembly (Remanufactured)
Part Number: 8691928$2316.69 MSRP: $2612.38You Save: $295.69 (12%)Ships in 1-3 Business DaysChevrolet Astro Transmission Asm,Auto (3Msd) (Goodwrench Remanufacture)
Part Number: 24229168$2317.16 MSRP: $2604.59You Save: $287.43 (12%)Ships in 1-3 Business DaysChevrolet Astro Transmission, Auto(Goodwrench Remanufacture)
Part Number: 24216088$2371.94 MSRP: $2674.88You Save: $302.94 (12%)
| Page 1 of 2 |Next >
1-20 of 31 Results
Chevrolet Astro Transmission Assembly
Each OEM Chevrolet Astro Transmission Assembly we offer is competitively priced and comes with the assurance of the manufacturer's warranty for the part. Furthermore, we guarantee the speedy delivery of your orders right to your doorstep. Our hassle-free return policy is also in place for your peace of mind.
Chevrolet Astro Transmission Assembly Parts Questions & Experts Answers
- Q: Is replacing a manual transmission assembly a challenging task for a do-it-yourselfer on Chevrolet Astro?A:Manual transmission rebuild is not easy for a DIY mechanic as many tiny parts have to be removed and assembled with an accuracy in measurements of clearance that may call for use of select fit spacers and snap-rings. In the case of problems, a competent do-it-yourselfer can remove and reinstall the transmission because overhaul entails a long time which is costly and may be in excess of a rebuilt transmission, which can be ordered from the dealer's parts department or auto parts stores. Nonetheless, an inexperienced mechanic can pass a reconstruction of the transmission if such spare tools are accessible, and the general reconstruction of the transmission is conducted step by step so that none of the details of the process are omitted. The overhaul of the unit will require several tools including internal and external snap ring pliers, a bearing puller, slide hammer, set of pin punches, dial indicator, a possibly hydraulic press, and a big solid table and a vice or a transmission stand. In the process of disassembly, it is quite important to record observations regarding how a particular component is disconnected and where it is located relative to other parts, and how it can be fastened. It is important to have proper knowledge of possibly problematic areas of the transmission since some problems are associated with particular zones of the transmission.
Related Chevrolet Astro Parts
Browse by Year
2005 Transmission Assembly 2004 Transmission Assembly 2003 Transmission Assembly 2002 Transmission Assembly 2001 Transmission Assembly 2000 Transmission Assembly 1999 Transmission Assembly 1998 Transmission Assembly 1997 Transmission Assembly 1996 Transmission Assembly 1995 Transmission Assembly 1994 Transmission Assembly 1993 Transmission Assembly 1992 Transmission Assembly 1991 Transmission Assembly 1990 Transmission Assembly 1989 Transmission Assembly 1988 Transmission Assembly 1987 Transmission Assembly 1986 Transmission Assembly 1985 Transmission Assembly


