My Garage
My Account
Cart
Genuine Chevrolet C1500 Brake Shoe
Brake Shoe Set- Select Vehicle by Model
- Select Vehicle by VIN
Select Vehicle by Model
orMake
Model
Year
Select Vehicle by VIN
For the most accurate results, select vehicle by your VIN (Vehicle Identification Number).
3 Brake Shoes found
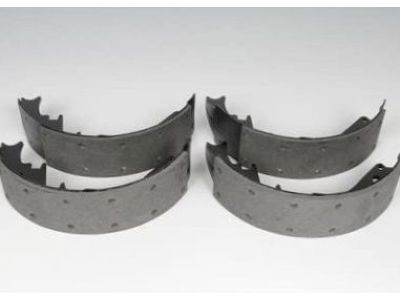
Chevrolet C1500 Rear Brake Shoe Kit
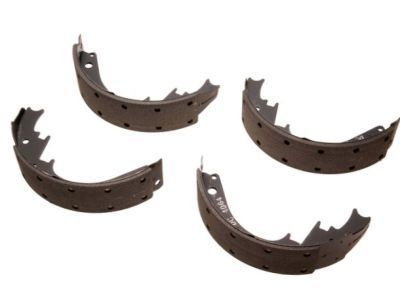
Part Number: 19150002$112.49 MSRP: $221.23You Save: $108.74 (50%)Ships in 1-2 Business DaysChevrolet C1500 Shoe,Rear Brake
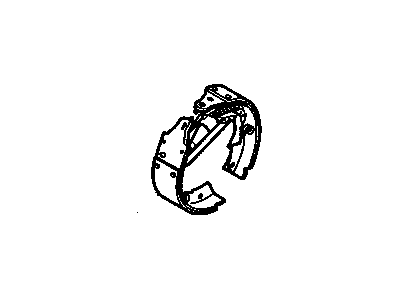
Part Number: 18030062$57.79 MSRP: $101.13You Save: $43.34 (43%)Ships in 1-3 Business DaysChevrolet C1500 Shoe Kit,Rear Brake
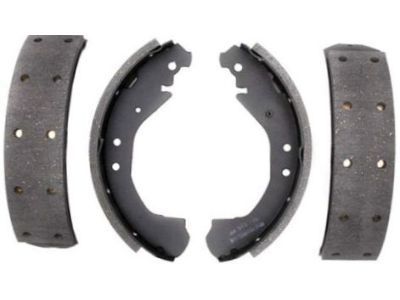
Part Number: 18019991$55.31 MSRP: $101.13You Save: $45.82 (46%)Ships in 1-3 Business Days
Chevrolet C1500 Brake Shoe
Chevrolet C1500 vehicles employ the Brake Shoe in a drum brake assembly thus making it responsible for producing the necessary friction to effect a slow down of the vehicles. The shoes hence rub on the inner periphery of the drum to create friction when the brake is engaged reducing speed. These shoes are fixed to a backing plate and operate by hydraulic rams although return springs are also used to pull the shoes back when not in use. For brake shoes, it is necessary to note that for C1500 models, there have been combinations of non-servo (leading-trailing) and duo-servo. Thus, all drum brakes are self actuating, but duo-servo systems increase the braking force to a greater extent owing to their construction. From our labor, it was apparent that the correct and thorough inspection and maintenance of the brake shoes are vital since wear, contamination, and damage impair the brake shoes' performance.
Each OEM Chevrolet C1500 Brake Shoe we offer is competitively priced and comes with the assurance of the manufacturer's warranty for the part. Furthermore, we guarantee the speedy delivery of your orders right to your doorstep. Our hassle-free return policy is also in place for your peace of mind.
Chevrolet C1500 Brake Shoe Parts Questions & Experts Answers
- Q: How to replace leading/trailing type brake shoes and springs on Chevrolet C1500?A:Whenever brake shoes are replaced, it's crucial to also replace the return and hold-down springs due to their loss of tension over time from continuous heating/cooling cycles. This can cause the shoes to drag on the drum and wear out faster. To begin, loosen the rear wheel lug nuts, raise the vehicle's rear, and secure it on jack stands while blocking the front wheels. Remove the rear wheels and the brake drum/hub (for semi-floating axles, use penetrating oil and gentle tapping if stuck due to corrosion). If the drum is stuck due to wear, remove the plug and retract the shoes slightly. Clean the brake assembly with brake system cleaner and proceed to remove the hold-down springs, actuator spring, and adjuster actuator. Lift the shoes off as an assembly, remove the upper return spring and adjuster assembly, and detach the parking brake lever from the secondary shoe. Check the brake drum for wear, resurfacing it if necessary, and inspect the Wheel Cylinders for brake fluid leakage. Tighten the backing plate mounting bolts and clean the shoe contact areas with emery cloth. Check the adjuster operation and replace the assembly if needed. Lubricate the parking brake lever and cable, attach the lever to the shoe, and apply high-temperature grease to the shoe contact areas on the backing plate. Connect the brake shoes with the adjusting screw assembly and upper return spring, and attach the parking brake cable to the lever. Install the shoes over the wheel cylinder and axle flange, taking care not to over-extend the spring or damage the boots. Attach the lower return spring, spread the shoes, and install the hold-down spring assemblies. Complete the installation of the adjuster actuator, lower return spring, and drum. Adjust the brakes with an adjusting tool, test the pedal position, and perform further adjustments if needed. Finally, test the brakes for proper operation before driving in traffic.


