My Garage
My Account
Cart
Genuine Chevrolet C1500 Drive Shaft
Axle Shaft- Select Vehicle by Model
- Select Vehicle by VIN
Select Vehicle by Model
orMake
Model
Year
Select Vehicle by VIN
For the most accurate results, select vehicle by your VIN (Vehicle Identification Number).
21 Drive Shafts found
| Page 1 of 2 |Next >
1-20 of 21 Results
Chevrolet C1500 Drive Shaft
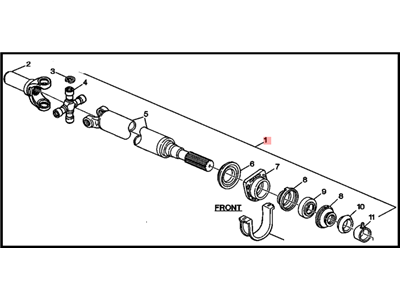
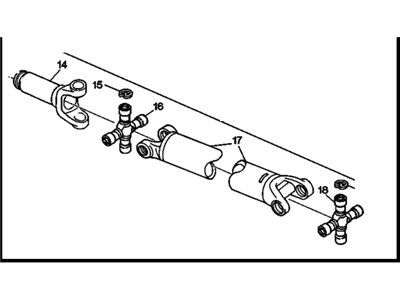
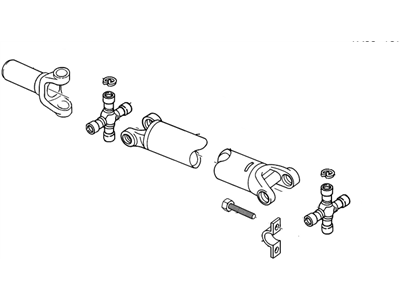
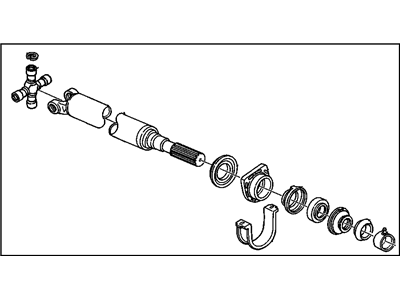
The Drive Shaft in Chevrolet C1500 vehicles is a significant part that connects the power and torque generated by the engine /transmission to the driving wheels. It has a very important role of joining loads that cannot be joined directly due to distance or due to their movement; it takes torsion and shear loads and should be strong and at the same time light. There are one-piece, two-piece and slip-in tube driveshafts often used in C1500 models; More than one drive shaft can be found in the car in CS option, 4WD or AWD system. In general, the Driveshaft in Chevrolet C1500 vehicles is critical in delivering power to the wheels and guaranteeing the premier performance on the highways.
Each OEM Chevrolet C1500 Drive Shaft we offer is competitively priced and comes with the assurance of the manufacturer's warranty for the part. Furthermore, we guarantee the speedy delivery of your orders right to your doorstep. Our hassle-free return policy is also in place for your peace of mind.
Chevrolet C1500 Drive Shaft Parts Questions & Experts Answers
- Q: How to remove the rear drive shaft on Chevrolet C1500?A:First, remove the rear driveshaft by disconnecting the negative battery cable and then jack up the vehicle, securely supporting it on jackstands. To ensure proper reinstallation, put the transmission in Neutral with the parking brake off and make alignment marks on the driveshaft and differential flange. For two-piece driveshafts, tape the bearing caps to the spider and remove the bolts, nuts, and washers from the center support bearing bracket. Remove rear universal joint bolts and straps or companion flange bolts, nuts, and washers if a 4WD vehicle. For two piece drive shafts unbolt and take out nut from centre support bearing bracket and tape bearing caps into spider. Drop down back of propeller shaft to take it away from pinion flange; then slide front of propeller shaft out of transmission (or transfer case), or separate companion flange at transfer case (for 4WD vehicles). If transmission or transfer case end has a splined yoke, put a plastic bag over it to prevent fluid loss or contamination. On installation remove plastic bag wipe area clean and inspect oil seal. Slide front of propeller shaft into transmission (or transfer case) ensuring alignment marks are in place, or connect companion flange for same. Remove tape securing bearing caps install straps bolts and tighten as specified torque. Finally lower vehicle reconnect negative battery cable. In 4WD models' front driveshaft raise vehicle removing skid plate if applicable marking relationship of driveshaft to front differential flange as well as transfer case flange. Push rear half of driveshaft forward separating it from transfer case flange lower it then separate at differential flange. On installation attach front end of drive shaft to front differential flange installing straps and bolts finger-tight extending/compressing drive shaft as required attaching rear end to transfer case flange. Tighten all bolts to specified torque reinstall skid plate (if removed) lower vehicle, reconnect negative battery cable.


