My Garage
My Account
Cart
Genuine Chevrolet Camaro Piston
Engine Pistons- Select Vehicle by Model
- Select Vehicle by VIN
Select Vehicle by Model
orMake
Model
Year
Select Vehicle by VIN
For the most accurate results, select vehicle by your VIN (Vehicle Identification Number).
54 Pistons found
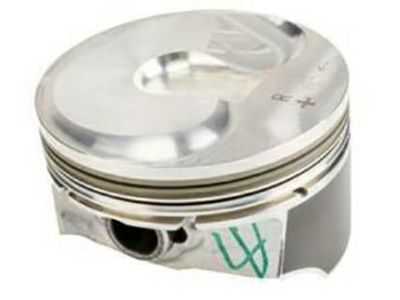
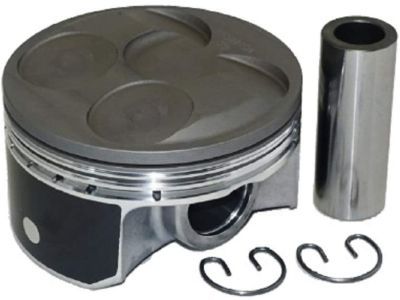
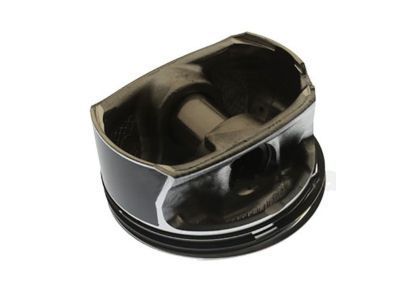
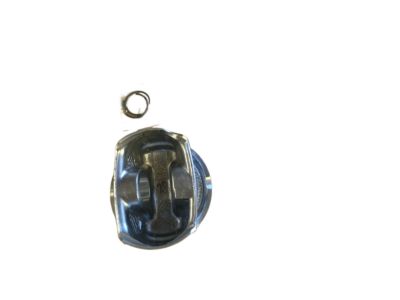
Chevrolet Camaro Piston Kit (Std RH)
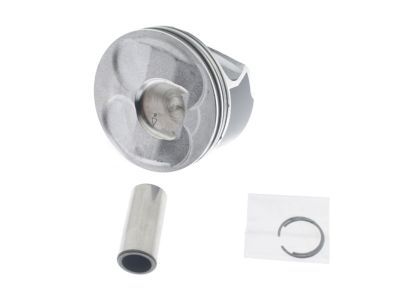
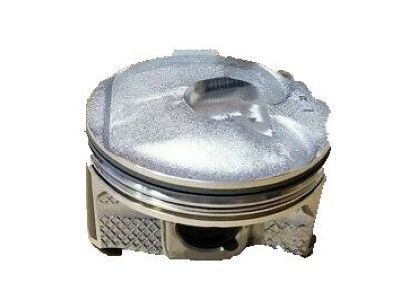
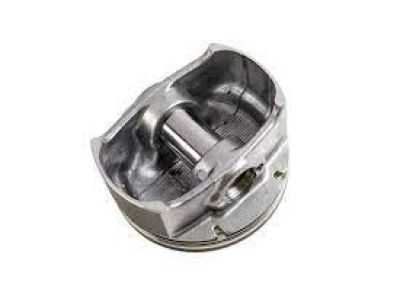
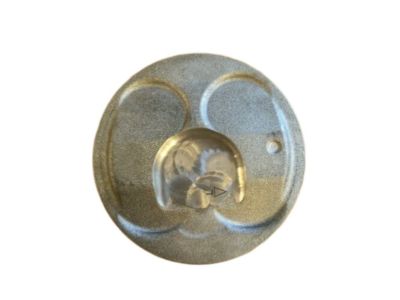
Part Number: 12656874$52.84 MSRP: $91.13You Save: $38.29 (43%)Ships in 1-3 Business DaysChevrolet Camaro Piston, (W/Pinion)
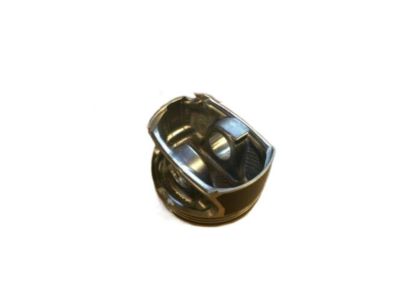
Part Number: 19180413$63.30 MSRP: $104.78You Save: $41.48 (40%)Ships in 1-3 Business DaysChevrolet Camaro Piston, (W/Pinion)
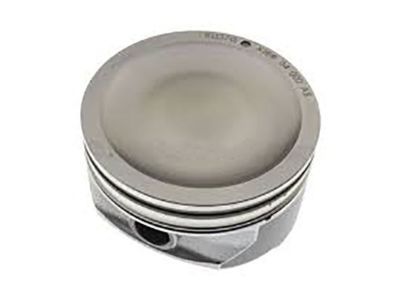
Part Number: 12616972$47.25 MSRP: $114.39You Save: $67.14 (59%)Ships in 1-3 Business DaysChevrolet Camaro Piston Assembly, (W/ Pin & Cmprn & Oil Ring)(Lh)
Part Number: 12686358$32.32 MSRP: $51.53You Save: $19.21 (38%)Ships in 1-2 Business DaysChevrolet Camaro Piston Kit
Part Number: 12674055$33.89 MSRP: $56.08You Save: $22.19 (40%)Ships in 1-3 Business DaysChevrolet Camaro Piston Kit
Part Number: 12674056$33.89 MSRP: $56.09You Save: $22.20 (40%)Ships in 1-3 Business DaysChevrolet Camaro Piston Kit,Engine
Part Number: 19208471$105.61 MSRP: $168.44You Save: $62.83 (38%)Ships in 1-3 Business DaysChevrolet Camaro Piston, (W/Pinion)
Part Number: 12616971$68.64 MSRP: $113.56You Save: $44.92 (40%)Ships in 1-2 Business DaysChevrolet Camaro Piston Asm,(W/ Pinion .5Mm Outside)
Part Number: 19209708$264.54 MSRP: $437.74You Save: $173.20 (40%)Ships in 1-3 Business DaysChevrolet Camaro Piston, (W/Pinion)
Part Number: 19207287$60.21 MSRP: $145.79You Save: $85.58 (59%)Ships in 1-3 Business DaysChevrolet Camaro Piston, (W/Pinion)
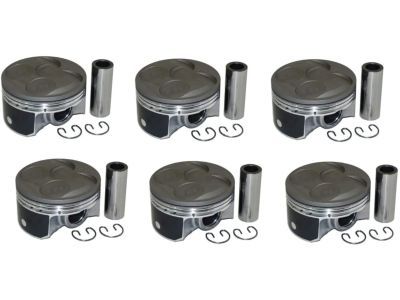
Part Number: 19208472$135.03 MSRP: $326.88You Save: $191.85 (59%)Ships in 1-3 Business DaysChevrolet Camaro Piston Kit, (Includes Rings) Std
Part Number: 12455573$65.88 MSRP: $132.83You Save: $66.95 (51%)Chevrolet Camaro PISTON, Engine Piston
Part Number: 364704$46.09 MSRP: $66.23You Save: $20.14 (31%)Ships in 1-2 Business DaysChevrolet Camaro Piston Assembly, (W/ Pin & Cmprn & Oil Ring)(Rh)
Part Number: 12686359$32.32 MSRP: $51.53You Save: $19.21 (38%)Ships in 1-2 Business DaysChevrolet Camaro Piston, (W/Pinion)
Part Number: 12654415$85.45 MSRP: $136.30You Save: $50.85 (38%)Ships in 1-3 Business DaysChevrolet Camaro PISTON ASM,(W/PIN)
Part Number: 19434034$149.64 MSRP: $238.65You Save: $89.01 (38%)Ships in 1-2 Business DaysChevrolet Camaro Piston Assembly, (W/ Pinion)
Part Number: 12654419$101.62 MSRP: $162.04You Save: $60.42 (38%)Ships in 1-3 Business DaysChevrolet Camaro Piston Assembly,(W/ Pinion, Std)
Part Number: 19303744$246.99 MSRP: $393.94You Save: $146.95 (38%)Chevrolet Camaro Piston, (W/Pinion)
Part Number: 88984245$116.53 MSRP: $184.17You Save: $67.64 (37%)
| Page 1 of 3 |Next >
1-20 of 54 Results
Chevrolet Camaro Piston
Each OEM Chevrolet Camaro Piston we offer is competitively priced and comes with the assurance of the manufacturer's warranty for the part. Furthermore, we guarantee the speedy delivery of your orders right to your doorstep. Our hassle-free return policy is also in place for your peace of mind.
Chevrolet Camaro Piston Parts Questions & Experts Answers
- Q: What steps must be taken before removing the piston and connecting rod assemblies on Chevrolet Camaro?A:Before the piston and connecting rod assemblies are to be removed, it is necessary to unbolt and remove the cylinder head and oil pan. If there is any ridge at the top end of ring motion, indicate it by using a fingernail: the ridge should be reamed off using a ridge reamer if necessary as instructed by the manufacturer. Label each piston with a number and an arrow pointing forward of the engine facing with caution at the connecting rod bearing. Once all the cylinder ridges have been removed, position the engine in such a manner that the Crankshaft is positioned upwards and then measure the end play of the connecting rod using feeler gauges to ensure that it alighted to the correct limit. If not already done so, apply a serial number to the connecting rods and the caps. Unclench the connecting rod cap bolts gradually and take out the cap and the bearing insert in the manner of no dropping. Remove the connecting rod and piston assembly by FAGGING it out through the top of the engine block if possible, or using a hammer handle if required. Do the same for the other cylinders; connect the caps and inserts tightly not to harm them in the process. New bearing inserts are to be fitted to V6 engines. It is very important, before fitting new piston rings, to measure the ring end gaps and to make sure that the side clearance for the piston rings is correct. Place the new ring sets on the piston and connecting rods and place the top ring into the first cylinder and place feeler gauges in the end gap. If it is off when completed, then subject it with finesse to a thin file. First to be set in place is the oil control ring, the middle and the top rings should be place in the right direction. Open the cylinder heads and clean the cylinder walls and use a file to chamfer the edges, also ensure that the crankshaft is sliding before fixing the piston/connecting rod assemblies. Remove all bearing accessories and debris and add and replace the premium upper and lower bearing inserts without the use of any lubricant. On cylinder block, locate the piston ring gaps equally at 90-degree intervals, before lubricating the piston and rings and then using a ring compressor to install the piston into the cylinder. It is recommended to use Plastigage to inspect the Oil Clearance for the connecting rod bearing and inspect the size and condition of the bearing inserts. Once installed remove any Plastigage material by scraping over the surface, reapply oil to the bearing faces and fit the rod cap, new bolts are used and tightened to the recommended torque. The same procedure shall be followed with the other assemblies completing the entire process fresh and well aligned as possible. Last, turn the crankshaft to feel for any binding and to be sure that the connecting rod has the correct endplay, then make corrections.
Related Chevrolet Camaro Parts
Browse by Year
2024 Piston 2023 Piston 2022 Piston 2021 Piston 2020 Piston 2019 Piston 2018 Piston 2017 Piston 2016 Piston 2015 Piston 2014 Piston 2013 Piston 2012 Piston 2011 Piston 2010 Piston 2002 Piston 2001 Piston 2000 Piston 1999 Piston 1998 Piston 1997 Piston 1996 Piston 1995 Piston 1994 Piston 1993 Piston 1992 Piston 1991 Piston 1990 Piston 1989 Piston 1988 Piston 1987 Piston 1986 Piston 1985 Piston 1984 Piston 1983 Piston 1982 Piston
