My Garage
My Account
Cart
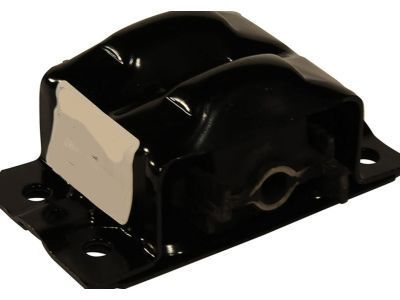
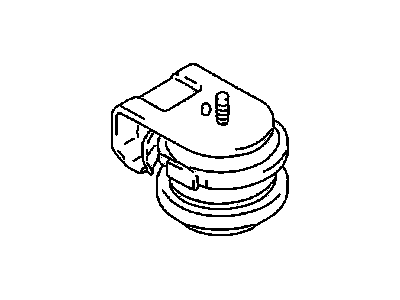
Genuine Chevrolet Caprice Engine Mount
Engine Motor Mount- Select Vehicle by Model
- Select Vehicle by VIN
Select Vehicle by Model
orMake
Model
Year
Select Vehicle by VIN
For the most accurate results, select vehicle by your VIN (Vehicle Identification Number).
9 Engine Mounts found
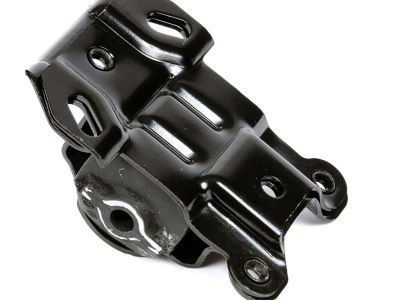
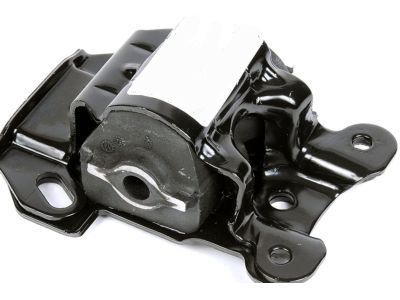
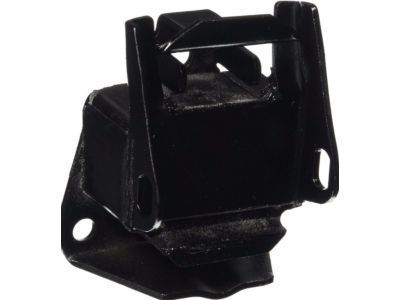
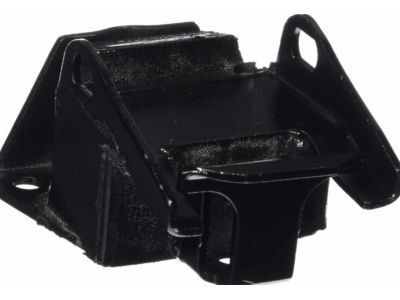
Chevrolet Caprice Engine Mount
Part Number: 22188284$51.71 MSRP: $88.43You Save: $36.72 (42%)Ships in 1-2 Business Days
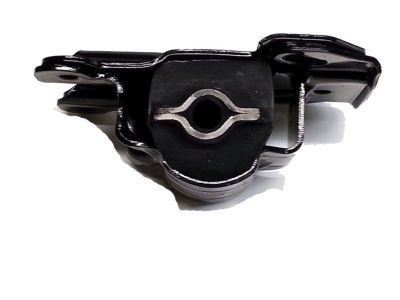
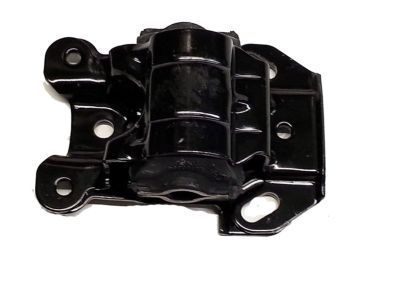
Chevrolet Caprice Engine Mount
Each OEM Chevrolet Caprice Engine Mount we offer is competitively priced and comes with the assurance of the manufacturer's warranty for the part. Furthermore, we guarantee the speedy delivery of your orders right to your doorstep. Our hassle-free return policy is also in place for your peace of mind.
Chevrolet Caprice Engine Mount Parts Questions & Experts Answers
- Q: How to Inspect and Replace Engine Mounts in V6 engine on Chevrolet Caprice?A:To inspect the front mount, raise the engine slightly to create tension on the rubber mount using a hoist or jack placed under the forward edge of the oil pan, and check for heat cracks on the hard rubber surface, rubber separating from the metal plate, or splits through the center. For the rear mount, elevate the vehicle on a hoist and push up and down on the transmission tail shaft while observing the mount; if the rubber separates from the metal plate or the tail shaft moves excessively, replace the mount. If there is movement between the mount's metal plate and the attaching point, tighten the bolts or screws. To replace the front mount, relieve tension by raising the engine slightly, then remove the engine mount-to-engine block bolts and the through bolt, taking care to only loosen the through bolt on the 229 V6 model. Install the new mount along with the through bolts and nuts, then secure the engine mount-to-engine block bolts, ensuring all fasteners are torqued to specifications. For the rear mount replacement, raise the engine to relieve weight, remove the bolts attaching the cross member to the mount, and then take out the mount-to-transmission bolts before removing the engine mount. Finally, install the new mount on the transmission, align and start the crossmember-to-mount bolts while lowering the transmission onto the mount, and torque tighten all bolts.
