My Garage
My Account
Cart
Genuine Chevrolet Colorado Oil Pan
Oil Drain Pan- Select Vehicle by Model
- Select Vehicle by VIN
Select Vehicle by Model
orMake
Model
Year
Select Vehicle by VIN
For the most accurate results, select vehicle by your VIN (Vehicle Identification Number).
20 Oil Pans found
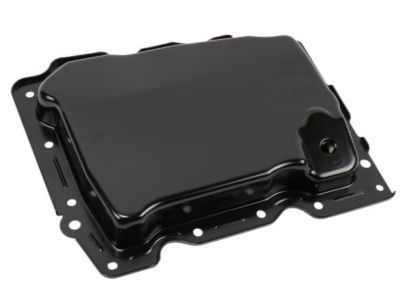
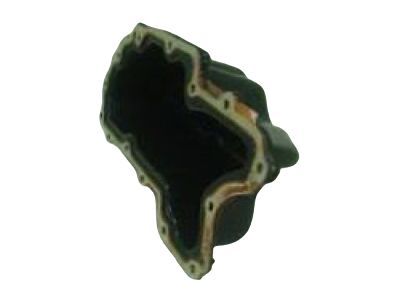
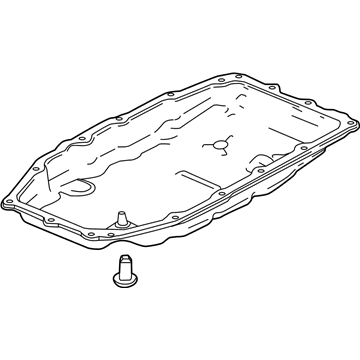
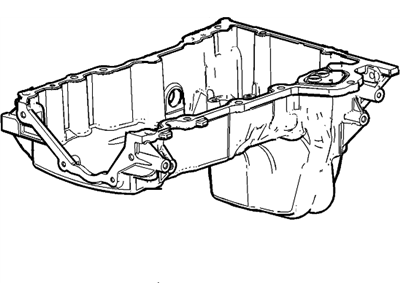
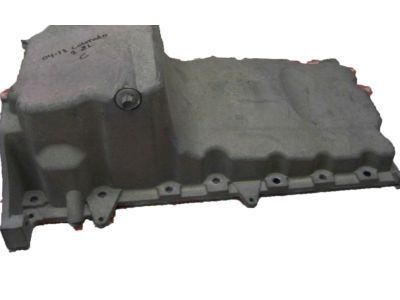
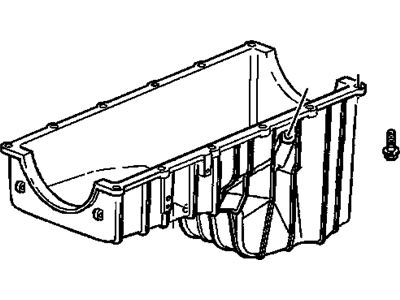
Chevrolet Colorado Pan, Lower Oil
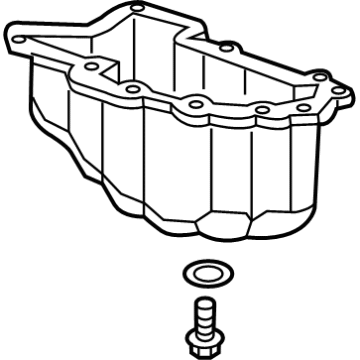
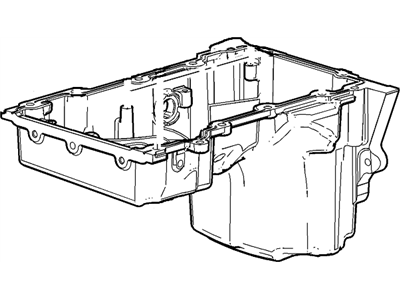
Part Number: 12676340$25.50 MSRP: $42.19You Save: $16.69 (40%)Ships in 1-2 Business DaysChevrolet Colorado Pan Assembly, Lower Oil
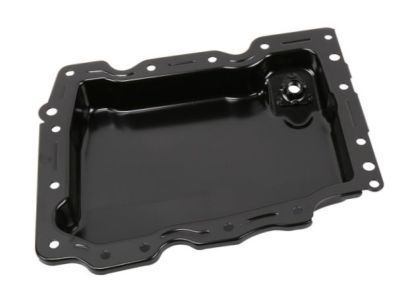
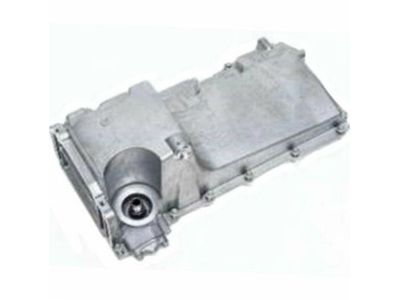
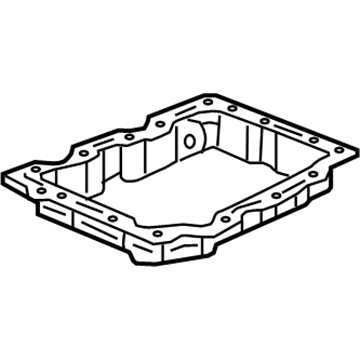
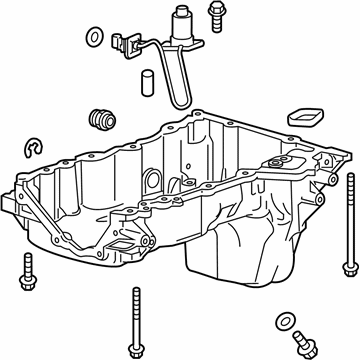
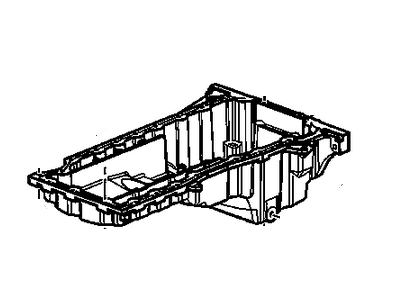
Part Number: 12628375$97.86 MSRP: $161.91You Save: $64.05 (40%)Chevrolet Colorado Pan Assembly, Oil
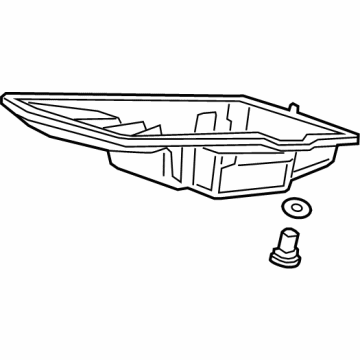
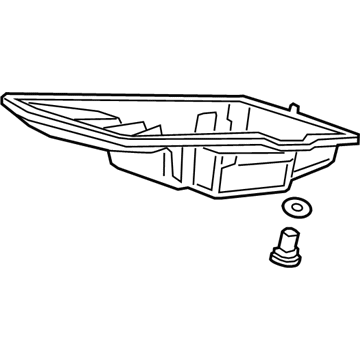
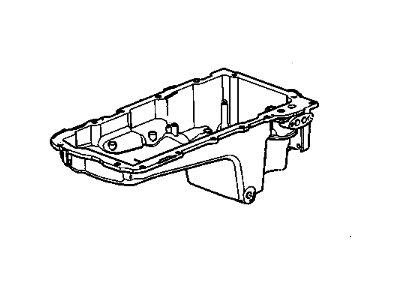
Part Number: 12624621$165.30 MSRP: $273.58You Save: $108.28 (40%)Chevrolet Colorado PAN ASM-A/TRNS FLUID
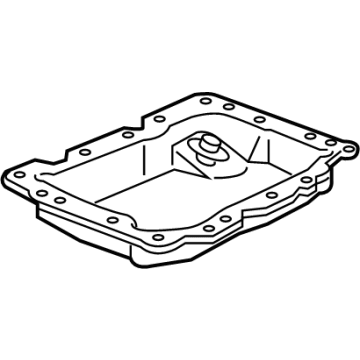
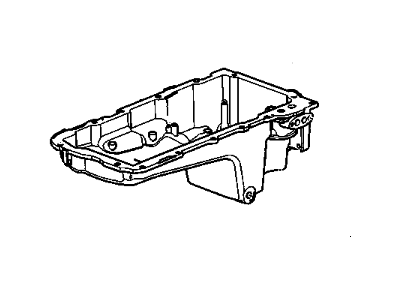
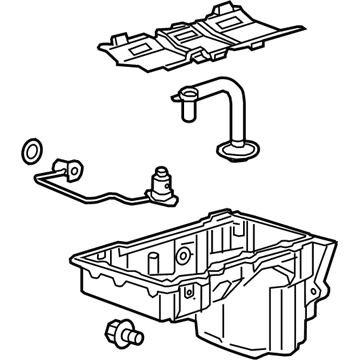
Part Number: 24045034$31.91 MSRP: $52.45You Save: $20.54 (40%)Ships in 1-2 Business DaysChevrolet Colorado Pan, Lwr Oil
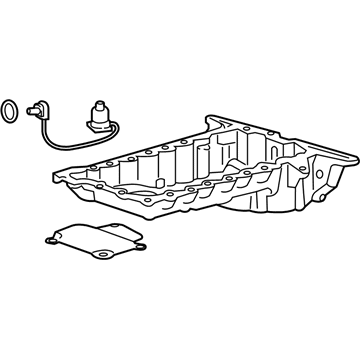
Part Number: 12673401$23.12 MSRP: $36.86You Save: $13.74 (38%)Ships in 1-2 Business DaysChevrolet Colorado PAN ASM-OIL
Part Number: 12726914$43.03 MSRP: $74.22You Save: $31.19 (43%)Ships in 1-2 Business DaysChevrolet Colorado Oil Pan Assembly
Part Number: 12716566$168.04 MSRP: $268.00You Save: $99.96 (38%)Ships in 1-3 Business DaysChevrolet Colorado Oil Pan Assembly
Part Number: 12643691$145.63 MSRP: $232.26You Save: $86.63 (38%)Chevrolet Colorado Oil Pan Assembly
Part Number: 12632803$155.50 MSRP: $257.38You Save: $101.88 (40%)Ships in 1-3 Business DaysChevrolet Colorado PAN ASM-OIL
Part Number: 12732388$63.41 MSRP: $104.92You Save: $41.51 (40%)Ships in 1-2 Business DaysChevrolet Colorado Oil Pan Assembly
Part Number: 25202729$145.89 MSRP: $232.64You Save: $86.75 (38%)Ships in 1-3 Business DaysChevrolet Colorado Oil Pan Assembly
Part Number: 12678998$211.12 MSRP: $333.61You Save: $122.49 (37%)Ships in 1-3 Business DaysChevrolet Colorado Pan Assembly, Upr Oil
Part Number: 24589120$230.34 MSRP: $367.28You Save: $136.94 (38%)Chevrolet Colorado PAN ASM-A/TRNS FLUID
Part Number: 24045041$36.91 MSRP: $61.09You Save: $24.18 (40%)Ships in 1-2 Business DaysChevrolet Colorado Oil Pan Assembly
Part Number: 25202730$99.37 MSRP: $163.31You Save: $63.94 (40%)Ships in 1-3 Business DaysChevrolet Colorado Oil Pan Assembly
Part Number: 12600499$216.56 MSRP: $342.28You Save: $125.72 (37%)Chevrolet Colorado Oil Pan Assembly
Part Number: 12667040$351.38 MSRP: $555.36You Save: $203.98 (37%)Chevrolet Colorado Oil Pan Assembly
Part Number: 12640745$174.87 MSRP: $276.39You Save: $101.52 (37%)
Chevrolet Colorado Oil Pan
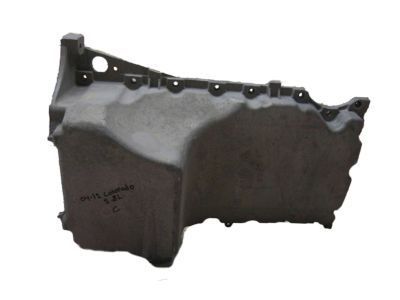
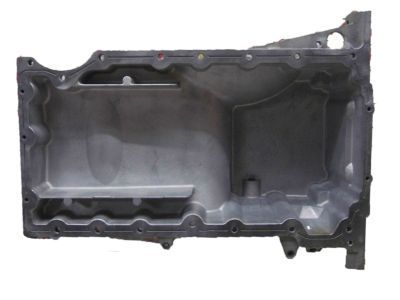
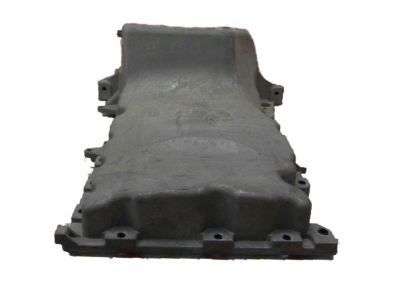
The Oil Pan should be understood as an engine oil storage tank in Chevrolet Colorado and plays a significant role to supply the lubricant to the components of the engine as well as the control of their temperature. The Oil Pan is a wet sump, the oil is drawn to it through a pickup tube with help of the oil pump, the oil is distributed all over the engine and then it goes back into the Oil Pan. This design is crucial in the performance of the engine at desirable levels of efficiency. Conventional Chevrolet Colorado Oil Pans were commonly produced using stamped steel while today's new generation engines have switched to cast aluminum for internal lubrication. The basic function of the item has not changed, however, the shift to enhanced materials is in accordance with the progressive engineering demands experienced in Chevrolet Colorado cars, as well as providing dependable lubrication under multiple operation conditions.
Each OEM Chevrolet Colorado Oil Pan we offer is competitively priced and comes with the assurance of the manufacturer's warranty for the part. Furthermore, we guarantee the speedy delivery of your orders right to your doorstep. Our hassle-free return policy is also in place for your peace of mind.
Chevrolet Colorado Oil Pan Parts Questions & Experts Answers
- Q: How to remove and install an oil pan in V8 engine on Chevrolet Colorado?A:First, it is necessary to pull the cable out of the negative terminal on the battery, then raise the car and put it on jackstands. Oil filter must now be removed along with the oil pan skid plate if installed on the bike as a standard feature. Extract the front differential carrier in the case of the 4WD vehicles. After that, pull out the dipstick tube, disconnect the transmission cooler and its claws and unlock the inner axle shaft. Go ahead and take off the starter and the driveplate service cover on the left of the tranmission. Disconnect the battery cable guide from the front of the oil pan, after then, unbolt the top two AC compressor bracket bolts with their nuts and take off the bottom two AC compressor bracket bolts to get the compressor aside. Drop the two lower bell housing bolts and all the oil pan bolts then drop the pan off the engine and use the rubber mallet on the gasket to break the seal. In installation, remove the rivets that holds the old oil pan gasket, clean out the oil pan with solvent. It is necessary to clean the areas where the oil pan will be mounted, as well as the parts of the engine block where the front and rear covers will be attached. After that it is required to apply the RTV sealant across the corners of the front and rear covers and the engine block. The new gasket has to be placed on the pan, then the pan has to be put into the block and screws have to be turned to be tightened by fingers while care has to be taken to ensure the passages for the oil gallery are aligned well. Return all the oil pan mounting bolts tightly with its place in addition to the lower transmission mounting bolts. Torque the oil pan and transmission bolts to the indicated values. Last of all, do the steps in the reversal of the removal process, put the right kind and amount of oil, switch on the engine, and examine the car for leakages before using it again.
