My Garage
My Account
Cart
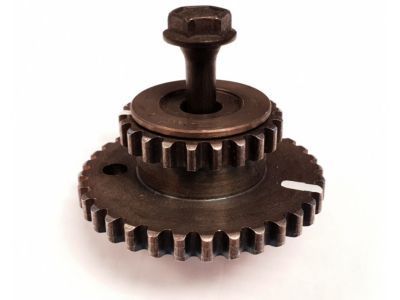
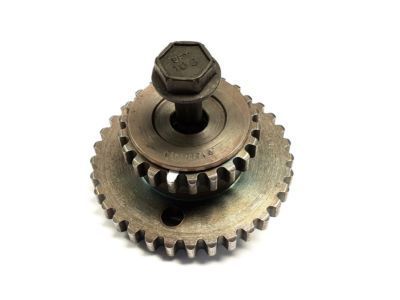
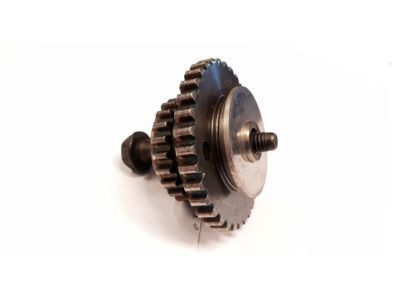
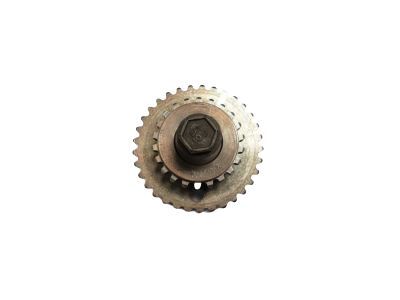
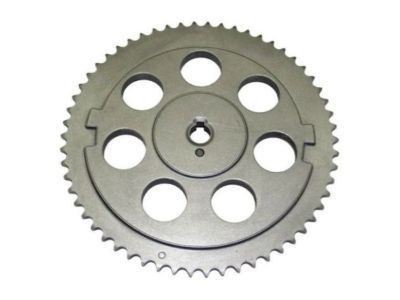
Genuine Chevrolet Colorado Variable Timing Sprocket
Timing Gear Sprocket- Select Vehicle by Model
- Select Vehicle by VIN
Select Vehicle by Model
orMake
Model
Year
Select Vehicle by VIN
For the most accurate results, select vehicle by your VIN (Vehicle Identification Number).
5 Variable Timing Sprockets found
Chevrolet Colorado Sprocket Asm,Timing Chain Idler (RH)
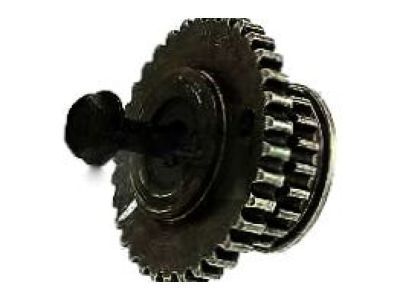
Part Number: 12612838$64.49 MSRP: $110.28You Save: $45.79 (42%)Ships in 1-3 Business DaysChevrolet Colorado Sprocket Asm,Timing Chain Idler (LH)
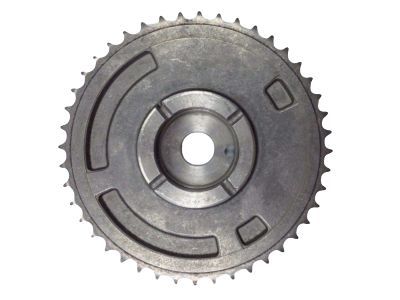
Part Number: 12612839$57.37 MSRP: $98.97You Save: $41.60 (43%)Ships in 1-3 Business DaysChevrolet Colorado Camshaft Sprocket
Part Number: 12591689$24.65 MSRP: $40.78You Save: $16.13 (40%)Ships in 1-2 Business DaysChevrolet Colorado Camshaft Sprocket
Part Number: 24100362$46.55 MSRP: $112.72You Save: $66.17 (59%)Chevrolet Colorado SPROCKET-CR/SHF
Part Number: 12671641$70.71 MSRP: $112.77You Save: $42.06 (38%)Ships in 1-2 Business Days
Chevrolet Colorado Variable Timing Sprocket
Each OEM Chevrolet Colorado Variable Timing Sprocket we offer is competitively priced and comes with the assurance of the manufacturer's warranty for the part. Furthermore, we guarantee the speedy delivery of your orders right to your doorstep. Our hassle-free return policy is also in place for your peace of mind.
Chevrolet Colorado Variable Timing Sprocket Parts Questions & Experts Answers
- Q: How to replace a Timing Chain, Timing Chain Tensioner and Variable Timing Sprocket in inline engine on Chevrolet Colorado?A:It is necessary to employ a special tool, camshaft holding tool, number GM# J-44221 or equivalent, for this operation. The timing system is a bit complicated and if a mistake is made during this process enormous damage to the engine can occur; therefore the work of this kind should be entrusted only to experienced personnel and it is mandatory to make sure twice of what has been done before starting the engine. Starting from TDC of cylinder number one the valve cover and the engine front cover should be unbolted; the word Delphi on the exhaust camshaft should be aligned with the valve cover mounting surface. Second, then, take off both the intake and the exhaust camshaft position sensors, then, the timing chain tensioner will then collapse thus requiring you to put a drill bit or a golf tee into position to keep it like that. Place the camshaft holding tool at the rear of the camshafts and then remove the top chain guide and the exhaust camshaft position actuator though holding the camshaft at the same time while undoing the bolt. Continue with the process of taking off the intake camshaft sprocket, disconnect the crankshaft sprocket from the camshaft chain, and then also take off the chain doing it while keeping the camshaft in a fixed position. Take out two access hole plugs from the front of the cylinder head, timing chain tensioner shoe bolt, timing chain guide bolt, after that take out the guide and shoe and the tensioner if they are being replaced. Take off the crankshaft sprocket, and prior to the startup of the engine, do the rotation of the crankshaft at least around two times and feel for any kind of load that signify an issue. When fitting the camshaft sprockets, fit new bolts and if disconnected, refit the tensioner and tighten to the indicated torque. Place the chain guide and shoe on the chain and tighten the bolts then fit the two holes with the access plugs. Before starting the engine, make sure that cylinder no.1 is again at TDC with the lobes of both Camshafts located at the front side of the Engine Head pointing upward with the Camshaft flats located at the back side also pointing upward. Fit the crank sprocket, still position the chain on the intake sprocket with one mark lined up with a dark link, thread the chain around the cylinder head through the crank sprocket ensuring the second mark is lined up. Bolt in the intake sprocket on the intake camshaft, and there might be a need to loosen and re-tightening of a holding tool for accurate alignment. Raise the timing chain up and manoeuvre the exhaust camshaft actuator over the correct sprocket so that a mark on the actuator is lined up with a dark link, then secure the actuator to the exhaust camshaft but do not over-tighten the bolt yet. Turn the exhaust camshaft actuator clockwise as far as it can be turned and make sure that the pointer is at the '0' mark before tightening the bolt. Loosen the intake camshaft sprocket bolt if it hasn't been done already and then use the drill bit or tee to turn the tensioner in and out Remove the camshaft holding tool. Lastly, align the timing mark and to finish the installation, reverse the whole procedure of removing number 4 cylinder head.
Related Chevrolet Colorado Parts
Browse by Year
2024 Variable Timing Sprocket 2023 Variable Timing Sprocket 2016 Variable Timing Sprocket 2015 Variable Timing Sprocket 2012 Variable Timing Sprocket 2011 Variable Timing Sprocket 2010 Variable Timing Sprocket 2009 Variable Timing Sprocket 2008 Variable Timing Sprocket 2007 Variable Timing Sprocket 2006 Variable Timing Sprocket 2005 Variable Timing Sprocket 2004 Variable Timing Sprocket
