My Garage
My Account
Cart
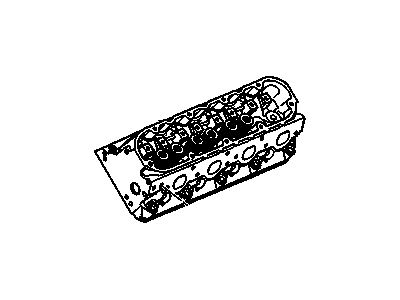
Genuine Chevrolet Corvette Cylinder Head
Head- Select Vehicle by Model
- Select Vehicle by VIN
Select Vehicle by Model
orMake
Model
Year
Select Vehicle by VIN
For the most accurate results, select vehicle by your VIN (Vehicle Identification Number).
17 Cylinder Heads found
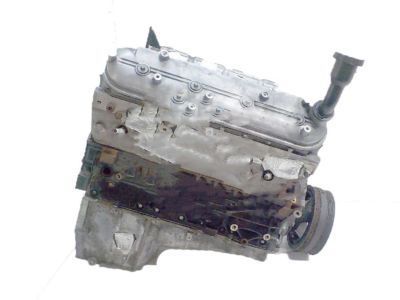
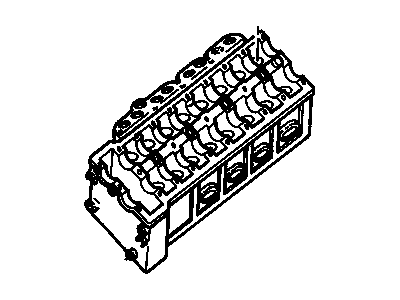
Chevrolet Corvette Head Assembly, Cyl (W/ Valve)
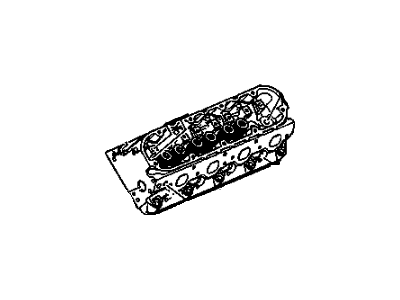
Part Number: 12629058$1284.58 MSRP: $2048.32You Save: $763.74 (38%)Ships in 1-2 Business DaysChevrolet Corvette Head Assembly, Cyl (W/ Vlv)
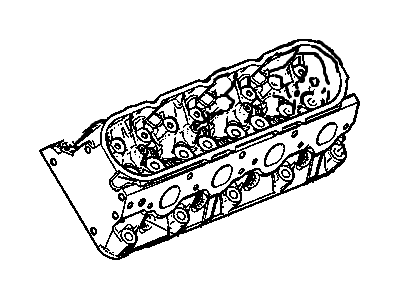
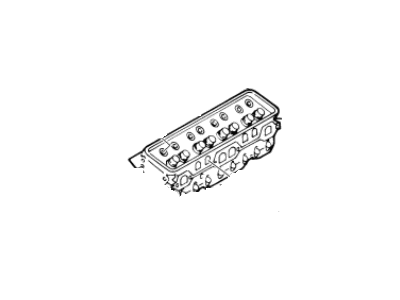
Part Number: 12699617$408.76 MSRP: $646.06You Save: $237.30 (37%)Chevrolet Corvette Head Assembly, Cyl (W/ Vlv)
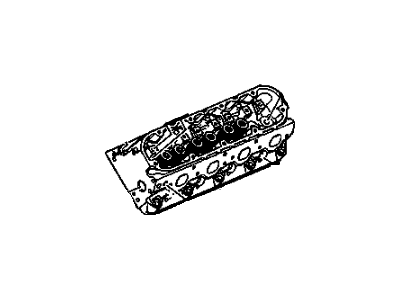
Part Number: 12698290$278.49 MSRP: $460.92You Save: $182.43 (40%)Ships in 1-3 Business DaysChevrolet Corvette Cylinder Head Assembly
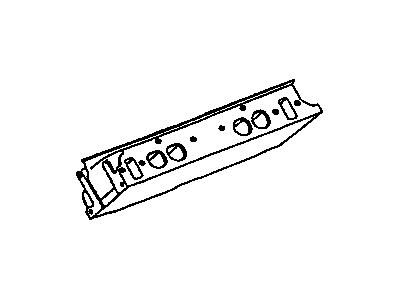
Part Number: 12621773$468.21 MSRP: $772.32You Save: $304.11 (40%)Ships in 1-3 Business DaysChevrolet Corvette HEAD ASM-CYL (W/ VLV)
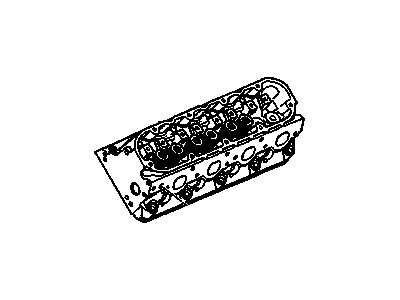
Part Number: 12708352$4137.79 MSRP: $6599.42You Save: $2461.63 (38%)Ships in 1-3 Business DaysChevrolet Corvette HEAD ASM-CYL (W/ VLV)
Part Number: 12708357$5110.23 MSRP: $8150.34You Save: $3040.11 (38%)Ships in 1-3 Business DaysChevrolet Corvette Cylinder Head Assembly
Part Number: 12578450$1151.65 MSRP: $1488.88You Save: $337.23 (23%)
Chevrolet Corvette Cylinder Head
Each OEM Chevrolet Corvette Cylinder Head we offer is competitively priced and comes with the assurance of the manufacturer's warranty for the part. Furthermore, we guarantee the speedy delivery of your orders right to your doorstep. Our hassle-free return policy is also in place for your peace of mind.
Chevrolet Corvette Cylinder Head Parts Questions & Experts Answers
- Q: What steps are necessary to replace the cylinder heads on Chevrolet Corvette?A:This will require buying a new set of head bolts to complete this procedure and enable study of the causes of failure. This process should be started by removing the cable of the negative terminal of the battery, and, further, by draining the engine coolant, as well as the charge air cooler in the supercharged version. When using a hoist to remove the supercharger you will need to remove the hood for LS9 engines. Thirdly, take out the drivebelt and spark plugs when necessary. For LS1, LS6, LS2, LS7 and LS3 (non-supercharged) engines, remove the Intake Manifold and the coolant bleed pipin g mounting bolts and pipe. On LS9 engines, take off the supercharger, supercharger belt tensioner, and PS pump and bracket. Move on to disconnect the air bleed pipe and the valve covers and going on to the Exhaust Manifold(s) and the Rocker Arms and the Pushrods should be removed while ensuring that all theparts are saved for reuse. Unfasten the head bolts in a criss-cross manner and a quarter turn at a time in reverse of the sequence routinely used until they can be unscrewed manually; discard these used up bolts for new ones needed for tightening during reassembly. The head bolts also come in different lengths and sizes and used in different part of the vehicle hence do well to note their positions. Unbolt the heads gently and lift the heads off the engine if there is some amount of friction with a pry bar or long screwdriver inserted in the intake port , the heads should be placed on wooden blocks so that it will not be damaged. When setting the new cylinder head it's very important that the mating surfaces of cylinder heads and block are free from any contaminants, it advisable to use a scraper but make sure you don't dig into the aluminum. Ensure that the faces that are to make contact have no nicks, deep scratches, or other potential sources of trouble; for slight manifestations of this, use a file; for severe manifestations, call a machine shop. In case one believes there is some warpage, one should use a straight edge to check for distortions. Cleam all surface with mating and head bolt holes especially the upper portion of the block, or the metal surface that will face the cylinder head. Located the new gaskets over the dowels in the block in such a manner that the mark on the gasket is in front of the vehicle, very carefully put the heads on the block in such a manner that they do not affect the gaskets' positions. The new head bolts should be fitted in the conduits and tightened to be just finger-tight and the same should always be replaced with new ones. After tightening the bolts according to the recommended sequence, turn them to the necessary torque and the number of turns. Bolt the coolant bleed pipe with new O-rings onto the cylinder heads then tighten the bolts of the new coolant bleed pipe. The rest of the installation is the mirror image of the removal. Last, put coolant, replace the engine oil and filter, engage the engine, and examine for optimal working and signs of leakage.
Related Chevrolet Corvette Parts
Browse by Year
2024 Cylinder Head 2023 Cylinder Head 2022 Cylinder Head 2021 Cylinder Head 2020 Cylinder Head 2019 Cylinder Head 2018 Cylinder Head 2017 Cylinder Head 2016 Cylinder Head 2015 Cylinder Head 2014 Cylinder Head 2013 Cylinder Head 2012 Cylinder Head 2011 Cylinder Head 2010 Cylinder Head 2009 Cylinder Head 2008 Cylinder Head 2007 Cylinder Head 2006 Cylinder Head 2005 Cylinder Head 2004 Cylinder Head 2003 Cylinder Head 2002 Cylinder Head 2001 Cylinder Head 2000 Cylinder Head 1999 Cylinder Head 1998 Cylinder Head 1997 Cylinder Head 1996 Cylinder Head 1995 Cylinder Head 1994 Cylinder Head 1993 Cylinder Head 1992 Cylinder Head 1991 Cylinder Head 1990 Cylinder Head 1986 Cylinder Head 1985 Cylinder Head 1984 Cylinder Head
