My Garage
My Account
Cart
Genuine Chevrolet Corvette Intake Manifold
Engine Intake Manifold- Select Vehicle by Model
- Select Vehicle by VIN
Select Vehicle by Model
orMake
Model
Year
Select Vehicle by VIN
For the most accurate results, select vehicle by your VIN (Vehicle Identification Number).
21 Intake Manifolds found
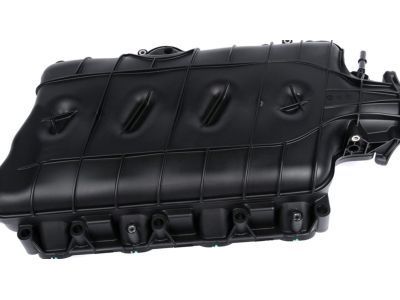
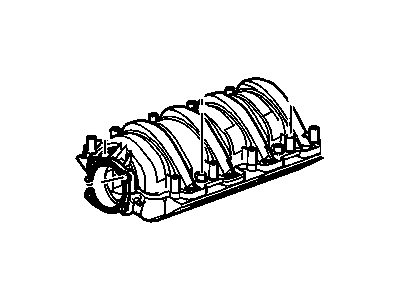
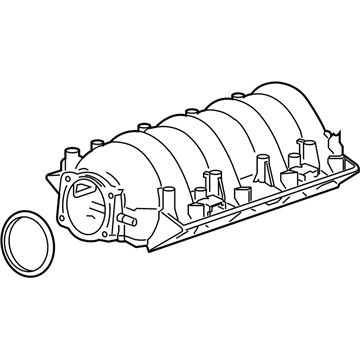
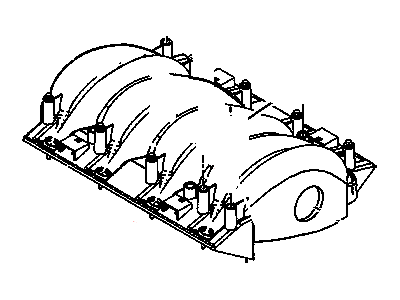
Chevrolet Corvette Manifold, Intake
Part Number: 12629466$261.32 MSRP: $446.73You Save: $185.41 (42%)Ships in 1-2 Business DaysChevrolet Corvette Manifold, Int
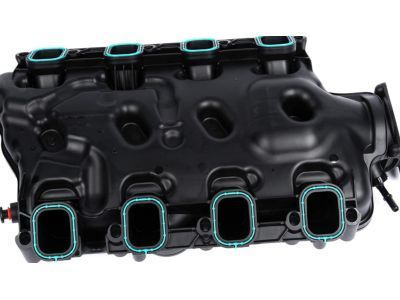
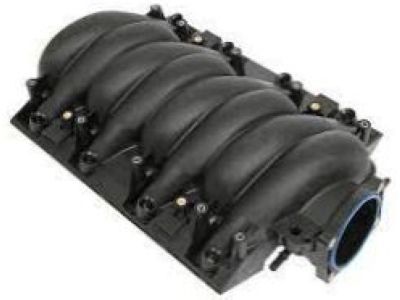
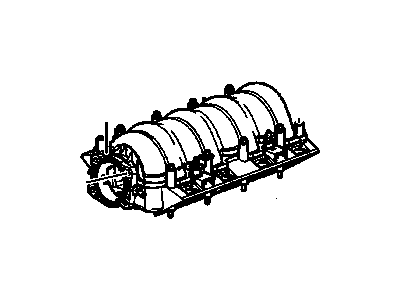
Part Number: 12697714$272.14 MSRP: $433.94You Save: $161.80 (38%)Ships in 1-2 Business DaysChevrolet Corvette Manifold, Intake
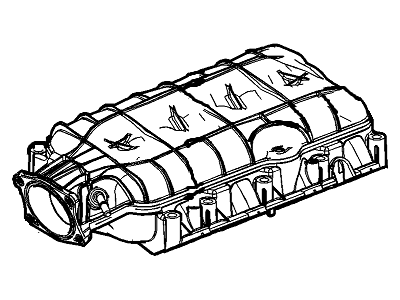
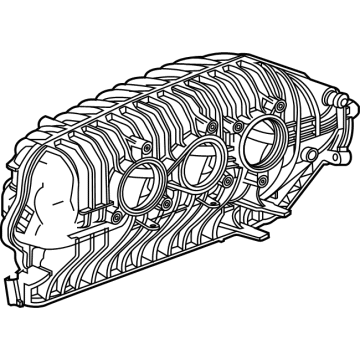
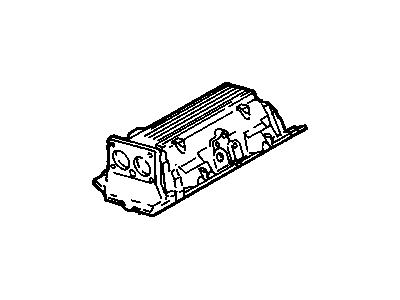
Part Number: 12663489$213.70 MSRP: $517.38You Save: $303.68 (59%)Ships in 1-2 Business DaysChevrolet Corvette MANIFOLD ASM-INT
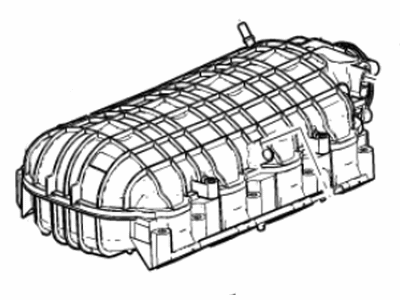
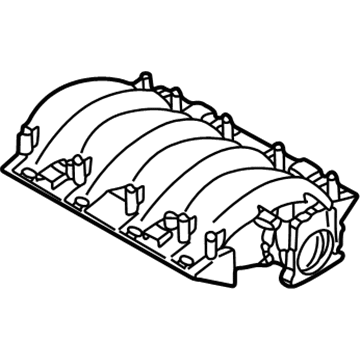
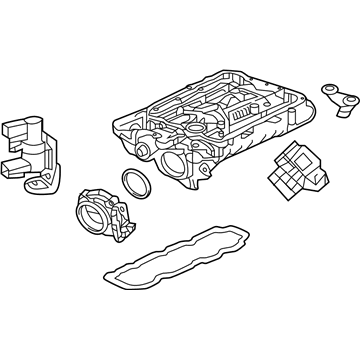
Part Number: 12729504$1919.36 MSRP: $3176.01You Save: $1256.65 (40%)Chevrolet Corvette MANIFOLD ASM-INT
Part Number: 12729503$1113.76 MSRP: $1842.97You Save: $729.21 (40%)Ships in 1-2 Business DaysChevrolet Corvette Pipe Assembly, Intake Manifold Front Crossover
Part Number: 25820419$71.39 MSRP: $125.24You Save: $53.85 (43%)Ships in 1-2 Business DaysChevrolet Corvette MANIFOLD-INT
Part Number: 12728592$520.84 MSRP: $861.85You Save: $341.01 (40%)Ships in 1-3 Business DaysChevrolet Corvette MANIFOLD-INT
Part Number: 12728856$520.84 MSRP: $861.85You Save: $341.01 (40%)Ships in 1-3 Business DaysChevrolet Corvette Pipe Assembly, Intake Manifold Rear Crossover
Part Number: 25943867$18.40 MSRP: $28.95You Save: $10.55 (37%)Ships in 1-3 Business DaysChevrolet Corvette Manifold Assembly, Int
Part Number: 12695521$8181.72 MSRP: $12948.51You Save: $4766.79 (37%)Ships in 1-3 Business Days
| Page 1 of 2 |Next >
1-20 of 21 Results
Chevrolet Corvette Intake Manifold
The Intake Manifold of Chevrolet Corvette automobile assists in delivering air and fuel to the cylinders of the automobile to guarantee competent efficiency. The latter is composed of a network of conduits that effectively direct the air-fuel blend, and contains thermometers, anemometers, and barometers to improve engine performance. Traditionally Chevrolet Corvette intake manifolds could be metallic, either aluminum or cast iron but today numerous Corvette intake manifolds are created with composite plastic parts. For instance, variable-length intake manifolds (VLIM) or variable resonance induction systems (VRIS) has been applied to vary the intake tract's length in order to provide the optimum power and torque by employing the principles like the Venturi effect and Helmholtz resonance. These nowadays make the Chevrolet Corvette to have a better and much improved engine performance as it deals with the flow of air and fuel delivery.
Each OEM Chevrolet Corvette Intake Manifold we offer is competitively priced and comes with the assurance of the manufacturer's warranty for the part. Furthermore, we guarantee the speedy delivery of your orders right to your doorstep. Our hassle-free return policy is also in place for your peace of mind.
Chevrolet Corvette Intake Manifold Parts Questions & Experts Answers
- Q: How to remove and install the intake manifold on Chevrolet Corvette?A:In order to remove the intake manifold, one has to first disarm the fuel system and the battery then take off the air intake duct. Next, remove the engine covers; remove the electrical connection to the throttle body, and also remove the electrical connections to the fuel injectors. Also, pulled the electrical connectors and took out the EVAP purge solenoid and MAP sensor, and rest of the wiring harness was placed aside after removing brackets. Unbolt and unbend the fuel rails and injectors this is not mandatory but will prevent damages on the injectors in the process of taking out the intake manifold. Remove any vacuum hoses connected to the intake manifold or throttle body and then loosen the intake manifold mounting bolts in a star-pattern with a 1/4-turn increment until they can then be removed. Slowly raise the intake manifold, ensure that there are no more bolts holding the manifold, do not pry the manifold off the heads as this will cause damage. During installation, it is advisable that the contact surfaces that belong to the Cylinder Heads and the manifold should be free from other residues of this gasket type, thus, the smell of old gaskets should not be eliminated with the help of a cutter. No debris should be allowed to remain on the surfaces and to achieve this, the surfaces should be wiped with a cloth that is soaked in safety solvent or brake cleaner and in case there is need to chase the threads in the bolt holes with a tap, compressed air should be used to clean the holes. Place the new gaskets on the suitable position on the intake manifold, making they are correctly positioned, and then mount the manifold gently. Use a medium strength thread locking compound on the bolt threads, install the bolts on the block and tighten them with the sequence suggested but do not over tighten in order to prevent gasket leakage. Last of all, the rest of the installation is done this way, and you need to check for lean vacuum after starting the engine at the Intake manifold joints.
Related Chevrolet Corvette Parts
Browse by Year
2024 Intake Manifold 2023 Intake Manifold 2022 Intake Manifold 2021 Intake Manifold 2020 Intake Manifold 2019 Intake Manifold 2018 Intake Manifold 2017 Intake Manifold 2016 Intake Manifold 2015 Intake Manifold 2014 Intake Manifold 2013 Intake Manifold 2012 Intake Manifold 2011 Intake Manifold 2010 Intake Manifold 2009 Intake Manifold 2008 Intake Manifold 2007 Intake Manifold 2006 Intake Manifold 2005 Intake Manifold 2004 Intake Manifold 2003 Intake Manifold 2002 Intake Manifold 2001 Intake Manifold 2000 Intake Manifold 1999 Intake Manifold 1998 Intake Manifold 1997 Intake Manifold 1996 Intake Manifold 1995 Intake Manifold 1994 Intake Manifold 1993 Intake Manifold 1992 Intake Manifold 1991 Intake Manifold 1990 Intake Manifold 1989 Intake Manifold 1988 Intake Manifold 1987 Intake Manifold
