My Garage
My Account
Cart
Genuine Chevrolet Cruze Axle Shaft
Car Axle Shaft- Select Vehicle by Model
- Select Vehicle by VIN
Select Vehicle by Model
orMake
Model
Year
Select Vehicle by VIN
For the most accurate results, select vehicle by your VIN (Vehicle Identification Number).
33 Axle Shafts found
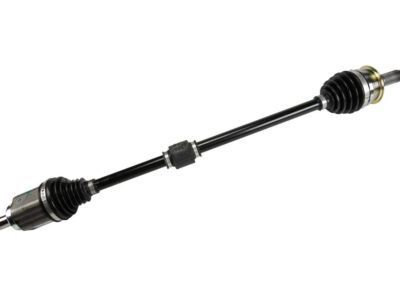
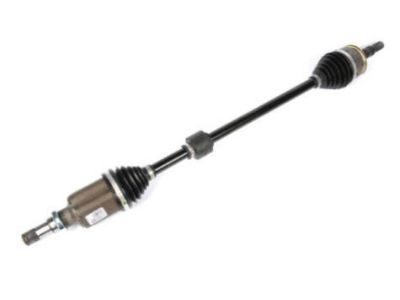
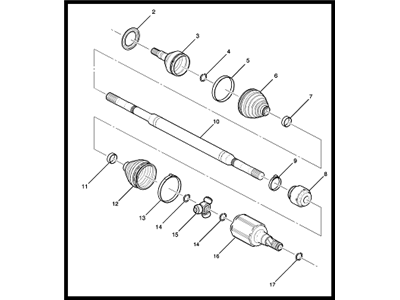
Chevrolet Cruze Front Driver Side Half Shaft Assembly
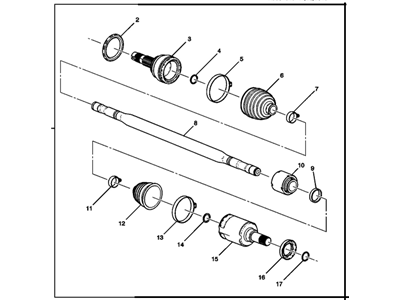
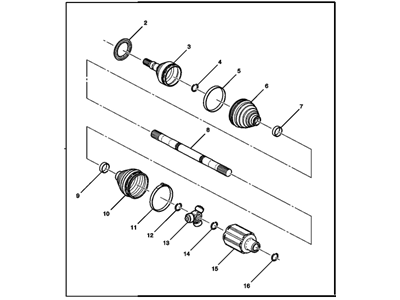
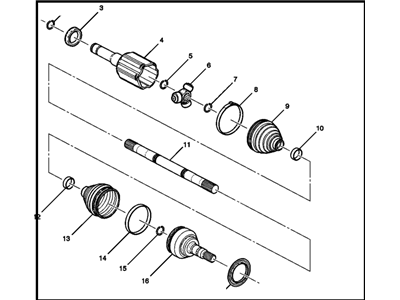
Part Number: 39133118$385.97 MSRP: $752.36You Save: $366.39 (49%)Chevrolet Cruze Front Driver Side Half Shaft Assembly
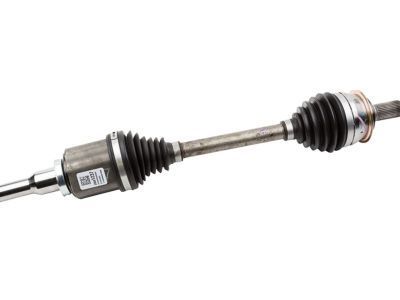
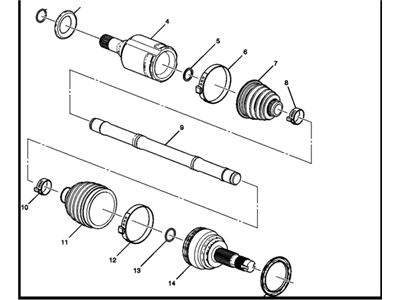
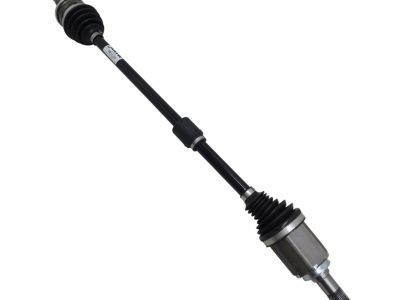
Part Number: 39001237$228.37 MSRP: $622.74You Save: $394.37 (64%)Ships in 1-2 Business DaysChevrolet Cruze Front Wheel Drive Shaft Assembly (Rh Proc)
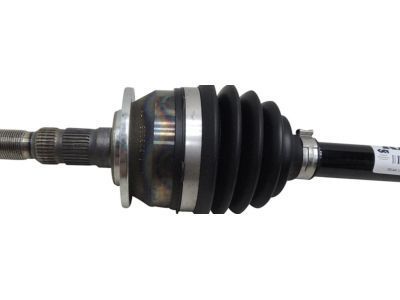
Part Number: 13367771$105.87 MSRP: $295.81You Save: $189.94 (65%)Ships in 1-2 Business DaysChevrolet Cruze Front Wheel Drive Half Shaft Assembly
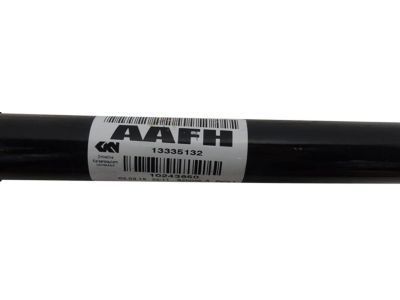
Part Number: 13335132$105.87 MSRP: $295.81You Save: $189.94 (65%)Ships in 1-2 Business DaysChevrolet Cruze Front Wheel Drive Shaft Assembly (Rh Proc)
Part Number: 13367770$132.43 MSRP: $324.54You Save: $192.11 (60%)Ships in 1-2 Business DaysChevrolet Cruze Front Wheel Drive Shaft Assembly
Part Number: 13390552$222.78 MSRP: $405.05You Save: $182.27 (45%)Ships in 1-2 Business DaysChevrolet Cruze Front Wheel Drive Half Shaft
Part Number: 13334704$359.50 MSRP: $574.40You Save: $214.90 (38%)Ships in 1-2 Business DaysChevrolet Cruze Front Driver Side Half Shaft Assembly
Part Number: 39124505$149.83 MSRP: $282.69You Save: $132.86 (47%)Ships in 1-2 Business DaysChevrolet Cruze Front Driver Side Half, Shaft Assembly
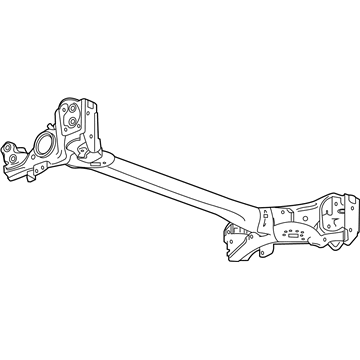
Part Number: 39001240$539.49 MSRP: $727.07You Save: $187.58 (26%)Ships in 1-2 Business DaysChevrolet Cruze Axle, Rear Cmpd Crk
Part Number: 42699695$850.32 MSRP: $1146.00You Save: $295.68 (26%)Ships in 1-2 Business DaysChevrolet Cruze Front Driver Side Half Shaft Assembly
Part Number: 39054040$257.43 MSRP: $468.07You Save: $210.64 (45%)Ships in 1-2 Business DaysChevrolet Cruze Front Driver Side Half Shaft Assembly
Part Number: 39092969$187.61 MSRP: $341.10You Save: $153.49 (45%)Ships in 1-3 Business DaysChevrolet Cruze Front Driver Side Half Shaft Assembly
Part Number: 39092970$175.49 MSRP: $319.10You Save: $143.61 (45%)Ships in 1-2 Business DaysChevrolet Cruze Front Driver Side Half Shaft Assembly
Part Number: 39092974$769.75 MSRP: $1399.54You Save: $629.79 (45%)Ships in 1-2 Business DaysChevrolet Cruze Front Driver Side Half Shaft Assembly
Part Number: 39001239$399.72 MSRP: $638.67You Save: $238.95 (38%)Ships in 1-2 Business DaysChevrolet Cruze Rear Axle
Part Number: 22812157$876.02 MSRP: $1137.67You Save: $261.65 (23%)Ships in 1-3 Business DaysChevrolet Cruze AXLE,RR CMPD CRK
Part Number: 42754969$911.98 MSRP: $1229.10You Save: $317.12 (26%)Ships in 1-3 Business DaysChevrolet Cruze Rear Compensator Crank Axle
Part Number: 42699694$915.07 MSRP: $1183.03You Save: $267.96 (23%)Ships in 1-3 Business DaysChevrolet Cruze Front Driver Side Half Shaft Assembly
Part Number: 42517679$243.39 MSRP: $438.55You Save: $195.16 (45%)Chevrolet Cruze Front Driver Side Half Shaft Assembly
Part Number: 42517678$237.46 MSRP: $427.86You Save: $190.40 (45%)
| Page 1 of 2 |Next >
1-20 of 33 Results
Chevrolet Cruze Axle Shaft
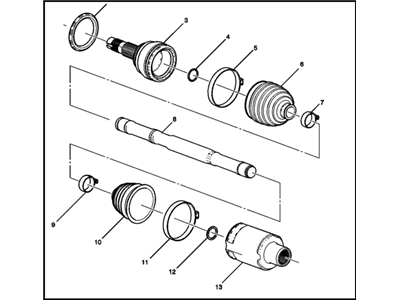
Chevrolet Cruze cars have Axle Shaft that transmits the power from the differential to the driving wheels with possibility for independent rotation for better adhesion at the cornering. These steel shafts can be driver and can be axially symmetrical type used in trucks and older RWD cars, and are called halfshafts when coupled to suspension. Differentials and axle shafts are located in solid axles and half-shafts on the other transfers power from the transaxle to the wheels. Both of them are subject to fatigue whereby they develop noise, vibrations, and may lead to leakage of the lubricant. Axle shafts work as crucial structural pillars of vehicles, transmitting driving force to the wheels and also bearing the weight of the vehicle; thus, axle shafts are instrumental to Chevrolet Cruze vehicle functionality.
Each OEM Chevrolet Cruze Axle Shaft we offer is competitively priced and comes with the assurance of the manufacturer's warranty for the part. Furthermore, we guarantee the speedy delivery of your orders right to your doorstep. Our hassle-free return policy is also in place for your peace of mind.
Chevrolet Cruze Axle Shaft Parts Questions & Experts Answers
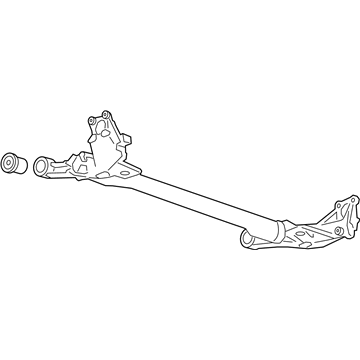
- Q: How to remove the rear Axle Shaft on Chevrolet Cruze?A:To remove the rear axle assembly, start by loosening the rear wheel lug nuts and blocking the front wheels to prevent the vehicle from rolling. Then, raise the rear of the vehicle and support it securely on jackstands before removing the rear wheels. Disconnect the brake pipes from the hoses at the trailing arms and plug the fittings to prevent dirt or fluid loss. Disconnect the ABS electrical connectors at the rear axle and release the ends of the parking brake cables from the rear brakes, freeing them from any brackets on the rear axle. Remove the Coil Springs and the outer ends of the Watts links, if equipped. Support the rear axle with floor jacks and remove the mounting bolts securing the axle bushing brackets to the body on each side. Carefully lower the rear axle assembly to the floor and inspect the trailing arm pivot bushings for deterioration. If replacement is needed, take the axle assembly to a shop for bushing replacement. To install the rear axle assembly, follow the reverse steps of removal, ensuring to raise the axle assembly to approximate ride height before tightening the through-bolts. Align the axle bushing brackets to the body on each side and tighten the bolts to the proper torque specifications. Bleed the brake system, tighten the wheel lug nuts, and have the rear wheel alignment checked and adjusted if necessary.
