My Garage
My Account
Cart
Genuine Chevrolet Cruze Catalytic Converter
Cat. Converter- Select Vehicle by Model
- Select Vehicle by VIN
Select Vehicle by Model
orMake
Model
Year
Select Vehicle by VIN
For the most accurate results, select vehicle by your VIN (Vehicle Identification Number).
13 Catalytic Converters found
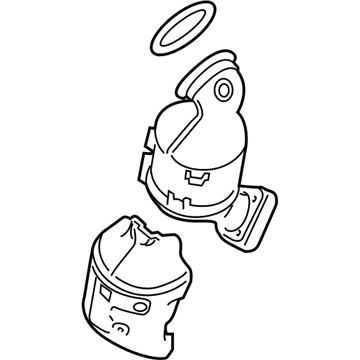
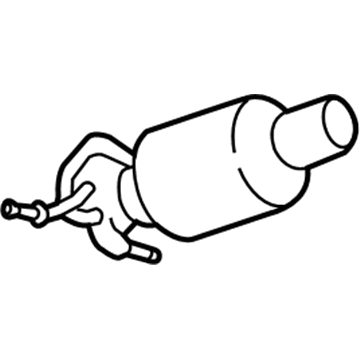
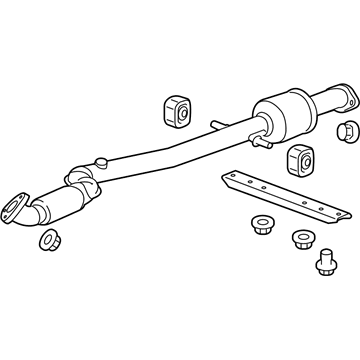
Chevrolet Cruze CONVERTER ASM,W/UP 3WAY CTLTC (KIT)
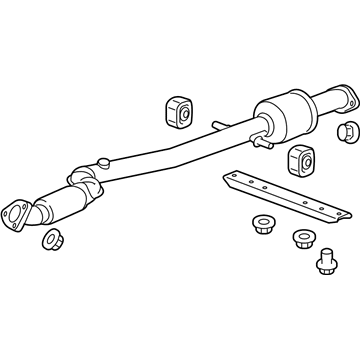
Part Number: 19420225$1048.13 MSRP: $1609.88You Save: $561.75 (35%)Ships in 1-3 Business DaysChevrolet Cruze CONVERTER ASM,3WAY CTLTC(W/EXH PIPE)
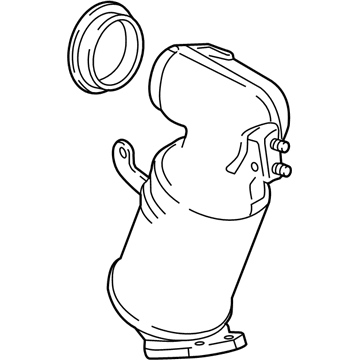
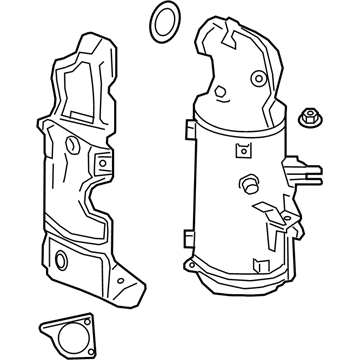
Part Number: 19420244$549.36 MSRP: $850.57You Save: $301.21 (36%)Chevrolet Cruze CONVERTER ASM,W/UP 3WAY CTLTC (KIT)
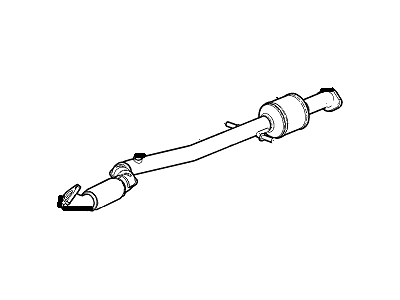
Part Number: 19420230$805.14 MSRP: $1207.18You Save: $402.04 (34%)Chevrolet Cruze 3Way Catalytic Convertor Assembly (W/Exhaust Pipe)
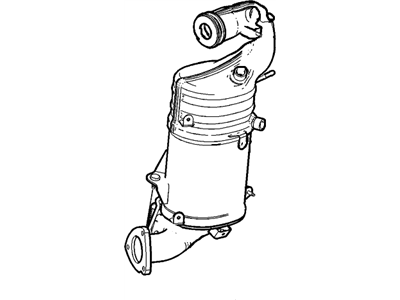
Part Number: 94529345$802.35 MSRP: $1202.95You Save: $400.60 (34%)Ships in 1-3 Business DaysChevrolet Cruze 3Way Catalytic Convertor Assembly (W/Exhaust Pipe)
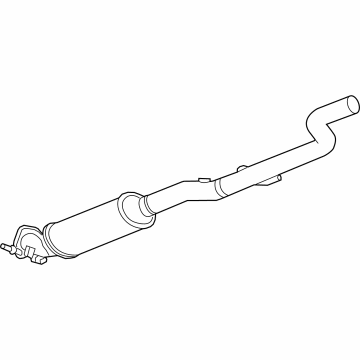
Part Number: 94529346$1251.28 MSRP: $1883.15You Save: $631.87 (34%)Ships in 1-3 Business DaysChevrolet Cruze CONVERTER ASM,3WAY CTLTC
Part Number: 19420270$746.13 MSRP: $1117.76You Save: $371.63 (34%)Ships in 1-3 Business DaysChevrolet Cruze 3Way Catalytic Convertor Assembly (W/Exhaust Pipe)
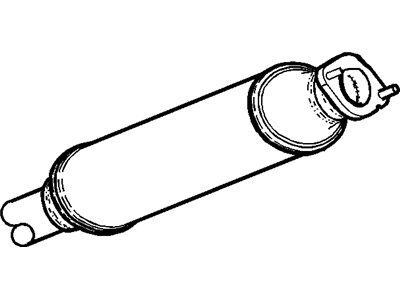
Part Number: 94529348$766.28 MSRP: $1143.10You Save: $376.82 (33%)Ships in 1-3 Business DaysChevrolet Cruze NOX Catalytic Converter Assembly (W/ Exh Pipe)
Part Number: 39146546$917.03 MSRP: $1428.67You Save: $511.64 (36%)Ships in 1-3 Business DaysChevrolet Cruze Nitrogen Oxide Catalytic Converter Assembly
Part Number: 23199833$1016.44 MSRP: $1584.97You Save: $568.53 (36%)Chevrolet Cruze CONVERTER ASM,3WAY CTLTC(W/EXH PIPE)
Part Number: 19420246$894.28 MSRP: $1336.17You Save: $441.89 (34%)Chevrolet Cruze Oxidation Catalytic Converter Assembly (W/ Filter)
Part Number: 55496390$928.39 MSRP: $1397.12You Save: $468.73 (34%)
Chevrolet Cruze Catalytic Converter
This part known as the Catalytic Converter in Chevrolet Cruze cars are very essential in the exhaust and emission systems of automobiles as they help to change toxic gases that are emitted when burning fuel into less toxic compounds. They incorporate catalysts, normally platinum, palladium and rhodium whereby CO, HC, and NOx are converted into water, CO2, and N2 respectively through chemical reactions. It's been over a decade that various Chevrolet Cruze models use different types of catalytic converters as two-way and three-way for better and optimum emission control with three way becoming widespread. There are also high flow performance catalytic converters on the market for those who need the converters to work well, while not hindering the performance of the vehicle's engine. Direct fit converters are easy to install while those of the universal type need some modification.
Each OEM Chevrolet Cruze Catalytic Converter we offer is competitively priced and comes with the assurance of the manufacturer's warranty for the part. Furthermore, we guarantee the speedy delivery of your orders right to your doorstep. Our hassle-free return policy is also in place for your peace of mind.
Chevrolet Cruze Catalytic Converter Parts Questions & Experts Answers
- Q: How to remove and install the catalytic converter on Chevrolet Cruze?A:For 1.4L models, begin by opening the hood and removing the upstream Oxygen Sensor, then unscrew the converter-to-turbocharger outlet V-clamp bolt to disconnect the upper end of the catalytic converter. Discard the V-clamp and obtain a new one for installation. Raise the vehicle and support it securely on jackstands, then remove the under-vehicle splash shield. Next, remove the three nuts attaching the front portion of the exhaust pipe to the warm-up catalytic converter, applying penetrating oil beforehand and allowing it to soak. Discard the nuts and obtain new ones for installation. Remove the two converter bracket nuts and then the catalytic converter, supporting the exhaust pipe if necessary to reposition it slightly. Discard the old flange gaskets. Installation is the reverse of removal, using new gaskets at both mounting flanges, a new V-clamp, and new converter-to-exhaust pipe nuts, coating the threads with anti-seize compound and tightening to the specified torque values. For the secondary converter, raise the front of the vehicle and support it securely on jackstands, applying penetrating oil to all flange nuts. Remove the downstream oxygen sensor, then the nuts securing the front portion of the exhaust system to the muffler, followed by the secondary converter-to-warm-up converter nuts, discarding all nuts and obtaining new ones for installation. Remove the secondary converter support bolts and the converter/front exhaust pipe. Installation is the reverse of removal, ensuring the use of new gaskets and nuts, tightening the nuts to the specified torque. For 1.8L models, the catalytic converter is integrated into the exhaust manifold and cannot be serviced separately; removal or replacement requires further guidance.
