My Garage
My Account
Cart
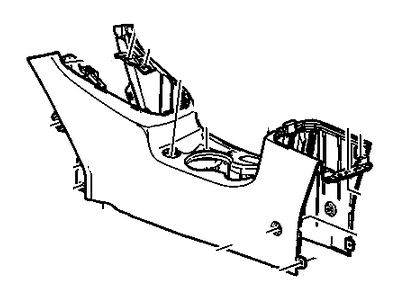
Genuine Chevrolet Cruze Center Console
Floor Console Assembly- Select Vehicle by Model
- Select Vehicle by VIN
Select Vehicle by Model
orMake
Model
Year
Select Vehicle by VIN
For the most accurate results, select vehicle by your VIN (Vehicle Identification Number).
64 Center Consoles found
Chevrolet Cruze Nut, Push In
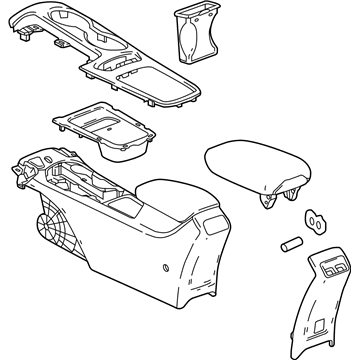
Part Number: 11561629$7.93 MSRP: $12.47You Save: $4.54 (37%)Ships in 1-3 Business DaysChevrolet Cruze Front Floor Console Assembly Black
Part Number: 42654594$345.05 MSRP: $518.20You Save: $173.15 (34%)Ships in 1-3 Business DaysChevrolet Cruze Front Floor Console Assembly Black
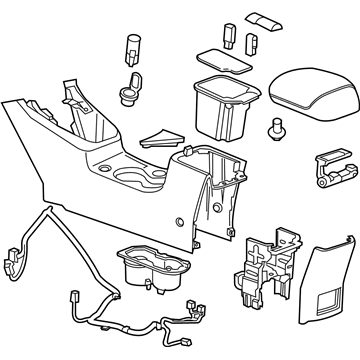
Part Number: 42671592$176.02 MSRP: $264.35You Save: $88.33 (34%)Ships in 1-3 Business DaysChevrolet Cruze Front Floor Console Assembly Black
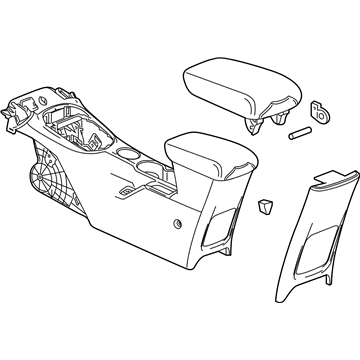
Part Number: 94509645$87.35 MSRP: $130.59You Save: $43.24 (34%)Ships in 1-2 Business DaysChevrolet Cruze Front Floor Console Assembly Black
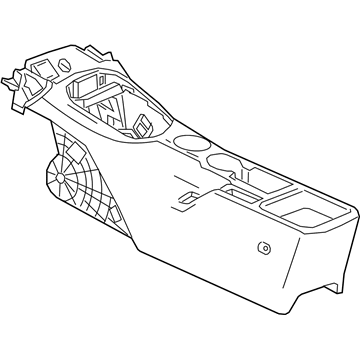
Part Number: 42697594$172.68 MSRP: $259.34You Save: $86.66 (34%)Ships in 1-3 Business DaysChevrolet Cruze Front Floor Console Assembly Black
Part Number: 42697596$216.11 MSRP: $324.55You Save: $108.44 (34%)Ships in 1-3 Business DaysChevrolet Cruze Front Floor Console Assembly Black
Part Number: 84037807$243.78 MSRP: $366.11You Save: $122.33 (34%)Ships in 1-3 Business DaysChevrolet Cruze Front Floor Console Assembly Black
Part Number: 84349987$250.66 MSRP: $376.44You Save: $125.78 (34%)Ships in 1-3 Business DaysChevrolet Cruze Front Floor Console Assembly Black
Part Number: 84139042$31.10 MSRP: $46.49You Save: $15.39 (34%)Ships in 1-3 Business DaysChevrolet Cruze Console, Front Floor *Cocoa
Part Number: 95985382$217.52 MSRP: $326.67You Save: $109.15 (34%)Ships in 1-3 Business DaysChevrolet Cruze Console Assembly, Front Floor *Dark Atmospherr
Part Number: 23417613$236.85 MSRP: $355.70You Save: $118.85 (34%)Ships in 1-3 Business DaysChevrolet Cruze Console Assembly, Front Floor *Dark Atmospherr
Part Number: 84199371$250.95 MSRP: $376.88You Save: $125.93 (34%)Ships in 1-3 Business DaysChevrolet Cruze Front Floor Console Assembly Black
Part Number: 84139024$448.22 MSRP: $676.19You Save: $227.97 (34%)Ships in 1-3 Business DaysChevrolet Cruze Front Floor Console Assembly *Cocoa
Part Number: 95015254$45.80 MSRP: $277.06You Save: $231.26 (84%)Ships in 1-2 Business DaysChevrolet Cruze Console Assembly, Front Floor *Cocoa
Part Number: 95483626$151.23 MSRP: $317.11You Save: $165.88 (53%)Ships in 1-2 Business DaysChevrolet Cruze Console Assembly, Front Floor *Black
Part Number: 95483625$188.79 MSRP: $339.32You Save: $150.53 (45%)Ships in 1-2 Business DaysChevrolet Cruze Console Assembly, Front Floor *Black
Part Number: 95214722$57.64 MSRP: $348.67You Save: $291.03 (84%)Ships in 1-2 Business DaysChevrolet Cruze Front Floor Console Assembly *Cocoa
Part Number: 95080420$181.14 MSRP: $272.04You Save: $90.90 (34%)Ships in 1-2 Business DaysChevrolet Cruze Front Floor Console Assembly Black
Part Number: 84139053$42.20 MSRP: $63.10You Save: $20.90 (34%)Ships in 1-3 Business DaysChevrolet Cruze Console Assembly, Front Floor *Atmosphere R
Part Number: 84199374$132.53 MSRP: $199.04You Save: $66.51 (34%)Ships in 1-3 Business Days
| Page 1 of 4 |Next >
1-20 of 64 Results
Chevrolet Cruze Center Console
The Chevrolet Cruze has put in place a center console in a bid to augment the organization of items with paramount importance within the car. This console is used to store such items as phones, keys and money within easy reach of the driver without distracting his/her attention on the road. In the recent years, the Cruze has had changes to their console designs where the current ones have multiple pockets, holders for cups, and technological enhanced complex functions like refrigerator among others. The central console is an area situated between a driver's and the front-passenger seat commonly used for an audio or the climate control devices. Some models also have rear center console that offers other features such conveniences like climate controls and power outlets for the passengers. As for the current model of the Chevrolet Cruze console it is important to mention that with time auto makers started paying more attention to refinement and added it as part of the interior of the vehicle.
Each OEM Chevrolet Cruze Center Console we offer is competitively priced and comes with the assurance of the manufacturer's warranty for the part. Furthermore, we guarantee the speedy delivery of your orders right to your doorstep. Our hassle-free return policy is also in place for your peace of mind.
Chevrolet Cruze Center Console Parts Questions & Experts Answers
- Q: How to disconnect and remove the Center Console on Chevrolet Cruze?A:Disconnect the cable from the negative battery terminal. Use a trim tool to pry out the trim panel from each side of the console. For 2015 and earlier models, pry out the transaxle shifter bezel and disconnect the electrical connectors from the panel. Remove the center storage compartment screws and pull the storage compartment out of the console. Pry out the rear panel to disengage the retaining clips and disconnect the electrical connector. Remove the top trim plate screw cover and the screw. Open the armrest, remove the small piece of carpet at the bottom of the storage compartment, and take out the mounting screws. Remove the perimeter mounting screws around the console, lift off the main console panel, and disconnect the electrical connectors at the front. Reconnect the battery. For 2016 and later models, remove the instrument panel fuse block access cover from the front of the console and disengage the access cover frame fasteners, carefully prying the panel away from the instrument panel. On manual transaxle models, place the gear shift lever into reverse, disengage the retaining tabs around the shift boot, and lift it up to disconnect the electrical connectors. On automatic transaxle models, disengage the clips starting at the rear of the boot, lift it over the shift handle, and remove the shift lever knob. For models with a parking brake handle, pull up on the handle and use a trim tool to disengage the brake lever boot retaining clips. There are three mounting screws on both sides of the console; slide the front seats to access and remove the screws. Lift the console up, disconnect any electrical connectors, and remove the console. Installation is the reverse of removal.

