My Garage
My Account
Cart
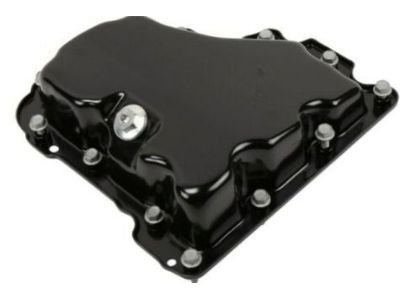
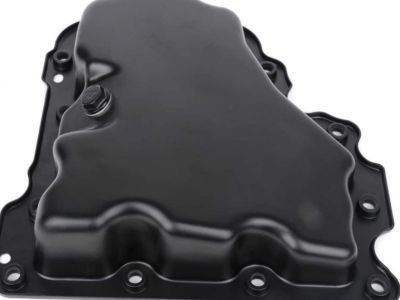
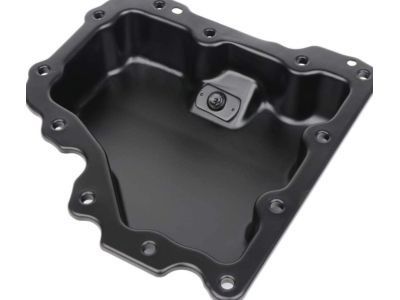
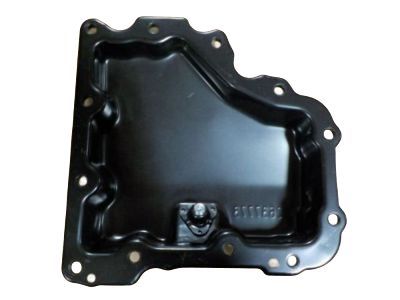
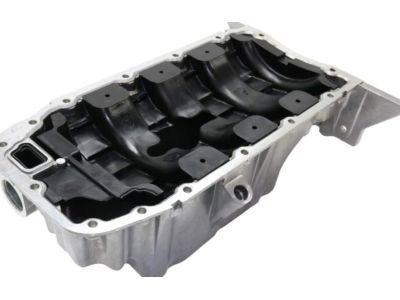
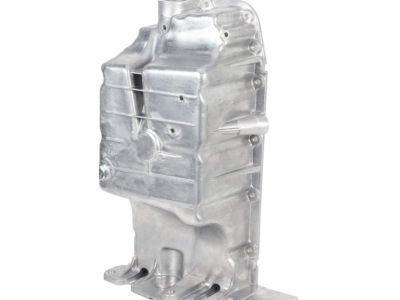
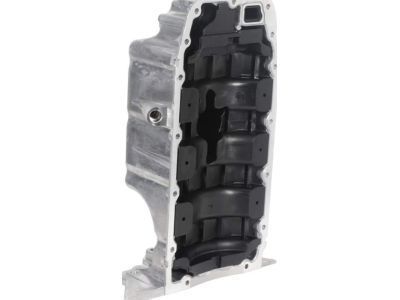
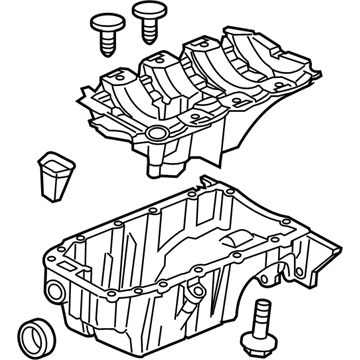
Genuine Chevrolet Cruze Oil Pan
Oil Drain Pan- Select Vehicle by Model
- Select Vehicle by VIN
Select Vehicle by Model
orMake
Model
Year
Select Vehicle by VIN
For the most accurate results, select vehicle by your VIN (Vehicle Identification Number).
7 Oil Pans found
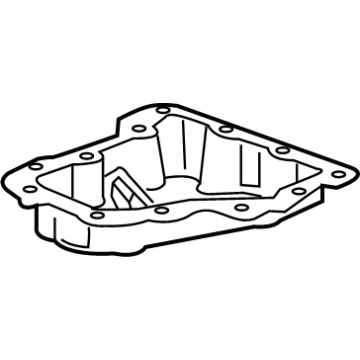
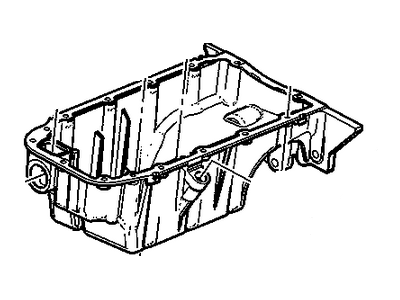
Chevrolet Cruze Pan Assembly, Lower Oil
Part Number: 12637773$37.98 MSRP: $65.49You Save: $27.51 (43%)Ships in 1-2 Business DaysChevrolet Cruze Oil Pan Assembly
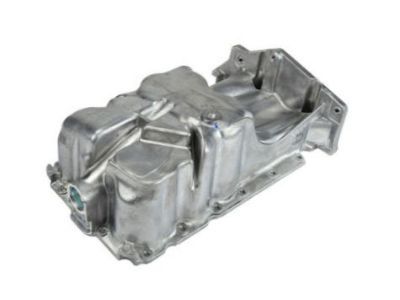
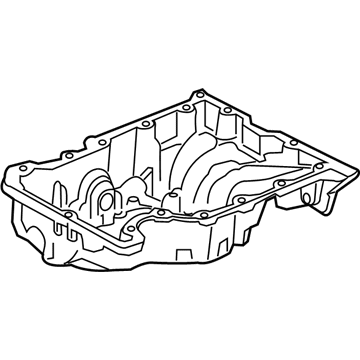
Part Number: 25200829$112.19 MSRP: $193.56You Save: $81.37 (43%)Ships in 1-2 Business DaysChevrolet Cruze Pan Assembly, Oil
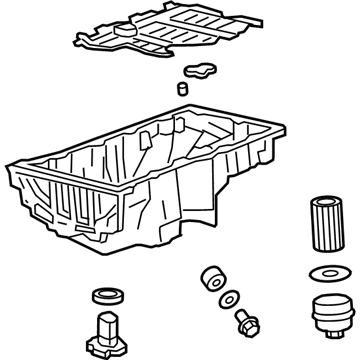
Part Number: 25194722$244.23 MSRP: $417.61You Save: $173.38 (42%)Ships in 1-2 Business DaysChevrolet Cruze Oil Pan Assembly
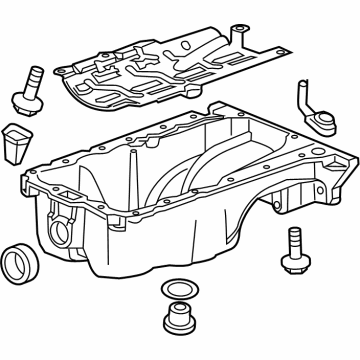
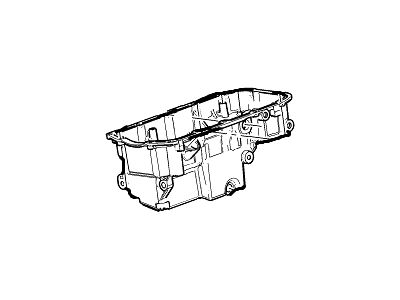
Part Number: 25200508$83.30 MSRP: $142.49You Save: $59.19 (42%)Ships in 1-2 Business DaysChevrolet Cruze Pan Assembly, Upper Oil
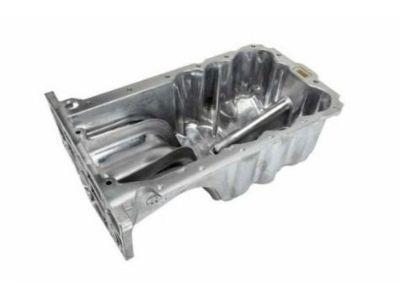
Part Number: 12686797$93.02 MSRP: $159.06You Save: $66.04 (42%)Ships in 1-3 Business DaysChevrolet Cruze Pan Assembly, Oil (W/Engine Oil Level Sensor)
Part Number: 55596705$146.44 MSRP: $233.57You Save: $87.13 (38%)Chevrolet Cruze Pan Assembly, Oil (W/ Engine Oil Level Sensor)
Part Number: 55582917$150.74 MSRP: $249.49You Save: $98.75 (40%)Ships in 1-3 Business Days
Chevrolet Cruze Oil Pan
The Oil Pan of Chevrolet Cruze vehicles is a part that stores engine oil to provide lubrication as well as to regulate temperature of the enclosed parts of engines. In Chevrolet Cruze, the oil pan is also used in what is known as the wet sump system, in this system the oil is held under the engine and is pulled through the pickup tube by the pump. This design also enables the system to circulate fresh oil in the engine at all times and this is critical in the performance of the engine. Conventionally, Chevrolet Cruze oil pans were made from stamped steel, but improvements have seen the use of cast aluminum pan in most recent models improving on the durability and efficiency. Engineering of the oil pan allows numerous operating conditions at which the engine is provided with optimal lubrication even under extreme situations such as stunts. In a nutshell, the Chevrolet Cruze oil pan is an important constituent of the car's lubrication system, variable with the engine requirements, and protects against oil seepage.
Each OEM Chevrolet Cruze Oil Pan we offer is competitively priced and comes with the assurance of the manufacturer's warranty for the part. Furthermore, we guarantee the speedy delivery of your orders right to your doorstep. Our hassle-free return policy is also in place for your peace of mind.
Chevrolet Cruze Oil Pan Parts Questions & Experts Answers
- Q: How to remove and install the oil pan on Chevrolet Cruze?A:When working at the rear of the engine for removal of the oil pan on 2016 & later 1.4L engines, the engine oil must be drained and drive belt comes off. On 1.8L models, before doing any work under the vehicle remove the right-front wheel, unbolt the lug nuts, and then safely raise the front of the vehicle and place jack stands underneath. Take off the right front wheel and the inner fender splash shield on all models, and exhaust system, catalytic converter on 1.8L models only, exhaust system and catalytic converter on 1.4L models only. In the next step, meeting with the lower oil pan mounting bolts and then, take off the lower oil pan from the upper oil pan. Remove the electrical connector from the Oil Pump flow control solenoid harness & the solenoid, remove the harness connector mounting bolt. For 1.8L models remove exhaust system from the exhaust manifold. If fitted, relocate the engine oil heater to the front of the vehicle and if the vehicle is equipped with a dipstick and the dipstick tube, then remove them. Take out the oil pan-to-transaxle bolts, turn the oil pan bolts inch by inch in a manner that diagonally opposite bolts are loosened at the same time and then extract the oil pan from the lower crankcase with a rubber mallet. In removing the oil screen, make sure that it does not fall out of the oil pan. For installation, remove all previous gasket material on the lower crankcase and oil pan and make sure that the oil screen is placed well in the oil pan. Use the right RTV sealant bead round the oil pan periphery and allow to skin before fitting. Connect the oil pan along with the bolts and tighten them to the required torque, fixed the flow control solenoid harness for the oil pump. Last put the lower part of the oil pan on the upper part and snug the bolts and thus ends the installation process by replacing the oil and the filter before starting the vehicle and looking for any signs of leakage.
