My Garage
My Account
Cart
Genuine Chevrolet Cruze Piston
Engine Pistons- Select Vehicle by Model
- Select Vehicle by VIN
Select Vehicle by Model
orMake
Model
Year
Select Vehicle by VIN
For the most accurate results, select vehicle by your VIN (Vehicle Identification Number).
14 Pistons found
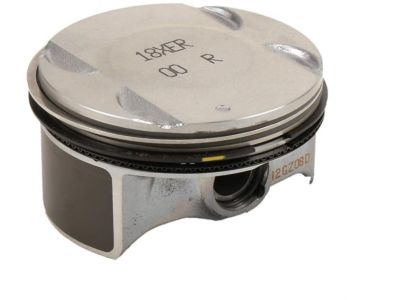
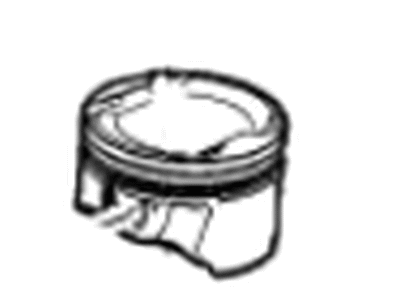
Chevrolet Cruze PISTON KIT,.
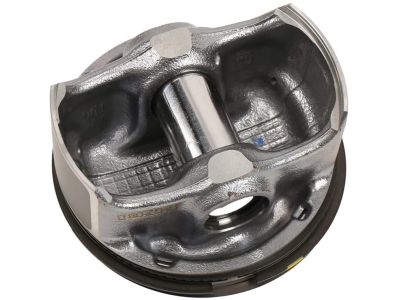
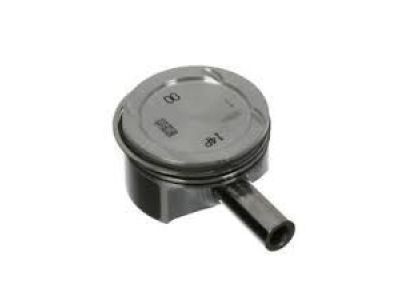
Part Number: 12705612$23.98 MSRP: $39.67You Save: $15.69 (40%)Ships in 1-2 Business DaysChevrolet Cruze Piston,Engine
Part Number: 25198520$58.44 MSRP: $99.91You Save: $41.47 (42%)Ships in 1-2 Business DaysChevrolet Cruze Piston Assembly
Part Number: 55574799$56.11 MSRP: $113.16You Save: $57.05 (51%)Ships in 1-2 Business DaysChevrolet Cruze Piston Assembly
Part Number: 55598378$51.71 MSRP: $82.44You Save: $30.73 (38%)Ships in 1-3 Business DaysChevrolet Cruze PISTON ASM
Part Number: 25195028$238.31 MSRP: $394.24You Save: $155.93 (40%)Ships in 1-3 Business DaysChevrolet Cruze Piston Assembly
Part Number: 25192331$107.68 MSRP: $171.74You Save: $64.06 (38%)Ships in 1-3 Business DaysChevrolet Cruze Piston Assembly
Part Number: 55598380$103.73 MSRP: $171.63You Save: $67.90 (40%)Ships in 1-3 Business DaysChevrolet Cruze Piston Asm
Part Number: 55576442$84.73 MSRP: $146.16You Save: $61.43 (43%)Ships in 1-2 Business DaysChevrolet Cruze Piston Asm
Part Number: 55574798$25.95 MSRP: $42.96You Save: $17.01 (40%)Ships in 1-3 Business DaysChevrolet Cruze Piston Assembly
Part Number: 55574797$67.65 MSRP: $111.95You Save: $44.30 (40%)Ships in 1-3 Business DaysChevrolet Cruze Piston Assembly
Part Number: 55567993$185.86 MSRP: $293.75You Save: $107.89 (37%)Ships in 1-3 Business DaysChevrolet Cruze Piston Assembly
Part Number: 19301081$279.41 MSRP: $441.52You Save: $162.11 (37%)Ships in 1-3 Business Days
Chevrolet Cruze Piston
Each OEM Chevrolet Cruze Piston we offer is competitively priced and comes with the assurance of the manufacturer's warranty for the part. Furthermore, we guarantee the speedy delivery of your orders right to your doorstep. Our hassle-free return policy is also in place for your peace of mind.
Chevrolet Cruze Piston Parts Questions & Experts Answers
- Q: What steps should be taken before removing the piston and connecting rod assemblies on Chevrolet Cruze?A:Before the piston and connecting rod assemblies can be taken out, the cylinder head and oil pan have to be first detached. You should also run your fingernail across the top end of ring travel; any ridge that is formed must be trimmed by the use of a reamer since failure to do so is likely to cause a breakage of the piston. Then, retract all the ridges then rotate the engine in such a manner that the Crankshaft will be at the uppermost position. Measure the amount of end play of connecting rod with the help of feeler gauges and check that the amount should lie within the boundary line: if there is cross then new connecting rods are required. It is possible to mark some of the connecting rods and caps for identification and then loosen the connecting rod cap bolts together with the cap itself, being extremely careful not to drop the bearing insert. Withdraw the connecting rod and piston assembly through the top of the engine if necessary using a wooden dowel for piston expulsion and do the same for the remaining cylinders. Once removed screw back the caps and inserts in order to avoid further damage during examination. If you are going to put new piston rings, ensure that the ring end gaps are correct and also the side clearance of the piston ring. Place the pistons with the rings in the cylinder block beginning by the oil control ring then the second and third ring. At final assembly, the cylinder walls should be clean, the edges of the cylinder should be chamfered and the crankshaft should be fitted. Do not lubricate the bearing inserts during the cleaning and replacement process as well as alignment of the piston ring gaps, and additionally for the lubrication of the piston and rings use only a piston ring compressor for the installation. Verify the oil clearance of the connecting rod bearing using Plastigage obtaining the right size and condition of the bearing inserts. Once the clearance is confirmed apply the grease to the bearing faces; fit the rod cap with new bolts and tighten to the desired torque figure. The same must be done for all the assemblies, always cleaning them and checking their orientation during the entire course of the activity. Last but not the least, turn the crankshaft and look for binding and at the same time inspect and adjust for connecting rod endplay.
