My Garage
My Account
Cart
Genuine Chevrolet El Camino Fuel Filter
Gas Filter- Select Vehicle by Model
- Select Vehicle by VIN
Select Vehicle by Model
orMake
Model
Year
Select Vehicle by VIN
For the most accurate results, select vehicle by your VIN (Vehicle Identification Number).
5 Fuel Filters found
Chevrolet El Camino Fuel Filter
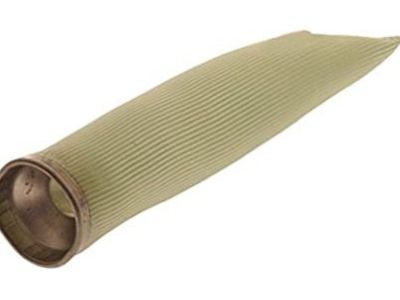
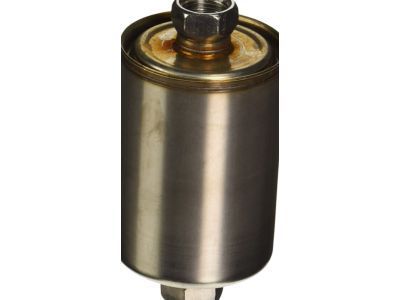
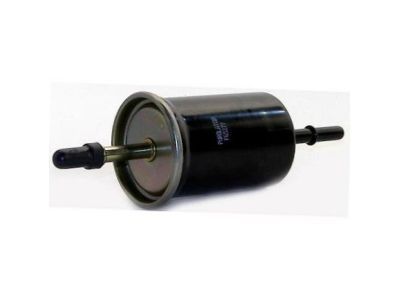
Fuel Filter in Chevrolet El Camino automobiles plays important role of protecting the engine by preventing elements of dirt, rust and water from getting into the fuel. Such filtration is crucial for sustainment of the engine performance and to protect such parts as fuel pumps and injectors. The Chevrolet El Camino has used several Fuel Filter models throughout the years, and for carbureted engine tailored filters were put in line and for Electronic Fuel Injected (EFI) systems, the filters were installed between the fuel tank and the engine. There are various types of Fuel Filters that are used for instance, the canister type with the cartridges which are removable and the in-line type which may incorporate a shut-off valve. Water damage is common and there are usually water separators in the diesel models of the cars. The Fuel Filter like any other filter should be maintained and replaced regularly in order to maintain clean fuel flow throughout the Chevrolet El Camino, thus increasing it's durability.
Each OEM Chevrolet El Camino Fuel Filter we offer is competitively priced and comes with the assurance of the manufacturer's warranty for the part. Furthermore, we guarantee the speedy delivery of your orders right to your doorstep. Our hassle-free return policy is also in place for your peace of mind.
Chevrolet El Camino Fuel Filter Parts Questions & Experts Answers
- Q: How is the fuel filter replaced on Chevrolet El Camino?A:In all make and models of cars manufactured by GM the fuel filter is installed inside the fuel inlet to the carburetor and can either be pleated papers for later designs or bronze for earlier designs and cannot be cleaned for reuse. This job should be done when the engine is cold after 3 hours of idling and OR wrenches for the fuel line nuts and flare nut wrench if available, another filter for the car and engine and few clean rags. The first step is to take out the air cleaner assembly, and take note or mark those vacuum hoses that should be disconnected so that they can be reattached later. Trace the fuel hose from the fuel pump, position at the low right front of the engine, to the carburetor, which is usually connected by metal line. While disconnecting the fuel line, lay piece of rags under the fuel inlet fittings to any fuel spillage. Using the right size wrench, and standing the nut beside the carburetor body, turn the nut-fitting and the end of the fuel metal line.It is important in this process to ensure that the larger nut does not slip from your hand. Just after disconnecting the fuel line, it should be slid slightly aside in order not to crimp it while gaining access to the inlet filter nut. Slowly unscrew the fuel inlet filter nut without loosing the small thin washer-type gasket and the spring located behind the filter to be careful on the filter installation. Measure the old filter with the new one to find out which is longer before comparing the design of the two filters then fix the spring onto the carburetor body after ascertaining whether the spring has any sign of damage. Place the new filter trailing the spring, it may be installed in the correct direction for the bronze or paper filter. replace the washer-type gasket using the fuel inlet filter nut and screw it firmly onto the carburetor but not too roughly thus causing stripping or leading to the leakage of fuel. While attaching the fuel inlet nut, use a wrench to hold the nut tightly while connecting the fuel line, this is because one is usually in a very tight place and may end up cross threading. Attach a clip to the vacuum hose that leads to the air cleaner snorkel motor to enable the running of the engine and look for any signs of leakage. Wherever there are signs of leakage at the fuel line connector, make sure you remove the connector and check if the threads for the line are worn out or stripped and if so you change the line, if not then thread sealing tape is used. Last of all, reconnect all hoses to their designed positions and refit the air cleaner assembly back into position.
