My Garage
My Account
Cart
Genuine Chevrolet Express Cylinder Head
Head- Select Vehicle by Model
- Select Vehicle by VIN
Select Vehicle by Model
orMake
Model
Year
Select Vehicle by VIN
For the most accurate results, select vehicle by your VIN (Vehicle Identification Number).
27 Cylinder Heads found
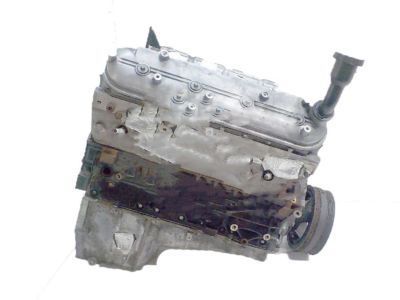
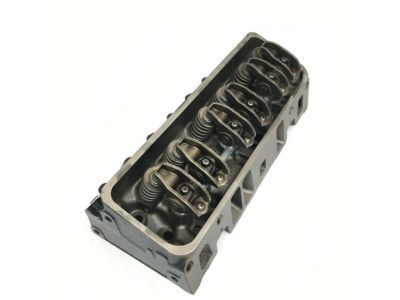
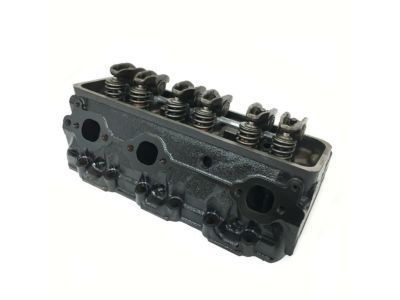
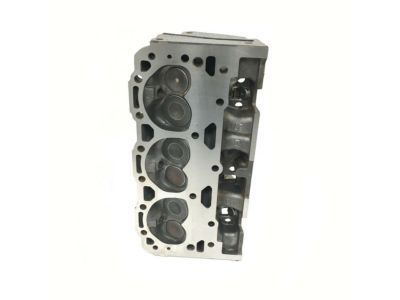
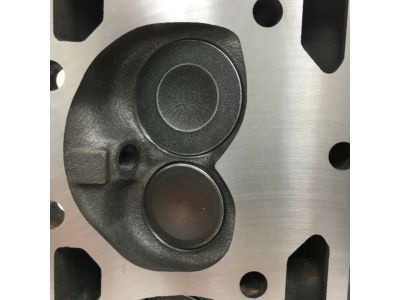
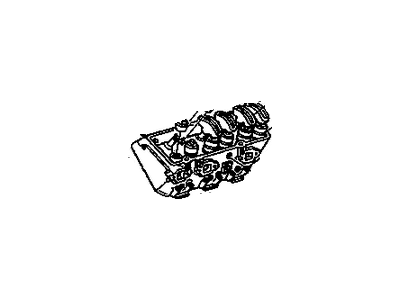
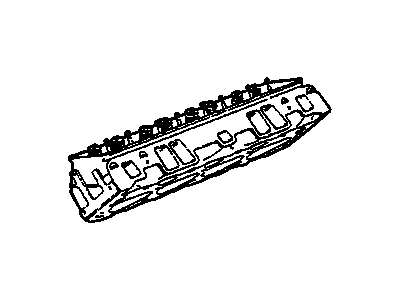
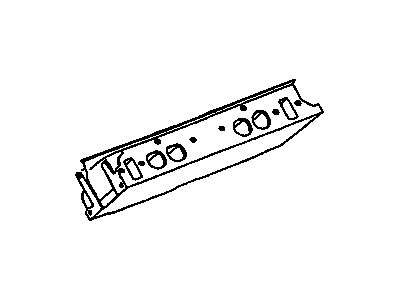
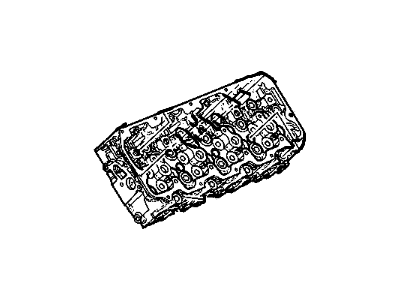
Chevrolet Express Head Assembly, Cyl (W/ Valve)
Part Number: 12629058$1284.58 MSRP: $2048.32You Save: $763.74 (38%)Ships in 1-2 Business DaysChevrolet Express Cylinder Head Assembly
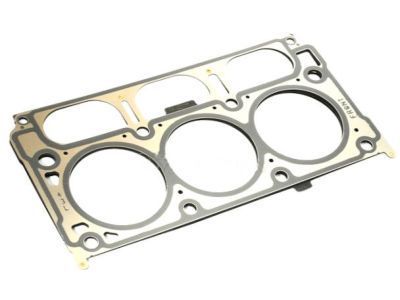
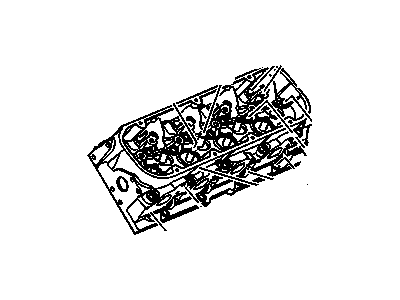
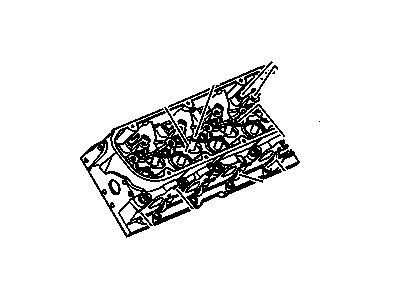
Part Number: 12629342$483.84 MSRP: $800.79You Save: $316.95 (40%)Ships in 1-3 Business DaysChevrolet Express Cylinder Head Assembly (W/Studs)
Part Number: 12533558$310.73 MSRP: $491.12You Save: $180.39 (37%)Ships in 1-3 Business DaysChevrolet Express Cylinder Head Assembly
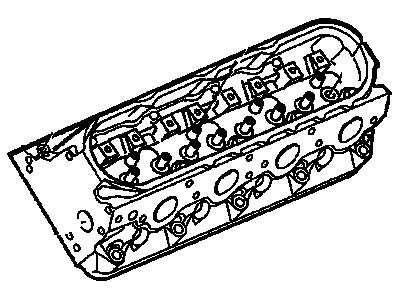
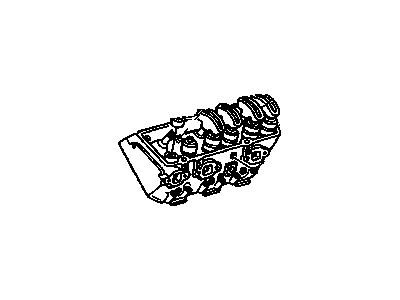
Part Number: 12581476$761.70 MSRP: $984.75You Save: $223.05 (23%)Ships in 1-3 Business DaysChevrolet Express Head Assembly, Cyl (W/ Vlv)
Part Number: 12711770$1016.90 MSRP: $1620.46You Save: $603.56 (38%)Chevrolet Express Head Assembly, Cyl (W/ Vlv)
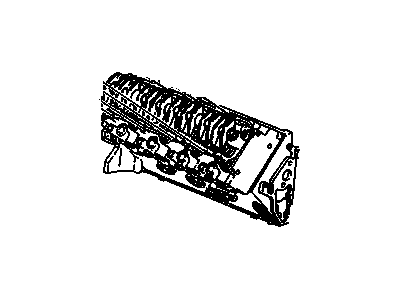
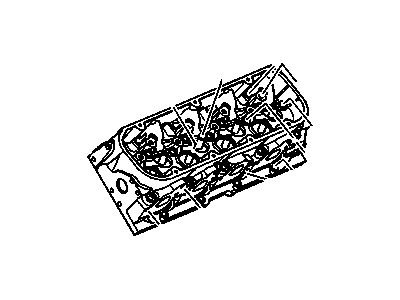
Part Number: 12677840$483.84 MSRP: $800.79You Save: $316.95 (40%)Ships in 1-3 Business DaysChevrolet Express Cylinder Head Assembly
Part Number: 12533542$1437.30 MSRP: $2281.97You Save: $844.67 (38%)Ships in 1-3 Business DaysChevrolet Express Head Assembly, Cyl (W/ Vlv)
Part Number: 12691728$714.79 MSRP: $862.50You Save: $147.71 (18%)Ships in 1-3 Business DaysChevrolet Express Engine Cylinder Head
Part Number: 12562319$473.06 MSRP: $751.05You Save: $277.99 (38%)Ships in 1-3 Business DaysChevrolet Express Engine Cylinder Head
Part Number: 12555630$447.07 MSRP: $713.03You Save: $265.96 (38%)Ships in 1-3 Business DaysChevrolet Express Cylinder Head Assembly
Part Number: 12581477$286.45 MSRP: $368.66You Save: $82.21 (23%)Ships in 1-3 Business DaysChevrolet Express Head Assembly, Cyl (W/ Vlv)
Part Number: 12711769$999.42 MSRP: $1593.00You Save: $593.58 (38%)Ships in 1-3 Business DaysChevrolet Express Cylinder Head Assembly
Part Number: 12558112$596.22 MSRP: $803.53You Save: $207.31 (26%)Ships in 1-3 Business DaysChevrolet Express Cylinder Head Assembly
Part Number: 10141280$1045.39 MSRP: $1730.21You Save: $684.82 (40%)Ships in 1-3 Business DaysChevrolet Express Head Assembly, Cyl (Mchg)
Part Number: 12690608$1380.49 MSRP: $2284.83You Save: $904.34 (40%)Ships in 1-3 Business DaysChevrolet Express Head Assembly, Cyl (Machining)
Part Number: 12690607$1552.99 MSRP: $2476.85You Save: $923.86 (38%)Ships in 1-3 Business DaysChevrolet Express HEAD ASM-CYL (W/ VLV)
Part Number: 12705855$380.04 MSRP: $603.62You Save: $223.58 (38%)Ships in 1-2 Business DaysChevrolet Express HEAD ASM,CYL (W/ VLV)
Part Number: 24590781$1895.35 MSRP: $2450.35You Save: $555.00 (23%)Chevrolet Express Head Assembly, Cyl (W/ Vlv)
Part Number: 12703610$667.19 MSRP: $1059.28You Save: $392.09 (38%)
| Page 1 of 2 |Next >
1-20 of 27 Results
Chevrolet Express Cylinder Head
Each OEM Chevrolet Express Cylinder Head we offer is competitively priced and comes with the assurance of the manufacturer's warranty for the part. Furthermore, we guarantee the speedy delivery of your orders right to your doorstep. Our hassle-free return policy is also in place for your peace of mind.
Chevrolet Express Cylinder Head Parts Questions & Experts Answers
- Q: How to remove and install the left and right cylinder heads in 4.3L V6 and 5.0L,5.7L,7.4L V8 engine on Chevrolet Express?A:If there is rear air conditioning and left cylinder head removal is required, the rear air conditioning system must first be emptied by a holder of this license. Startings with the removal of the cable of the negative terminal of the battery, followed by the removal of the engine cooling fan as well as the valve cover(s). After that, it is necessary to remove the upper and lower intake manifolds, as well as the exhaust manifolds, and take off the Pushrods. When searching for the right cylinder head, you have to take off the alternator mounting bracket, and, for 2018 and newer 4.3L engines, you have to also take off the fuel rail and injectors with the cylinder head. For the left cylinder head you will need to remove the engine ground wire, if equipped, the coolant gauge temperature sender, unscrew the filling nut and disconnect the auxiliary evaporator tube from the refrigerant line manifold, unbolt the air conditioning compressor from its bracket and tilt it out of the way without disconnecting hoses, and finally the air conditioning compressor/power steering pump mounting bracket. Secure the power steering pump and bracket aside, while it is necessary to make sure that affixing bracket does not rest upon the radiator. For 2018 and later 4.3L engines: also remove the fuel rails and injectors and the oil dipstick tube mounting bolt from the rear of the cylinder head. With a new cylinder head gasket acquire cardboard and draw the pattern of the cylinders especially the head bolts, it should include direction of the engine for easy identification. Undo the cylinder head bolts gradually in antisense of the patterns that were used when tightening them by 1/4 turn per round of loosening and place the bolts in the cardboard as they are removed. If any shriek is encountered during the lifting of the cylinder head(s) then it is put off with a block of wood and the help of a hammer and they are placed on wood block(s) while refueling. While aligning make sure that the mating surfaces of the cylinder heads and block are free from contaminants and it's done using gasket scraper and further cleaned using lacquer thinner or acetone. Verify if there are any nicks, scratch or any sharp edges on the surfaces that are intended to mate, if so, then one will have to file or machine the mating surfaces. Run the threads in the cylinder head bolt holes with a tap and free the threads with a die. Align each new gasket over the dowel pins in the block and in case of the use of steel gaskets, apply the requested sealant and then accurately fit the cylinder heads onto the block without interfering with the gaskets. Apply a layer of a non hardening sealant on the threads of the cylinder head bolts before reinstalling them at their original positions tightening them until they are just hand tightened and following the right pattern to tighten them up to the right torque. The reverse follows as the remaining installation steps that are almost similar to the removal process. Last but not the least, replace the engine oil and filter and then turn on the engine and look for the oil and water leakage if any.
Related Chevrolet Express Parts
Browse by Year
2024 Cylinder Head 2023 Cylinder Head 2022 Cylinder Head 2021 Cylinder Head 2020 Cylinder Head 2019 Cylinder Head 2018 Cylinder Head 2017 Cylinder Head 2016 Cylinder Head 2015 Cylinder Head 2014 Cylinder Head 2013 Cylinder Head 2012 Cylinder Head 2011 Cylinder Head 2010 Cylinder Head 2009 Cylinder Head 2008 Cylinder Head 2007 Cylinder Head 2006 Cylinder Head 2005 Cylinder Head 2004 Cylinder Head 2003 Cylinder Head 2002 Cylinder Head 2001 Cylinder Head 2000 Cylinder Head 1999 Cylinder Head 1998 Cylinder Head 1997 Cylinder Head 1996 Cylinder Head
