My Garage
My Account
Cart
Genuine Chevrolet Impala Exhaust Manifold
Engine Exhaust Manifold- Select Vehicle by Model
- Select Vehicle by VIN
Select Vehicle by Model
orMake
Model
Year
Select Vehicle by VIN
For the most accurate results, select vehicle by your VIN (Vehicle Identification Number).
23 Exhaust Manifolds found
Chevrolet Impala Engine Exhaust Manifold
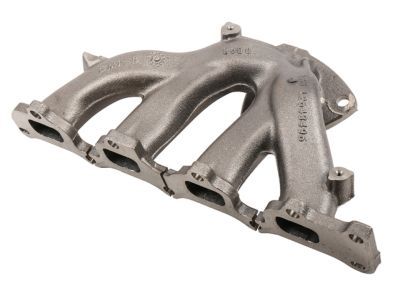
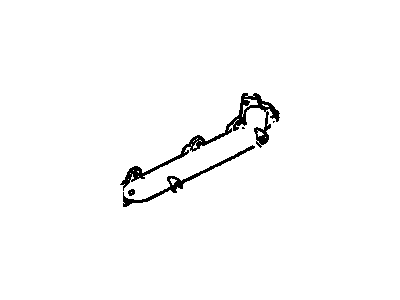
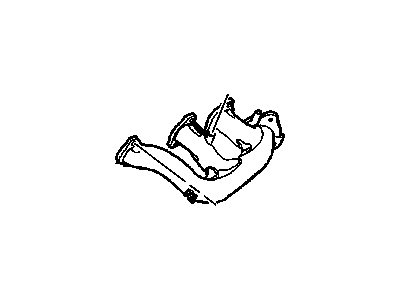
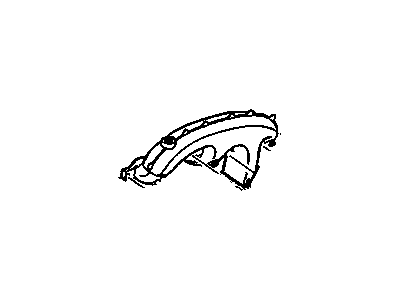
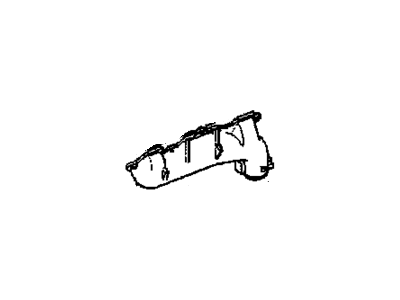
Part Number: 12643496$180.87 MSRP: $306.60You Save: $125.73 (42%)Ships in 1-3 Business DaysChevrolet Impala Engine Exhaust Manifold
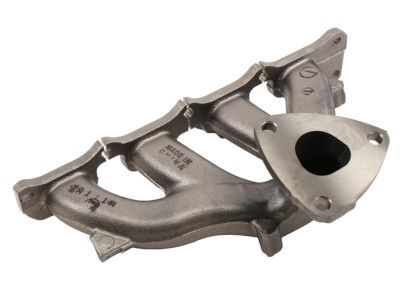
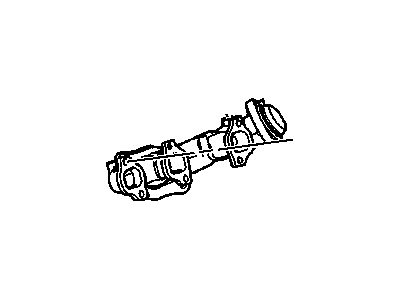
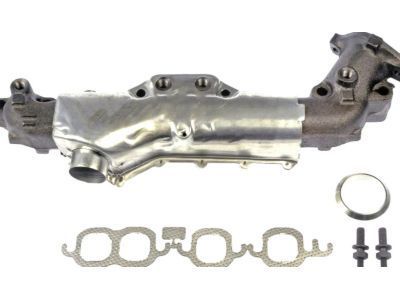
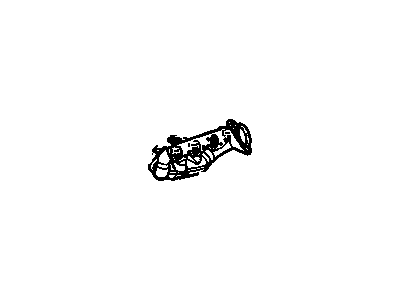
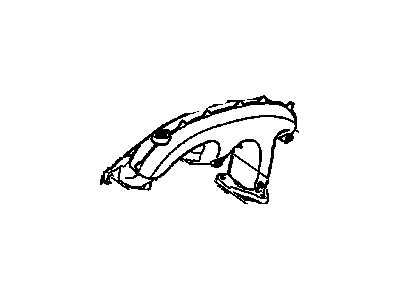
Part Number: 12568405$203.34 MSRP: $303.21You Save: $99.87 (33%)Ships in 1-2 Business DaysChevrolet Impala Engine Exhaust Manifold Rear
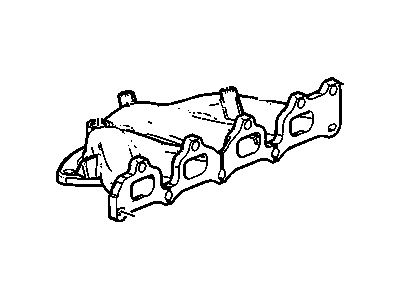
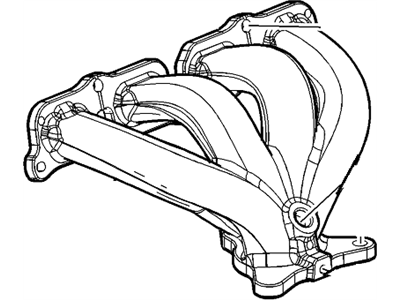
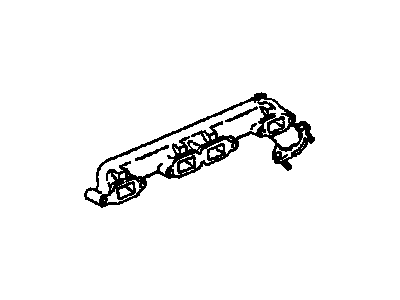
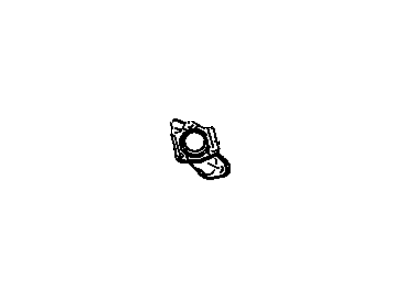
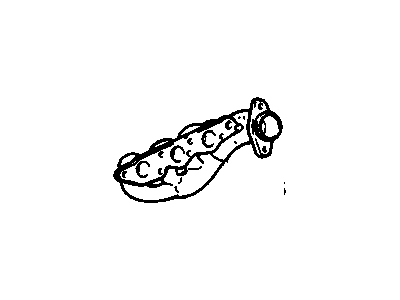
Part Number: 12615497$459.48 MSRP: $660.74You Save: $201.26 (31%)Ships in 1-2 Business DaysChevrolet Impala Exhaust Manifold
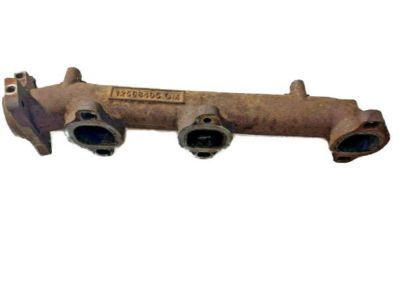
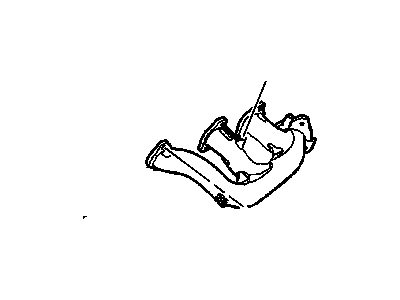
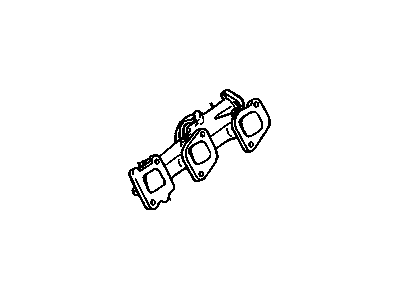
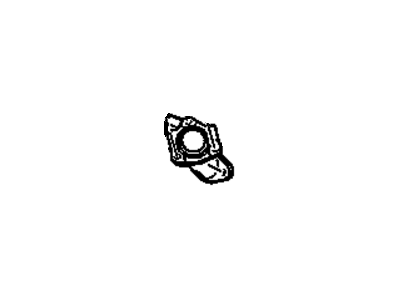
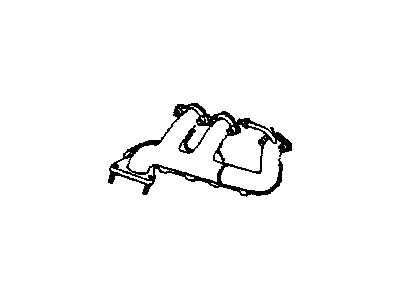
Part Number: 12627186$131.75 MSRP: $210.13You Save: $78.38 (38%)Ships in 1-3 Business DaysChevrolet Impala Engine Exhaust Manifold
Part Number: 12603753$218.06 MSRP: $340.05You Save: $121.99 (36%)Ships in 1-2 Business DaysChevrolet Impala Engine Exhaust Manifold Assembly
Part Number: 12569054$186.47 MSRP: $297.41You Save: $110.94 (38%)Ships in 1-3 Business DaysChevrolet Impala Engine Exhaust Manifold Assembly
Part Number: 12569053$199.68 MSRP: $318.47You Save: $118.79 (38%)Ships in 1-3 Business Days
| Page 1 of 2 |Next >
1-20 of 23 Results
Chevrolet Impala Exhaust Manifold
Chevrolet Impala Exhaust Manifold helps in channelling hot gases from the engine to the exhaust system effectively and supports optimum performance of the vehicle as well as minimizing the toxic gas emission. Depending on the engine layout, it can be found in several positions and the most common type is made from cast iron or stainless steel and has tubes equivalent to the cylinders of the engine. For Chevrolet Impala models, various kinds of Exhaust Manifold have been used for example standard manifold and headers. Standard manifolds are used to capture exhaust gases while headers have been designed in such a way that they offer less opposition to the flow of exhaust gases and thus increase their velocity for better engine efficiency. Health of passengers in the vehicle is also ensured by proper functioning of Exhaust manifolds for necessary air to fuel ratio with no exhaust leakage into the vehicle cabin.
Each OEM Chevrolet Impala Exhaust Manifold we offer is competitively priced and comes with the assurance of the manufacturer's warranty for the part. Furthermore, we guarantee the speedy delivery of your orders right to your doorstep. Our hassle-free return policy is also in place for your peace of mind.
Chevrolet Impala Exhaust Manifold Parts Questions & Experts Answers
- Q: How to remove and install an exhaust manifold in V8 engine on Chevrolet Impala?A:First and foremost before proceeding to the removal of the exhaust manifold, it is important to unscrew the cable connection which is from the negative terminal of the battery. Lift the car and use jack stands to hold it; then unbolt the exhaust pipe connecting to the rear exhaust manifold and suspend the weight of the exhaust system with wire. Discharge the spark plug connectors of the rear cylinder bank and also remove the dipstick tube. Subsequently, take out the spark plugs and uncouple the exhaust crossover pipe kindly and from the manifold that will be discarded but carefully noting the exhaust crossover pipe nuts and manifold mounting bolts. If required, the exhaust manifold heat shield should be unbolted to provide working space, then the exhaust manifold mounting bolts should be removed to release the exhaust manifold from the cylinder head. During installation, the manifold must be inspected whether it has cracks and the internal threads for the bolt must be clear and unharmed; besides, the surfaces of the manifold and cylinder head must be clean. Sit the manifold in position and fit the heat shields, bolts and gaskets, the retaining tabs help to keep the assembly together as it is tightened up. Put in a strip of the medium strength contemporary threadlocking compound ¼ inch wide from the fourth thread of the bolts, excluding the first three. Insert the manifold onto the cylinder head and, using the mounting bolts, just tightly screw them by hand, then using the torque wrench, tighten the bolts in two stages, starting from the center and ending with the ends. As an option, if the exhaust manifold gasket exposes some portion, it is to be bent backwards against the cylinder head. The rest of the steps are taken in reverse order as the removal and fit them and finally crank the engine to check for any exhaust leak.
Related Chevrolet Impala Parts
Browse by Year
2019 Exhaust Manifold 2018 Exhaust Manifold 2017 Exhaust Manifold 2016 Exhaust Manifold 2015 Exhaust Manifold 2014 Exhaust Manifold 2011 Exhaust Manifold 2010 Exhaust Manifold 2009 Exhaust Manifold 2008 Exhaust Manifold 2007 Exhaust Manifold 2006 Exhaust Manifold 2005 Exhaust Manifold 2004 Exhaust Manifold 2003 Exhaust Manifold 2002 Exhaust Manifold 2001 Exhaust Manifold 2000 Exhaust Manifold 1996 Exhaust Manifold 1995 Exhaust Manifold 1994 Exhaust Manifold 1985 Exhaust Manifold 1984 Exhaust Manifold 1983 Exhaust Manifold 1982 Exhaust Manifold
