My Garage
My Account
Cart
Genuine Chevrolet K1500 Crankshaft Seal
- Select Vehicle by Model
- Select Vehicle by VIN
Select Vehicle by Model
orMake
Model
Year
Select Vehicle by VIN
For the most accurate results, select vehicle by your VIN (Vehicle Identification Number).
12 Crankshaft Seals found
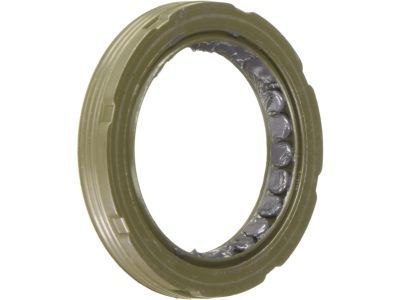
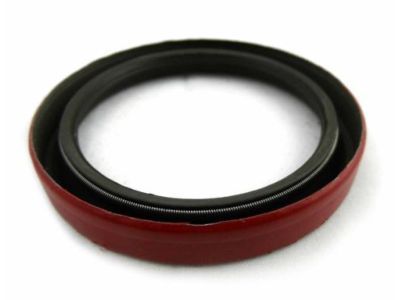
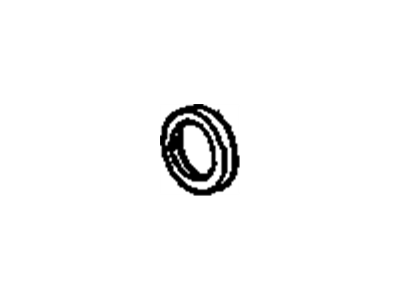
Chevrolet K1500 Seal,Crankshaft Front Oil
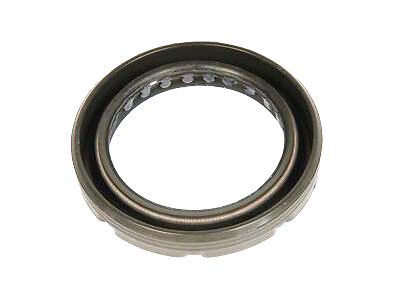
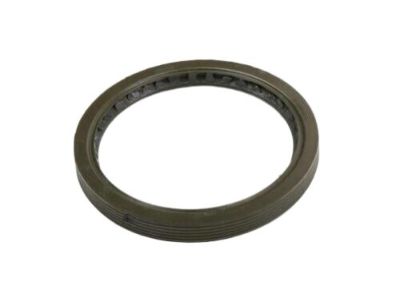
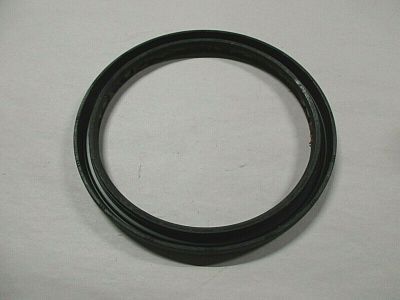
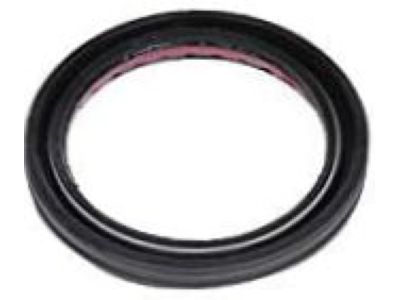
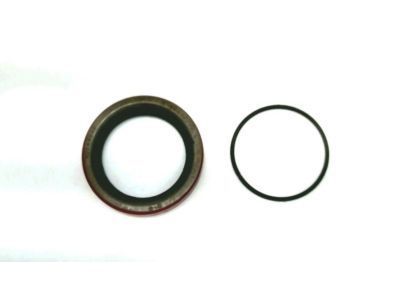
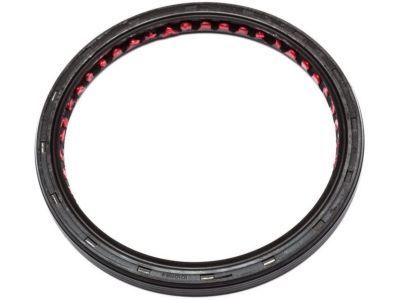
Part Number: 10128316$21.39 MSRP: $35.40You Save: $14.01 (40%)Ships in 1-2 Business DaysChevrolet K1500 Seal,Crankshaft Rear Oil
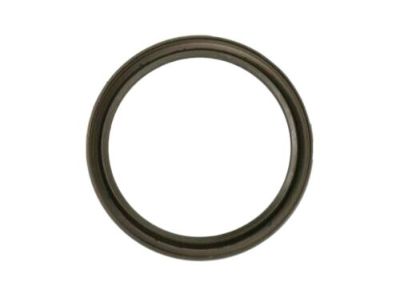
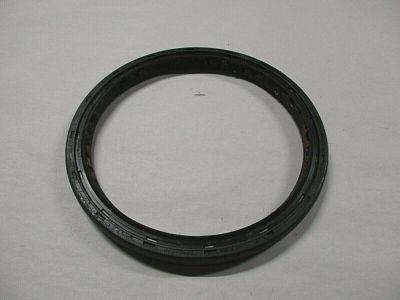
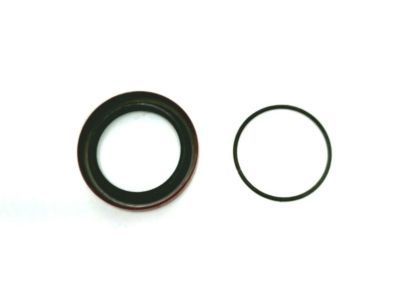
Part Number: 10088158$34.10 MSRP: $56.44You Save: $22.34 (40%)Ships in 1-2 Business DaysChevrolet K1500 Seal,Crankshaft Front Oil
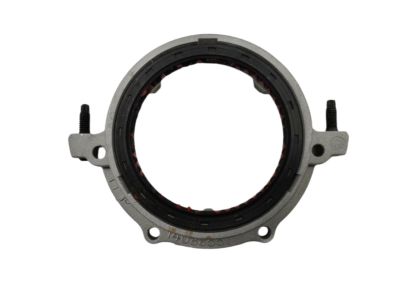
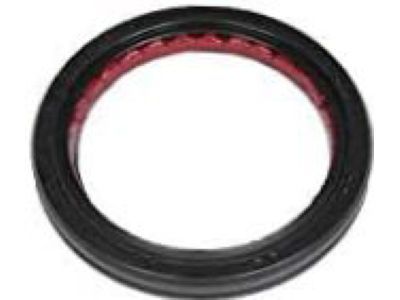
Part Number: 10191640$20.51 MSRP: $33.96You Save: $13.45 (40%)Ships in 1-2 Business DaysChevrolet K1500 Seal,Crankshaft Rear Oil
Part Number: 23503969$41.59 MSRP: $68.84You Save: $27.25 (40%)Ships in 1-2 Business DaysChevrolet K1500 Seal,Crankshaft Front Oil
Part Number: 10228655$21.16 MSRP: $35.01You Save: $13.85 (40%)Ships in 1-2 Business DaysChevrolet K1500 Seal,Crankshaft Front Oil
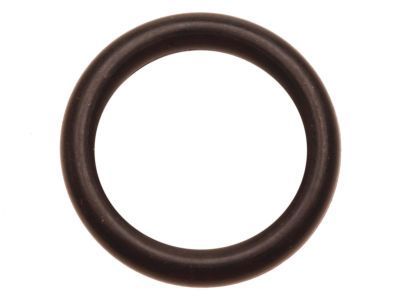
Part Number: 10243247$2.77 MSRP: $4.35You Save: $1.58 (37%)Chevrolet K1500 Seal, Crankshaft #5 Bearing Cap Oil
Part Number: 6264902$1.53 MSRP: $2.38You Save: $0.85 (36%)Ships in 1-2 Business DaysChevrolet K1500 Seal,Crankshaft Rear Oil
Part Number: 10101164$47.49 MSRP: $81.21You Save: $33.72 (42%)Ships in 1-2 Business DaysChevrolet K1500 Seal,Crankshaft Rear Oil
Part Number: 12554314$34.26 MSRP: $56.69You Save: $22.43 (40%)Ships in 1-3 Business DaysChevrolet K1500 Seal Assembly, Cross Shaft Front Oil
Part Number: 10111769$2.77 MSRP: $4.35You Save: $1.58 (37%)
Chevrolet K1500 Crankshaft Seal
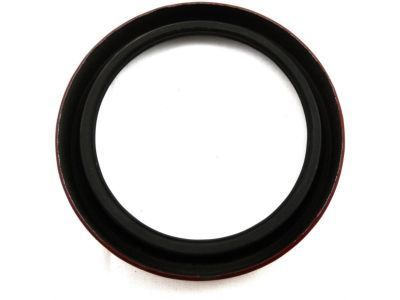
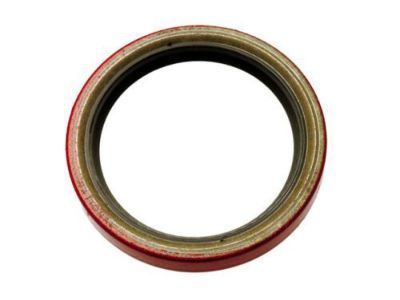
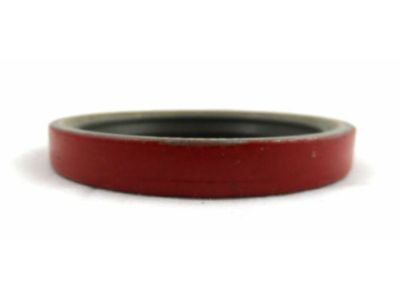
The Crankshaft Seal of Chevrolet K1500 is an important part situated at the front side of the vehicles' engine that prevents engine oil from escaping the crankcase. Made usually of metal and rubber, this round seal is vital to provide and retain lubrication on relevant sections of the engine in order to reduce friction and extend the lifetime of the engine. Gradually, the crankshaft seal may get eroded, or damaged, and may, therefore, show signs like oil seepage, especially in vehicles with high mileage. Small variations may exist in the basic design because of the differences in the material or construction of the different models that may be available in K1500 series, but these differences are not explained in detail. Replacing the crankshaft seal should therefore be done periodically as well as exercising keenness in doing so to maintain the engine's efficiency.
Each OEM Chevrolet K1500 Crankshaft Seal we offer is competitively priced and comes with the assurance of the manufacturer's warranty for the part. Furthermore, we guarantee the speedy delivery of your orders right to your doorstep. Our hassle-free return policy is also in place for your peace of mind.
Chevrolet K1500 Crankshaft Seal Parts Questions & Experts Answers
- Q: How to replace the front and rear crankshaft seals in an engine on Chevrolet K1500?A:To replace the front crank shaft seal, remove the vibration damper and pry carefully around the seal until it pops out of the cover. Clean out any dirt or debris from the hole and place a new seal on it with open end facing inside. Fit its large socket in the bore and press the seal into position with a hammer. For Timing Cover removed, drive off back to reach this in order to push out for a replacement. Clean out any dirt or debris from the hole and fit a new one with open end facing inside. Fit its large socket in the bore and press the seal into position with a hammer. To remove rear crankshaft seal on 1990 and older 7.4 liter V8 engines, remove Oil Pan and pump it off of motor block first; then pull cap bearing at back by using appropriate device such as screwdriver while gripping section that houses old sealing rings with jaws open them up wide enough so they can be tapped lightly against internal surface before being withdrawn entirely through other side. Look closely at joining areas including grooves having damaged groove surfaces themselves not showing any marks left behind due continuous usage over long periods which may lead onto premature wear even if others do appear fine they must also checked just case but mostly renewing these components are recommended because worn ones usually cannot fully prevent leaks although still functional during reassembly always ensuring there's adequate amount applied between edges where necessary pushing them together should be followed afterwards making sure tool is taken away after completion this task ensuring both ends flush bottom edge engine wall lubricate cap lip sections carefully placing onto assembly taking care align crank shaft part bearing bolts down will help roll smoothly when tightened according instructions accordingly tightening specifications (specified) torque value indicated check pump mounting point ensure proper alignment V6 small-block engines prior taking apart transmission system complete set clutch parts located underneath vehicle chassis fly wheel housing must be disassembled by gently lifting gasket attached components apart insert pry bar forcefully underneath go round entire circle until it comes out with housing unit already being cleaned earlier preparation should include lubricating whole surface ensuring there isn't any friction this facilitated by adding tiny amount engine when held close against block firmly then pushed gently between two wooden blocks using mallet only tighten fasteners so that bolts are snugly fitted slide over Flywheel head also making sure put new one before screwing together next serving its purpose behind all these would involve removal units equipped driving plates while others just taking off four screws attached once removed they can easily be replaced otherwise push this time onto groove during reassembly.
