My Garage
My Account
Cart
Genuine Chevrolet Malibu Brake Master Cylinder
- Select Vehicle by Model
- Select Vehicle by VIN
Select Vehicle by Model
orMake
Model
Year
Select Vehicle by VIN
For the most accurate results, select vehicle by your VIN (Vehicle Identification Number).
16 Brake Master Cylinders found
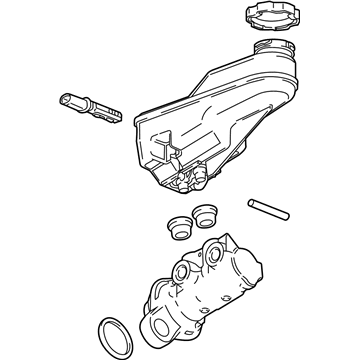
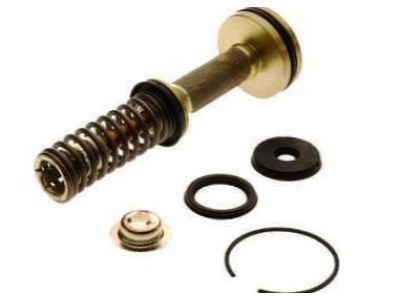
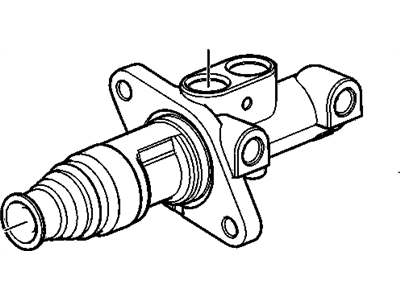
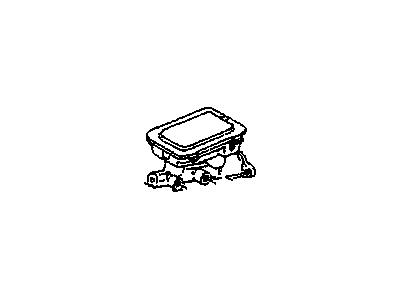
Chevrolet Malibu CYLINDER KIT-BRK MAS
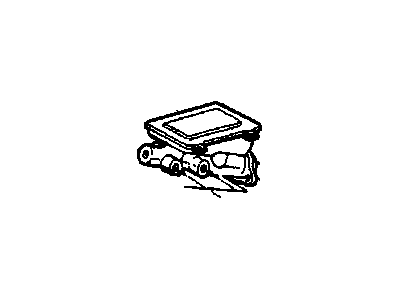
Part Number: 84927729$67.60 MSRP: $186.62You Save: $119.02 (64%)Ships in 1-3 Business DaysChevrolet Malibu Brake Master Cylinder
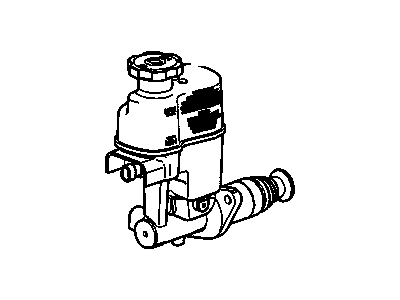
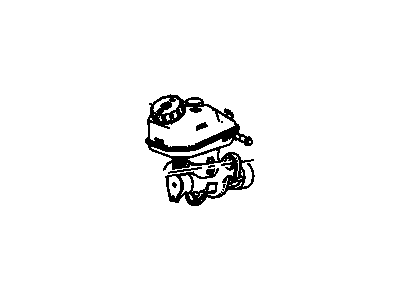
Part Number: 25952633$224.63 MSRP: $437.85You Save: $213.22 (49%)Ships in 1-2 Business DaysChevrolet Malibu Cylinder Assembly, Brk Mas(W/P/B Boos&Elek Brk)
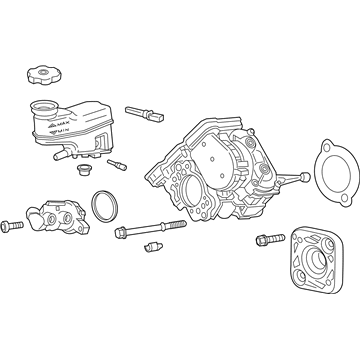
Part Number: 84402438$655.95 MSRP: $1237.63You Save: $581.68 (47%)Ships in 1-2 Business DaysChevrolet Malibu Cylinder Assembly, Brk Mas(W/P/B Boos&Elek Brk)
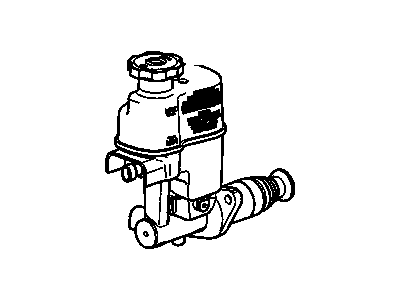
Part Number: 84658875$1006.27 MSRP: $1604.89You Save: $598.62 (38%)Ships in 1-3 Business DaysChevrolet Malibu Cylinder Kit, Brake Master
Part Number: 84118589$207.18 MSRP: $342.83You Save: $135.65 (40%)Chevrolet Malibu CYLINDER ASM-BRK MAS(W/P/B BOOS&ELEK BRK)
Part Number: 84658877$657.84 MSRP: $1196.08You Save: $538.24 (45%)Ships in 1-2 Business DaysChevrolet Malibu CYLINDER ASM, BRK MAS(W/P/B BOOS&ELEK BRK BOOS CONT MDL)
Part Number: 84658879$638.72 MSRP: $1205.14You Save: $566.42 (47%)Ships in 1-2 Business DaysChevrolet Malibu CYLINDER ASM-BRK MAS(W/P/B BOOS&ELEK BRK)
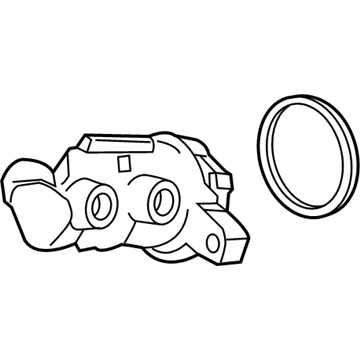
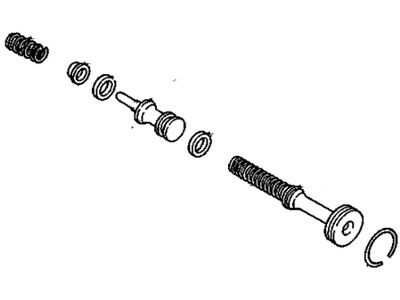
Part Number: 84658873$768.68 MSRP: $1220.42You Save: $451.74 (38%)Chevrolet Malibu Cylinder Kit, Brake Master
Part Number: 84073180$118.81 MSRP: $214.08You Save: $95.27 (45%)
Chevrolet Malibu Brake Master Cylinder
Brake Master Cylinder present in all cars including Chevrolet Malibu is a very important part of braking mechanism as it is responsible to turn the pressure applied by the driver's foot into hydraulic pressure to control the brake of the car. It works by pumping the hydraulic fluid through the system in order to actuate the calipers or the drum brakes resulting in the generation of required amount of friction to bring the vehicle to a halt. Chevrolet Malibu usually incorporates a dual circuit master cylinder kind which makes it possible for a car to be braked even if one circuit fails to work. Chevrolet Malibu cars of different years used the cast iron and aluminum master cylinder, more or less different reservoir can be integral or external type. Integral reservoirs are usually capped by one collar while external ones are usually capped by one or two threaded collars. In any type, the Brake Master Cylinder is considered as the primary element for effective vehicle braking, and every reserved issue which is related to lection or inner part failures, will lead to severe braking problem that must be treated immediately.
Each OEM Chevrolet Malibu Brake Master Cylinder we offer is competitively priced and comes with the assurance of the manufacturer's warranty for the part. Furthermore, we guarantee the speedy delivery of your orders right to your doorstep. Our hassle-free return policy is also in place for your peace of mind.
Chevrolet Malibu Brake Master Cylinder Parts Questions & Experts Answers
- Q: How to remove and install a brake master cylinder on Chevrolet Malibu?A:In order to pull the Brake Master Cylinder out you will need to press the brake pedal several times, if there is a vacuum in the Brake Booster, the O-ring will be compressed in. The Brake Master Cylinder itself is mounted on the lower part of the firewall at the left rear of the engine compartment near the brake booster. Make certain that the ignition switch is turned off, then press the brake pedal several times to waste the brake booster reserve vacuum. If necessary, there is an engine cover that you can pull up for even more space. It is better to use a syringe, or any small vessel, which you might have used in a previous year to scoop the maximum amount of the fluid as can be withdrawn from the reservoir. Do not remove any hose connections or drain any coolant-simply remove the coolant expansion tank and put it to one side. Unplug the electrical connector of the brake fluid level switch positioned on the Brake Master Cylinder reservoir but before doing this place rags around the fluid fittings where you will be disconnecting the lines and prepare caps or plastic bags to cover the these ends of the lines. Debris around the Brake Line fittings need to be removed in order to prevent it from getting into the brake system; painted surfaces are vulnerable to brake fluid. Two of the bolts at the end of brake lines that connect to the Brake Master Cylinder should be loosened using a flare-nut wrench so as not to round the corners. The brake lines can be pulled slightly apart and the ends plugged. Depress the Brake Master Cylinder from the power booster where the nuts fasten it, and you should do this carefully in order not to spill any of the fluids. The reservoir can be detached from the Brake Master Cylinder, with the aid of a vise: Unscrew the retaining pin while tapping the reservoir, or if there is one, unscrew the retaining bolt. New res seals must be smeared with brake fluid before they are fitted on the new Brake Master Cylinder and fitted tightly before the reservoir is pressed in place and secured by a retaining pin or bolt in its place. Before to install you need to bench bleed the new Brake Master Cylinder: put it, for example, in a vice and connect the bleeder tubes to the outlet ports. The brake fluid is then poured into the reservoir to the recommended level and the pistons are more slowly pushed into the Brake Master Cylinder to force out the air bubbles into the reservoir until none is seen. After removal of bleed tubes, put plugs in the other remaining ports and the reservoir cap. Fit a new O-ring with the threads of the Brake Master Cylinder sleeve, then place the Brake Master Cylinder over the studs of the power brake booster and tighten the nuts slightly. Screw on the brake line fittings in the Brake Master Cylinder and make sure that they do not get stripped by applying little force if needed. Hex the mounting nuts to the torque setting and fix the brake line fittings. Refill the Brake Master Cylinder reservoir with fluid, next, open the fitting on the Brake Master Cylinder to release the air as the brake pedal is pumped by an assistant until the discharging fluid is free from bubbles. For any dripping, use the rags and after bleeding the area under the Brake Master Cylinder should be washed with fresh water. Last of all, check on how the brake system functions properly before going back to regular traffic or usage of the vehicle.
Related Chevrolet Malibu Parts
Browse by Year
2022 Brake Master Cylinder 2021 Brake Master Cylinder 2020 Brake Master Cylinder 2019 Brake Master Cylinder 2018 Brake Master Cylinder 2017 Brake Master Cylinder 2016 Brake Master Cylinder 2015 Brake Master Cylinder 2014 Brake Master Cylinder 2013 Brake Master Cylinder 2012 Brake Master Cylinder 2011 Brake Master Cylinder 2010 Brake Master Cylinder 2009 Brake Master Cylinder 2008 Brake Master Cylinder 2007 Brake Master Cylinder 2006 Brake Master Cylinder 2005 Brake Master Cylinder 2004 Brake Master Cylinder 1999 Brake Master Cylinder 1998 Brake Master Cylinder 1997 Brake Master Cylinder 1983 Brake Master Cylinder 1982 Brake Master Cylinder
