My Garage
My Account
Cart
Genuine Chevrolet Malibu Center Console
Floor Console Assembly- Select Vehicle by Model
- Select Vehicle by VIN
Select Vehicle by Model
orMake
Model
Year
Select Vehicle by VIN
For the most accurate results, select vehicle by your VIN (Vehicle Identification Number).
97 Center Consoles found
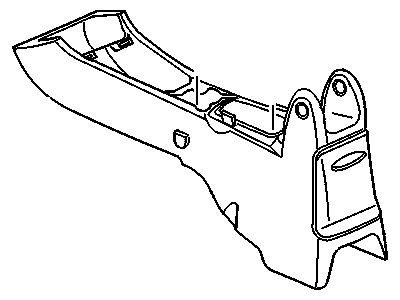
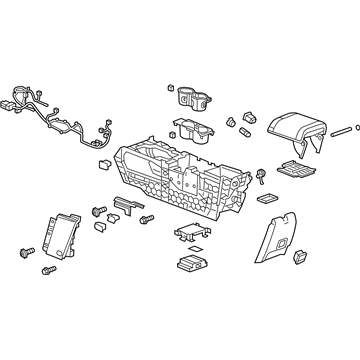
Chevrolet Malibu Console (Front Floor Pewter)(Less)
Part Number: 22604738$58.24 MSRP: $117.47You Save: $59.23 (51%)Chevrolet Malibu Nut, Push In
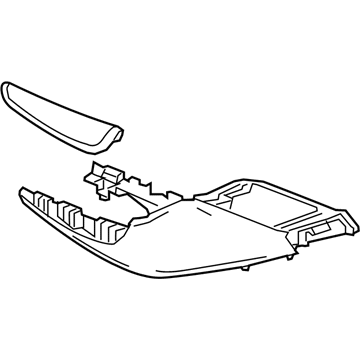
Part Number: 11561629$7.93 MSRP: $12.47You Save: $4.54 (37%)Ships in 1-3 Business DaysChevrolet Malibu Console, F/Flr Lwr *Light Wheat
Part Number: 84699929$178.85 MSRP: $268.60You Save: $89.75 (34%)Ships in 1-3 Business DaysChevrolet Malibu Console, F/Flr Lwr *Black
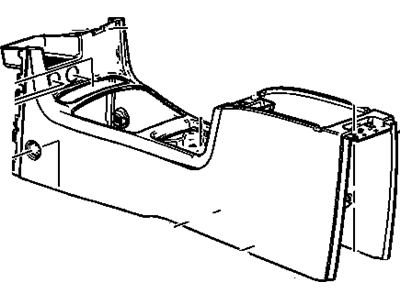
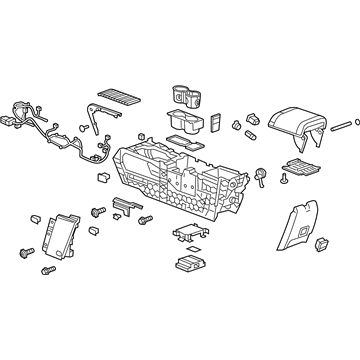
Part Number: 84233911$111.22 MSRP: $166.28You Save: $55.06 (34%)Ships in 1-3 Business DaysChevrolet Malibu Console Assembly, Front Floor *Gray
Part Number: 10361986$24.04 MSRP: $511.21You Save: $487.17 (96%)Ships in 1-2 Business DaysChevrolet Malibu Console Assembly, Front Floor *Black O
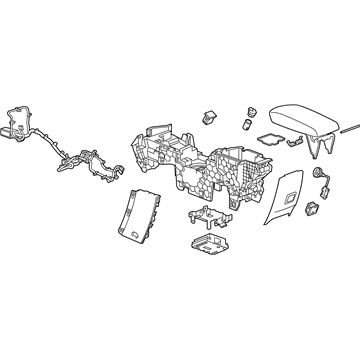
Part Number: 23457673$95.98 MSRP: $449.46You Save: $353.48 (79%)Ships in 1-2 Business DaysChevrolet Malibu Console, F/Flr Lwr *Black
Part Number: 84114685$68.15 MSRP: $101.89You Save: $33.74 (34%)Ships in 1-3 Business DaysChevrolet Malibu CONSOLE,F/FLR LWR *ME*GREY
Part Number: 84114686$68.15 MSRP: $101.89You Save: $33.74 (34%)Ships in 1-3 Business DaysChevrolet Malibu Console, F/Flr Lwr *Gray Y
Part Number: 84233912$102.67 MSRP: $153.50You Save: $50.83 (34%)Ships in 1-3 Business DaysChevrolet Malibu Console Assembly, Front Floor *Black N
Part Number: 23457664$103.70 MSRP: $155.03You Save: $51.33 (34%)Ships in 1-3 Business DaysChevrolet Malibu Console Assembly, Front Floor *Neutral
Part Number: 23457662$108.10 MSRP: $161.62You Save: $53.52 (34%)Ships in 1-3 Business DaysChevrolet Malibu Console Assembly, Front Floor *Titanium T
Part Number: 23457663$105.26 MSRP: $157.36You Save: $52.10 (34%)Ships in 1-3 Business DaysChevrolet Malibu Front Floor Console Assembly Black
Part Number: 23175722$90.05 MSRP: $134.63You Save: $44.58 (34%)Ships in 1-3 Business DaysChevrolet Malibu Console Assembly, Front Floor *Black
Part Number: 23457666$295.83 MSRP: $444.27You Save: $148.44 (34%)Ships in 1-3 Business DaysChevrolet Malibu Console Assembly, Front Floor *Neutral
Part Number: 23457672$322.11 MSRP: $483.75You Save: $161.64 (34%)Ships in 1-3 Business DaysChevrolet Malibu Front Floor Console Assembly *Jet Black
Part Number: 22909329$120.70 MSRP: $379.64You Save: $258.94 (69%)Ships in 1-2 Business DaysChevrolet Malibu Console Assembly, Front Floor *Jet Black
Part Number: 22909532$123.73 MSRP: $389.18You Save: $265.45 (69%)Ships in 1-2 Business DaysChevrolet Malibu Console Assembly, Front Floor *Black N
Part Number: 22941120$157.93 MSRP: $496.72You Save: $338.79 (69%)Ships in 1-2 Business DaysChevrolet Malibu Front Floor Console Assembly *Ebony
Part Number: 20879614$125.87 MSRP: $189.04You Save: $63.17 (34%)
| Page 1 of 5 |Next >
1-20 of 97 Results
Chevrolet Malibu Center Console
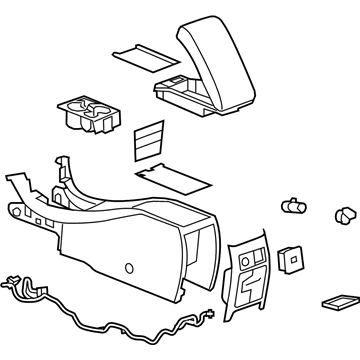
The Chevrolet Malibu also has a center Center Console so as to enhance storage space and controls in the car. Lying sideways in the middle of the driver and the passenger seats, the Center Console is highly desirable due to its ability to store phones, keys or money required while driving. Over the years, the Chevrolet Malibu has featured one or more different Center Console designs that have ranged from simple storage boxes to more elaborate designs that feature cup holders, extra storage areas plus controls for the climate of rear passengers. New Chevrolet Malibu Center Consoles are stylish and practical designed to withstand similar problems as cracks in part and difficult handles. Such change is a step to enhance organization and comfort hence making the Center Console a part of the interior of a car. In sum, the Chevrolet Malibu's Center Console goes beyond simple storage of items that are frequently used while driving by enhancing the driving experience with ease of use.
Each OEM Chevrolet Malibu Center Console we offer is competitively priced and comes with the assurance of the manufacturer's warranty for the part. Furthermore, we guarantee the speedy delivery of your orders right to your doorstep. Our hassle-free return policy is also in place for your peace of mind.
Chevrolet Malibu Center Console Parts Questions & Experts Answers
- Q: How to remove the center console on Chevrolet Malibu?A:For 2015 and earlier models (and 2016 Malibu Limited), begin by using a plastic trim tool to pry out the center dash trim panel and vents surrounding the radio and air control assemblies. Next, remove the shift lever knob and boot, then pry up and take out the shift indicator panel from the center console trim plate. Continue by prying out and removing the center console trim plate from the top of the console, moving the front seats all the way back to pry out and remove the center console side trim panels. Remove the four screws securing the lowest dash control panel above the center console, pull out the panel, and disconnect the electrical connectors. Pry out and remove the center console trim panel at the rear, along with the lower-rear fastener trim covers. Next, remove the center console fasteners, which include four along the bottom edges (two in front and two in back) and two securing the console to the dash. Finally, disconnect any electrical connectors and remove the center console from the vehicle, with installation being the reverse of removal. For 2016 and later models (except 2016 Malibu Limited), place the shift lever in the Neutral position and disconnect the cable from the negative terminal of the battery. Remove the shift lever knob and shift panel, then disconnect the main electrical connector to the console and remove the console front bolts, ensuring to release the red safety tab on the main connector before lifting the bail arm. Remove the dust cap and the front and rear center console side screws, adjusting the seat as necessary to access all fasteners. Lift and slide the console slightly rearward, then carefully guide it out of the vehicle, with installation being the reverse of removal.
Related Chevrolet Malibu Parts
Browse by Year
2024 Center Console 2023 Center Console 2022 Center Console 2021 Center Console 2020 Center Console 2019 Center Console 2018 Center Console 2017 Center Console 2016 Center Console 2015 Center Console 2014 Center Console 2013 Center Console 2012 Center Console 2011 Center Console 2010 Center Console 2009 Center Console 2008 Center Console 2007 Center Console 2006 Center Console 2005 Center Console 2004 Center Console 2003 Center Console 2002 Center Console 2001 Center Console 2000 Center Console 1999 Center Console 1998 Center Console 1997 Center Console
