My Garage
My Account
Cart
Genuine Chevrolet Malibu Piston
Engine Pistons- Select Vehicle by Model
- Select Vehicle by VIN
Select Vehicle by Model
orMake
Model
Year
Select Vehicle by VIN
For the most accurate results, select vehicle by your VIN (Vehicle Identification Number).
24 Pistons found
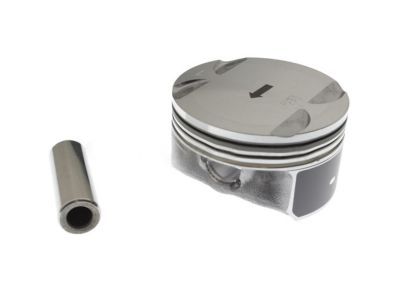
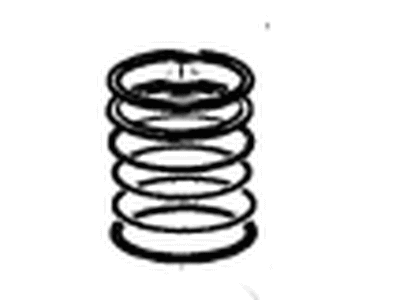
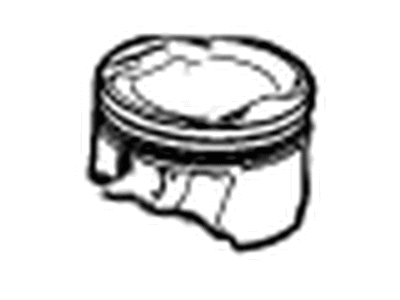
Chevrolet Malibu Piston Kit
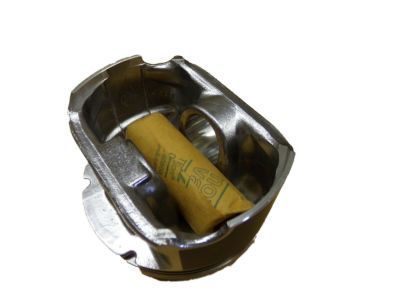
Part Number: 12646457$52.80 MSRP: $127.82You Save: $75.02 (59%)Ships in 1-3 Business DaysChevrolet Malibu Piston Kit
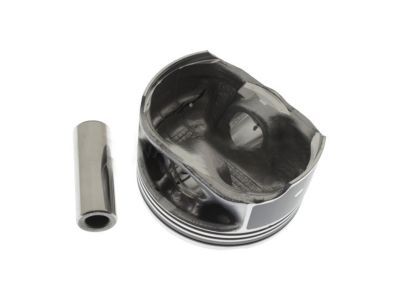
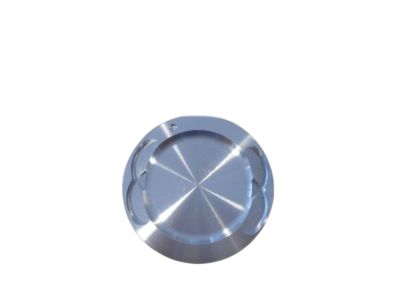
Part Number: 12652807$45.95 MSRP: $76.05You Save: $30.10 (40%)Ships in 1-3 Business DaysChevrolet Malibu Piston Asm,(W/ Pinion)
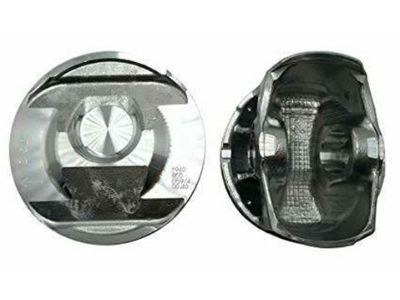
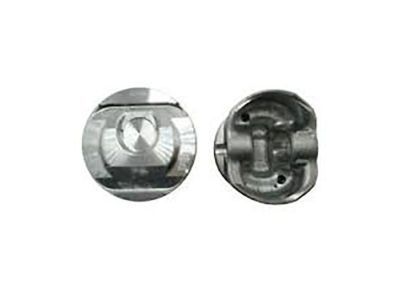
Part Number: 89018065$33.82 MSRP: $61.20You Save: $27.38 (45%)Ships in 1-2 Business DaysChevrolet Malibu Piston Assembly, (W/ Pinion)
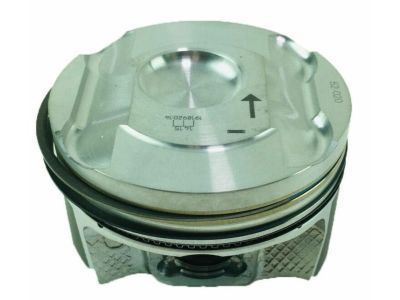
Part Number: 12674548$19.49 MSRP: $32.26You Save: $12.77 (40%)Chevrolet Malibu Piston, (W/Pinion)
Part Number: 12590866$23.81 MSRP: $39.41You Save: $15.60 (40%)Ships in 1-3 Business DaysChevrolet Malibu Piston Assembly, (W/ Connect Rod)
Part Number: 12674549$47.20 MSRP: $75.28You Save: $28.08 (38%)Ships in 1-2 Business DaysChevrolet Malibu Piston Asm,(W/ Pinion)(Std)
Part Number: 24575963$51.36 MSRP: $103.56You Save: $52.20 (51%)Chevrolet Malibu Piston Asm
Part Number: 55484852$124.92 MSRP: $199.18You Save: $74.26 (38%)Ships in 1-3 Business DaysChevrolet Malibu Piston Assembly, (W/ Pinion)
Part Number: 12591087$97.78 MSRP: $155.96You Save: $58.18 (38%)Chevrolet Malibu Piston Asm,(W/ Pinion)(0.5Mm Oversize)
Part Number: 12584528$27.55 MSRP: $56.30You Save: $28.75 (52%)Ships in 1-2 Business DaysChevrolet Malibu Piston, (W/Pinion)
Part Number: 12585675$89.39 MSRP: $125.45You Save: $36.06 (29%)Ships in 1-2 Business DaysChevrolet Malibu Piston Assembly
Part Number: 55484854$304.98 MSRP: $504.78You Save: $199.80 (40%)Ships in 1-3 Business DaysChevrolet Malibu Piston
Part Number: 12657184$3308.18 MSRP: $4276.90You Save: $968.72 (23%)Ships in 1-3 Business Days
| Page 1 of 2 |Next >
1-20 of 24 Results
Chevrolet Malibu Piston
Each OEM Chevrolet Malibu Piston we offer is competitively priced and comes with the assurance of the manufacturer's warranty for the part. Furthermore, we guarantee the speedy delivery of your orders right to your doorstep. Our hassle-free return policy is also in place for your peace of mind.
Chevrolet Malibu Piston Parts Questions & Experts Answers
- Q: What steps must be taken before removing the piston and connecting rod assemblies on Chevrolet Malibu?A:If the assemblies of the piston and the connecting rod are to be removed, then, the cylinder head as well as the oil pan have to be first detached. To determine if there are any ridges at the vicinity of the maximum travel of the ring, one can use the fingernail; if present, they should be dealt with by using the reamer because the failure to do so will lead to a breakage of the piston. As soon as the ridges are removed, rotate the engine in such manner that with crank shaft upwards. Measure the connecting rod end play with the feeler gauges and require it to be within a given range; if it goes beyond this range a set of new connecting rods might be required. Identify the connecting rods and the caps and then take out the connecting rod cap bolts and the cap but be careful not to drop the bearing insert. Extract the connecting rod and piston assembly by pushing it through the top of the engine and if there are areas where wood dowel has to be used do so for all the cylinders. Insert the connecting rod caps and bearing inserts in their respective rods; retain the old ones in the rods until it is time to fit the new ones to avoid scr former. The pistons and connecting rods are then available for inspection and then for reconditioning. When putting on new piston rings, the ring end gaps should be checked as should the piston ring side clearance. When all the piston and connecting rod assemblies are aligned with the new ring sets; installations of the top ring into the slots of the first cylinder and checking the end gap with feeler gauges. If it is a wrong gap, then modify them gently by using the filing of the ring ends. Before putting on the middle and top rings you must make sure the 'identical marks' are vertical as well, then you install them starting with the oil control ring next is the middle and top rings. Before fitting, make sure that cylinder walls are cleaned, edges of the cylinder are chamfered and the Crankshaft is inserted. Remove the old upper bearing insert and clean all the bearing surfaces before fitting the new one; it should fit as required without necessitating the use of oil. Correctly position the gaps of the piston ring, the piston and rings should be lubricated and the piston ring compressor is used in the process of installation. To check the connecting rod bearing oil clearance use Plastigage and the surfaces must be free of oil. If the clearance is not according to the above values then check the bearing sizes and the journal diameter. After installation replace the excess of plastigage material with a scraper, put some thin layer of a grease on bearing surfaces and replace the rod cap with new bolts and tighten according to the prescribed torque. Follow the similar steps for other 6 assemblies, be particular about hygiene and orientation. Last but not the least, turn the crankshaft and look for bind and a visual check on the connecting rod end clearance adjustment and correcting the same if necessary.
Related Chevrolet Malibu Parts
Browse by Year
2024 Piston 2023 Piston 2022 Piston 2021 Piston 2020 Piston 2019 Piston 2018 Piston 2017 Piston 2016 Piston 2015 Piston 2014 Piston 2013 Piston 2012 Piston 2011 Piston 2010 Piston 2009 Piston 2008 Piston 2007 Piston 2006 Piston 2005 Piston 2004 Piston 2003 Piston 2002 Piston 2001 Piston 2000 Piston 1999 Piston 1998 Piston 1997 Piston 1983 Piston 1982 Piston
